This layout was made using an older Scraptastic Kit. Possibly from January or February 2014. I love the paper and colors of this kit. Many of them were from Crate Paper which I am totally in love with and have probably mentioned more than once.
Overall this is a pretty simple layout. I used some left over cardstock to create the teal frame around the picture. In the background I used vellum with a mix of 3 different colored gelatos. I mixed them together by rubbing them with my fingers. The rest of the layers were made using emblishments and ephemera from the kit.
The title was made using the Thickers that came in the kit and a Doodlebug font that I had in my stash.
Here is another picture showing a close-up of the other cluster. I added some mini staples to this heart and the heart in the other cluster to give it a little more dimension and to attach it to the page so I didn't have to worry about adhesive showing through.
Thanks for stopping by. Until next time...happy scrappin'.
I wanted to do something a little different with the background and was dying to use my new star stencil. I filled in the stars with modeling paste and colored a few here and there to add some variety. Not sure if I like how it turned out or not.
I used the left-over paper that I cut in triangles from my last layout here as a boarder that went across the entire page. I wanted to add my pictures a little differently to this layout so I staggered them a bit and put them at different levels on the layout.
The embellishment clusters are relatively simple. I added a few die-cuts from the kit, a sticker, and a wood veneer camera paperclip that I had in my stash.
For the bottom right cluster I used more die-cuts and stickers as well as a orange brad and tag.
For this cluster I took one of the wood veneer pieces that came in the kit and colored it and added stickles.
The font is the Jillibean Soup font that came in the kit.
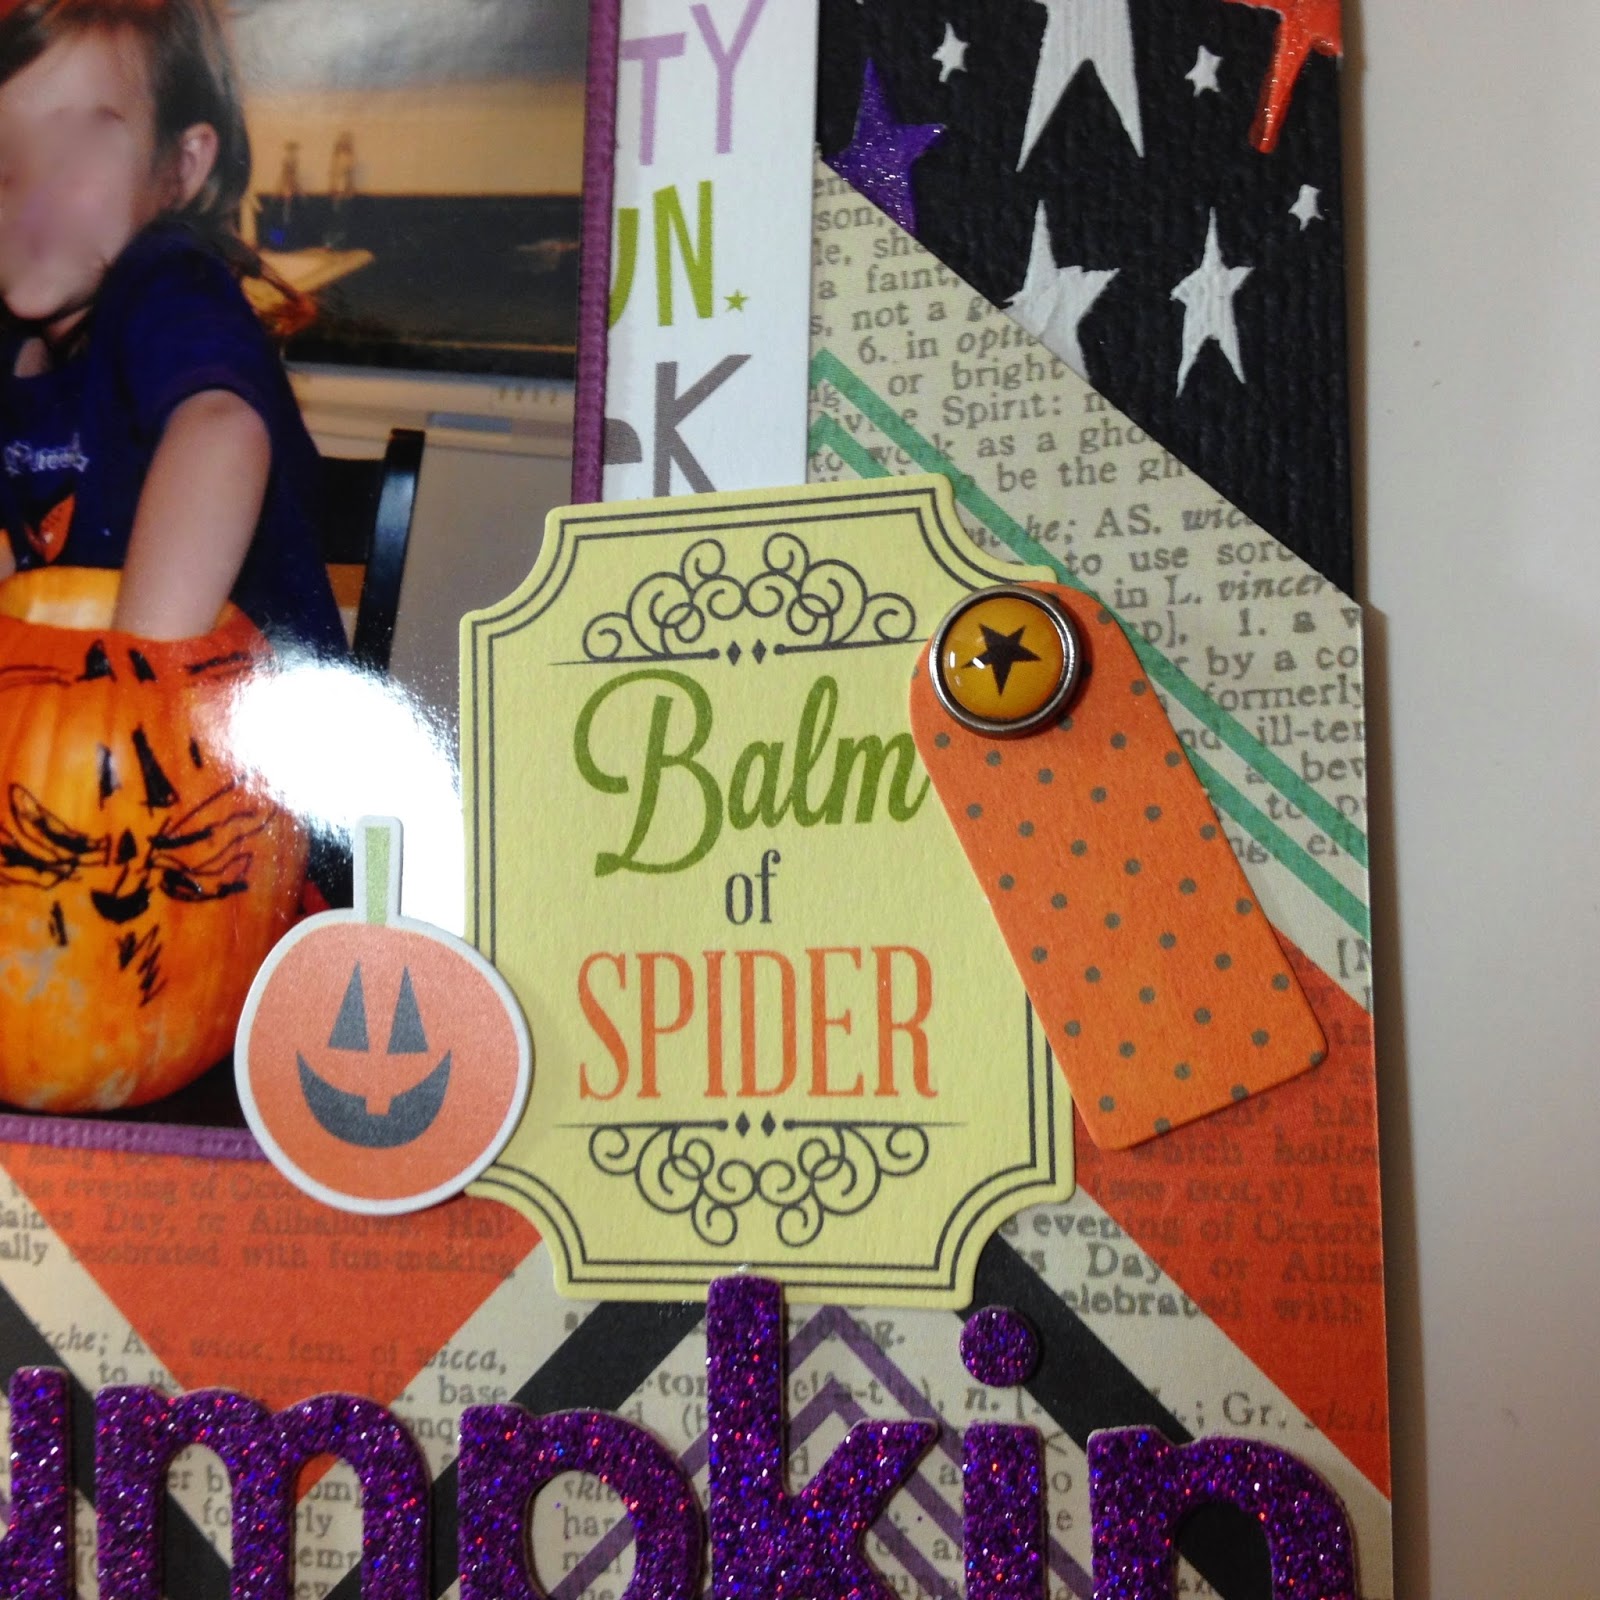
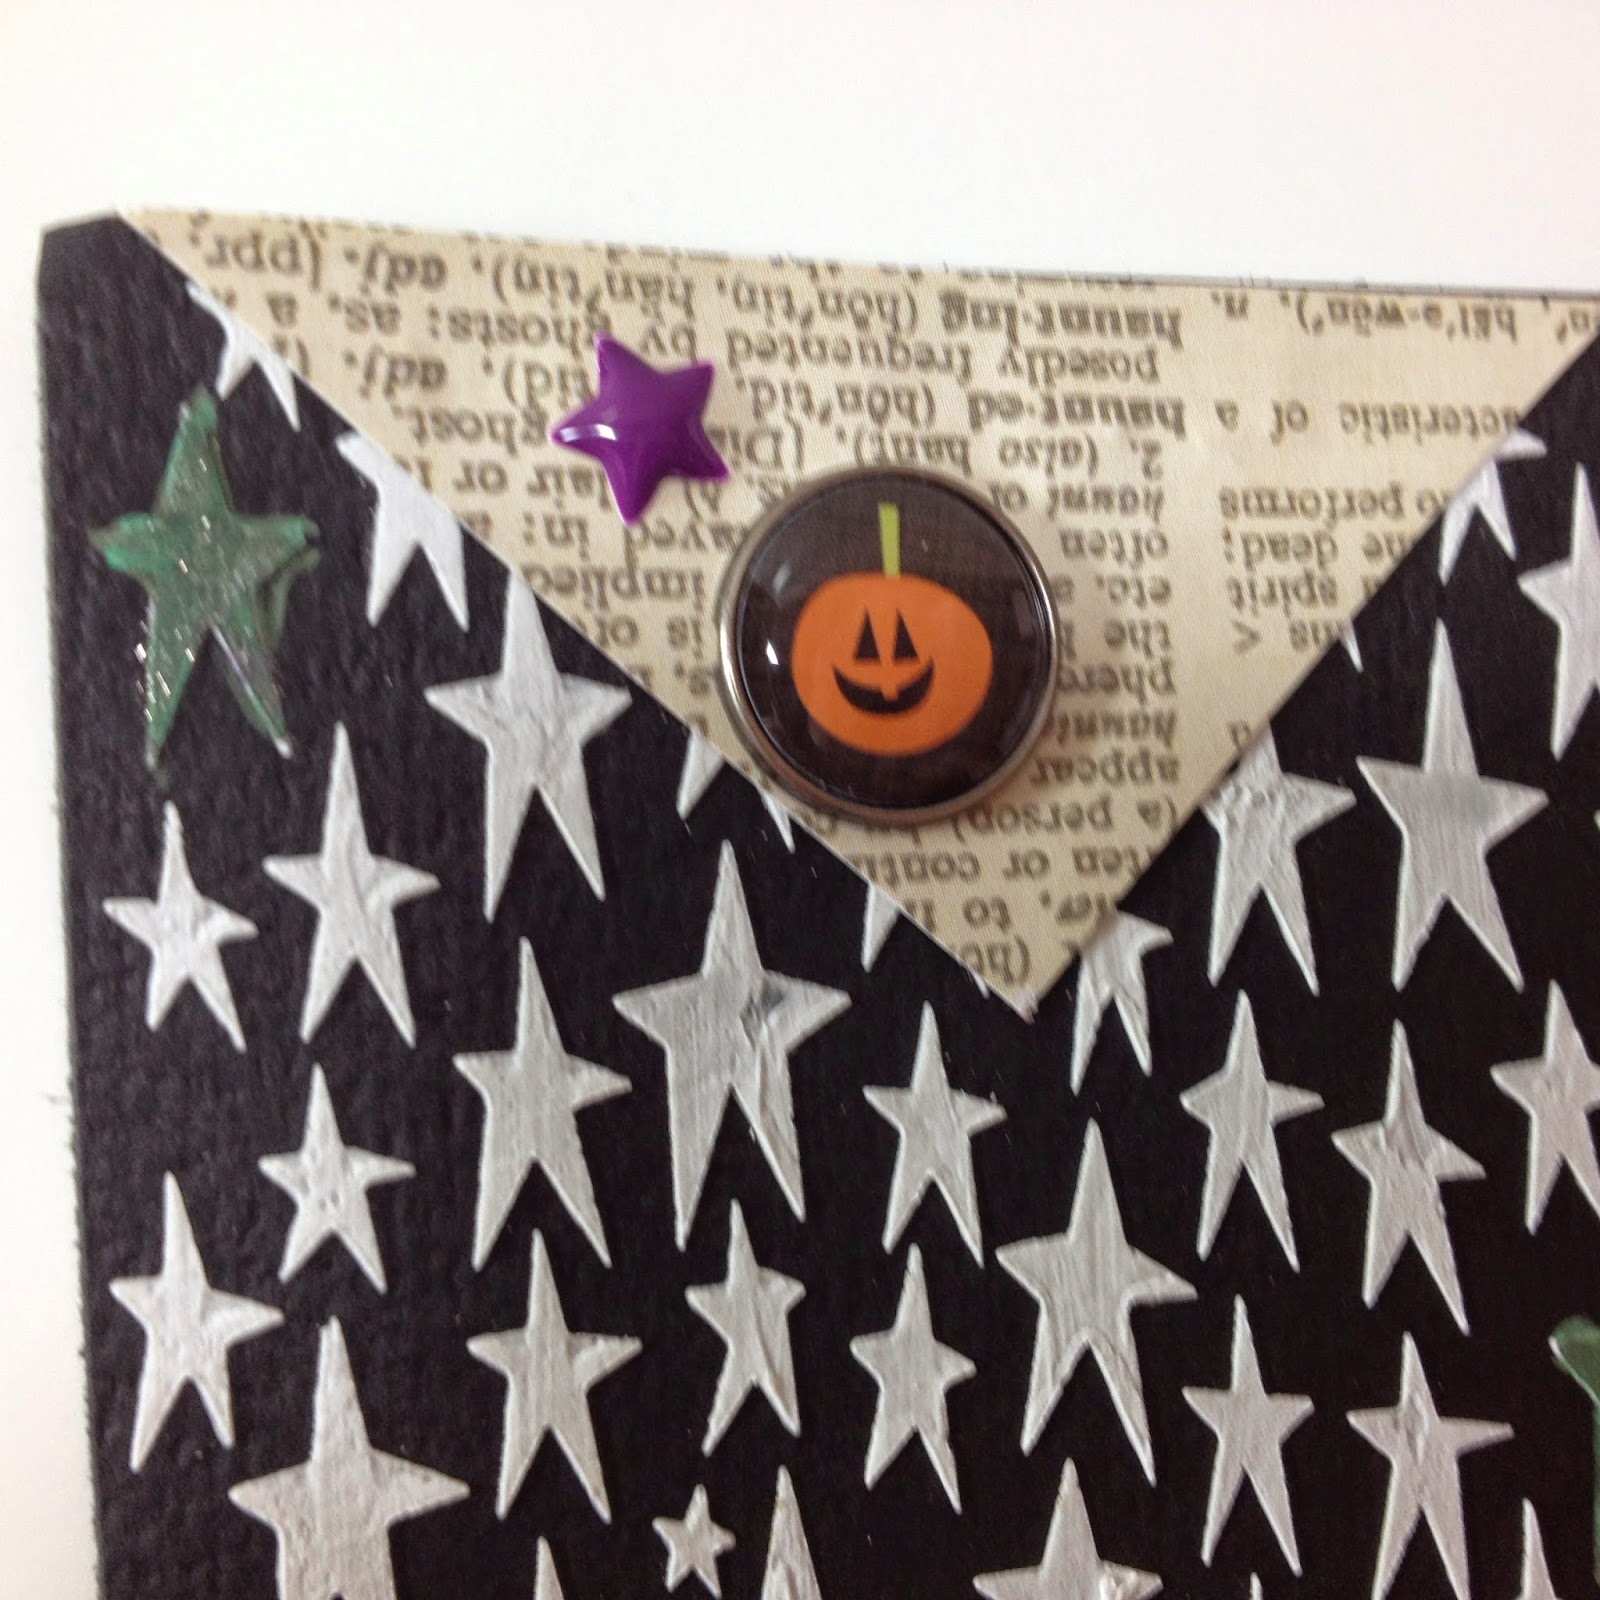
I added one more small embellishment cluster at the top left of the layout with a leftover piece of paper, enamel start sticker, and pumpkin brad. From this picture you can really see the texture that was left from the stencil and the modeling paste.
Thanks for coming by to take a look. Have a great day.
Hello everyone. Today I have a video to share with you. I posted it on YouTube last week but never got around to writing up the blog post about it. This page was made using the Scraptastic January 2015 - This Must Be the Place kit. I L-O-V-E everything about this kit. The colors, the patterns, embellishment, everything.
For this layout I did some fussy cutting of the floral patterned paper that came in the kit. I really like how it turned out with all of the layers. I added Stampin' Dimentionals under some of the leaves/flowers to give it even more dimension
.
Here is the video showing my process.
The next two pictures are close-ups of the texture that I added to the background. I used modeling paste, a Heidi Swapp stencil that I got form Craft Steals (love that site), a gold gelato, and spray mist. The color came out better that I expected. I also added splatters of gold Heidi Swapp Colorshine (the same that I used to color the modeling paste) around the layout.
For the vellum phrases, I took them to my sewing machine and used gold thread to add them to the page. .
For the journaling I took a piece of the white paper and ran it through my typewriter. I like how the font works well with the font of the vellum phrases. I stamped the date with a roller date stamp that I got in the Dollar Spot at Target.
In the top right corner, I added a cluster of embellishments and sewed the top edge with the same gold thread that I used elsewhere on the layout.
Here is just a closer look at the layering of the flowers that I cut out.I added a vellum phrase to the flower cluster using my Xyron Sticker Maker. It works like a dream to add the vellum to the page without being able to see any of the adhesive.
To this cluster I used two circle elements that came in the kit, stapled them together using my Tim Holtz tiny attacher and glued it down.
Thanks so much for stopping by. If you have not already, please subscribe to my YouTube channel or my blog so you can get notified when layouts and videos are posted. See you soon.
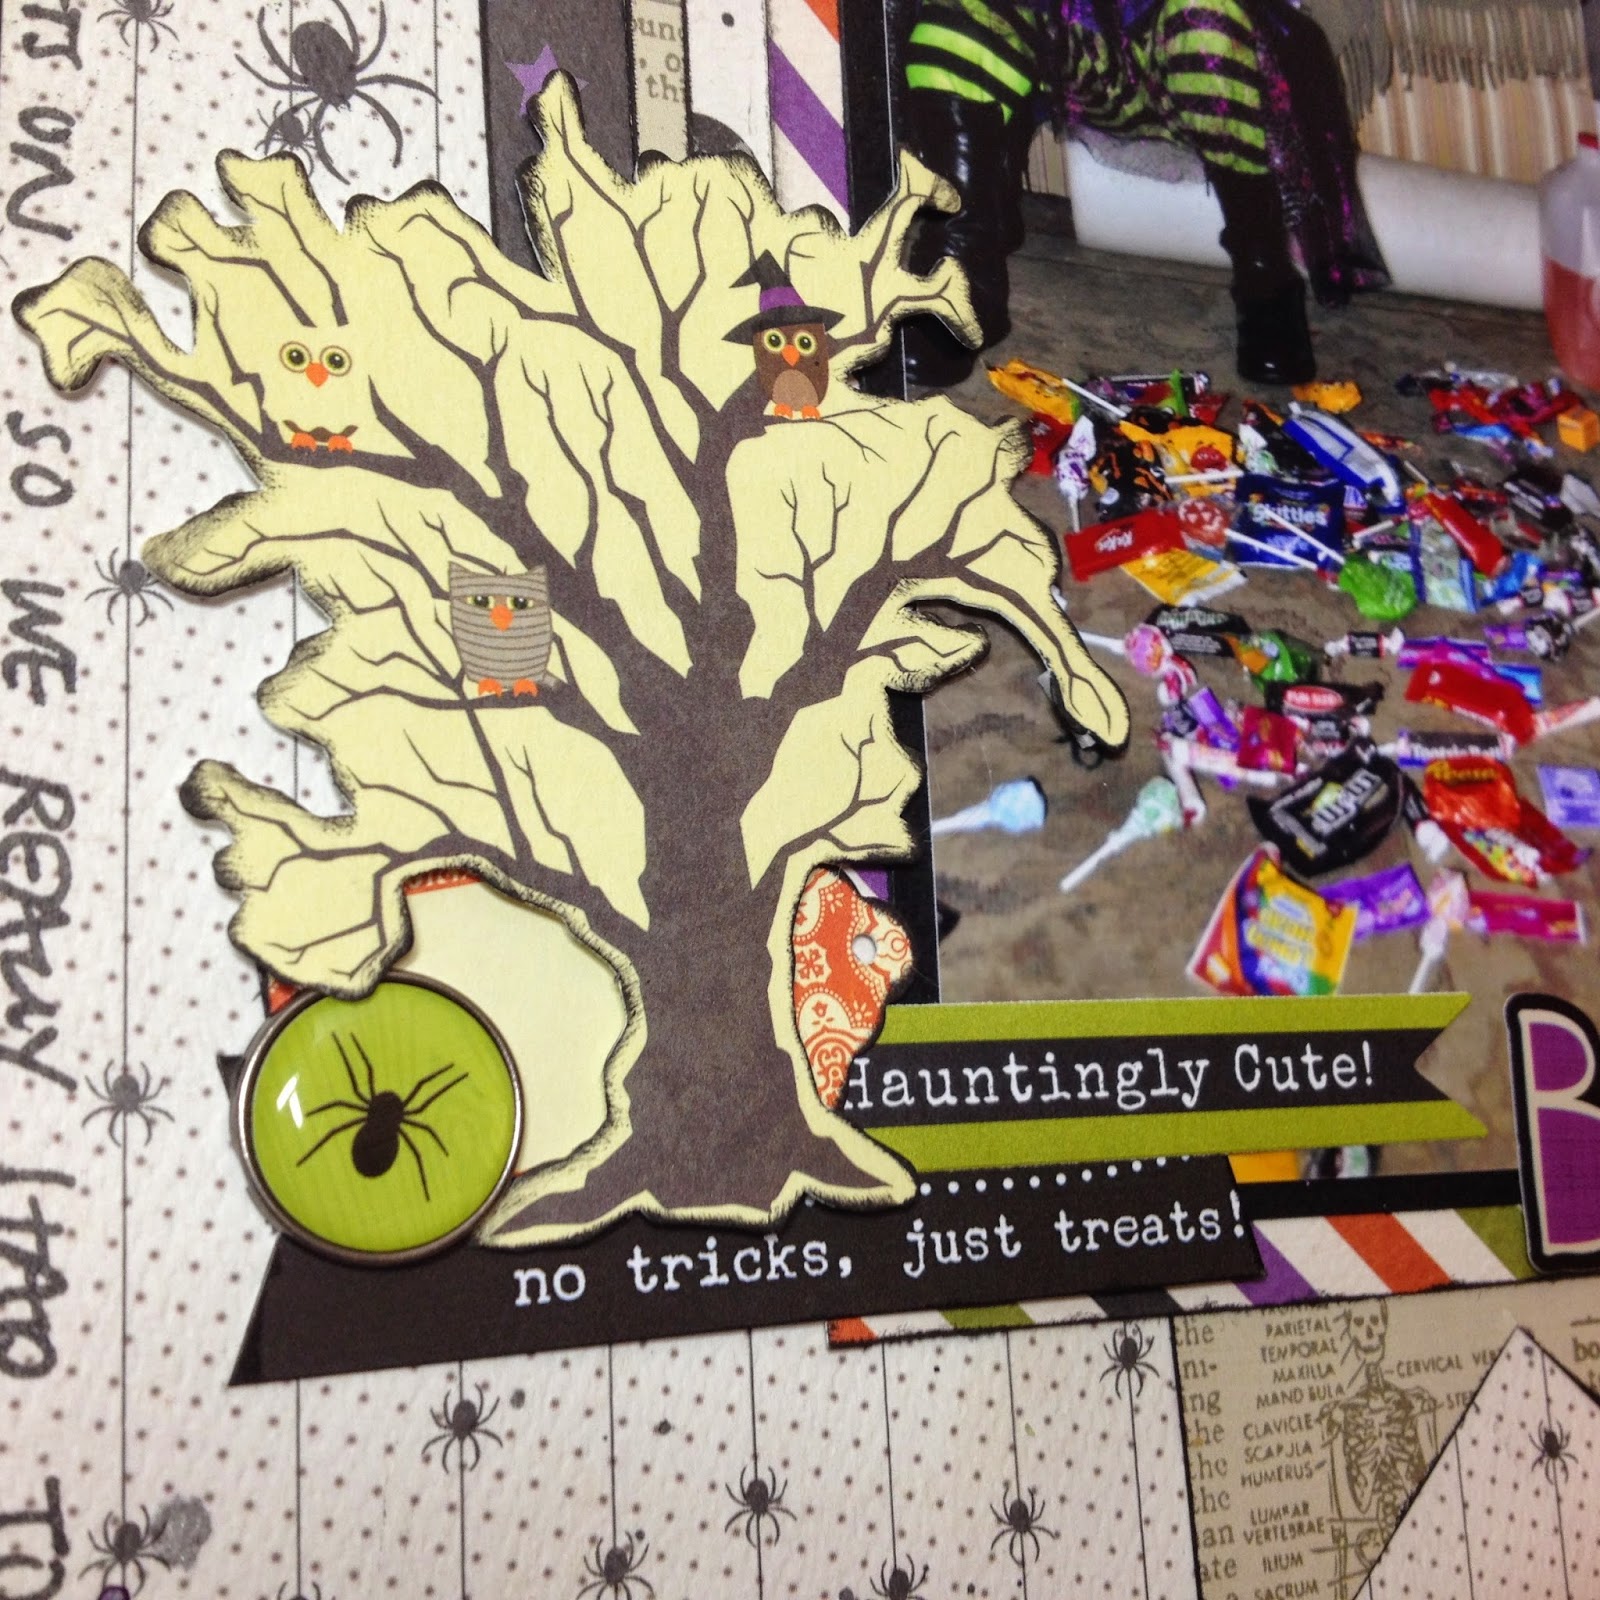
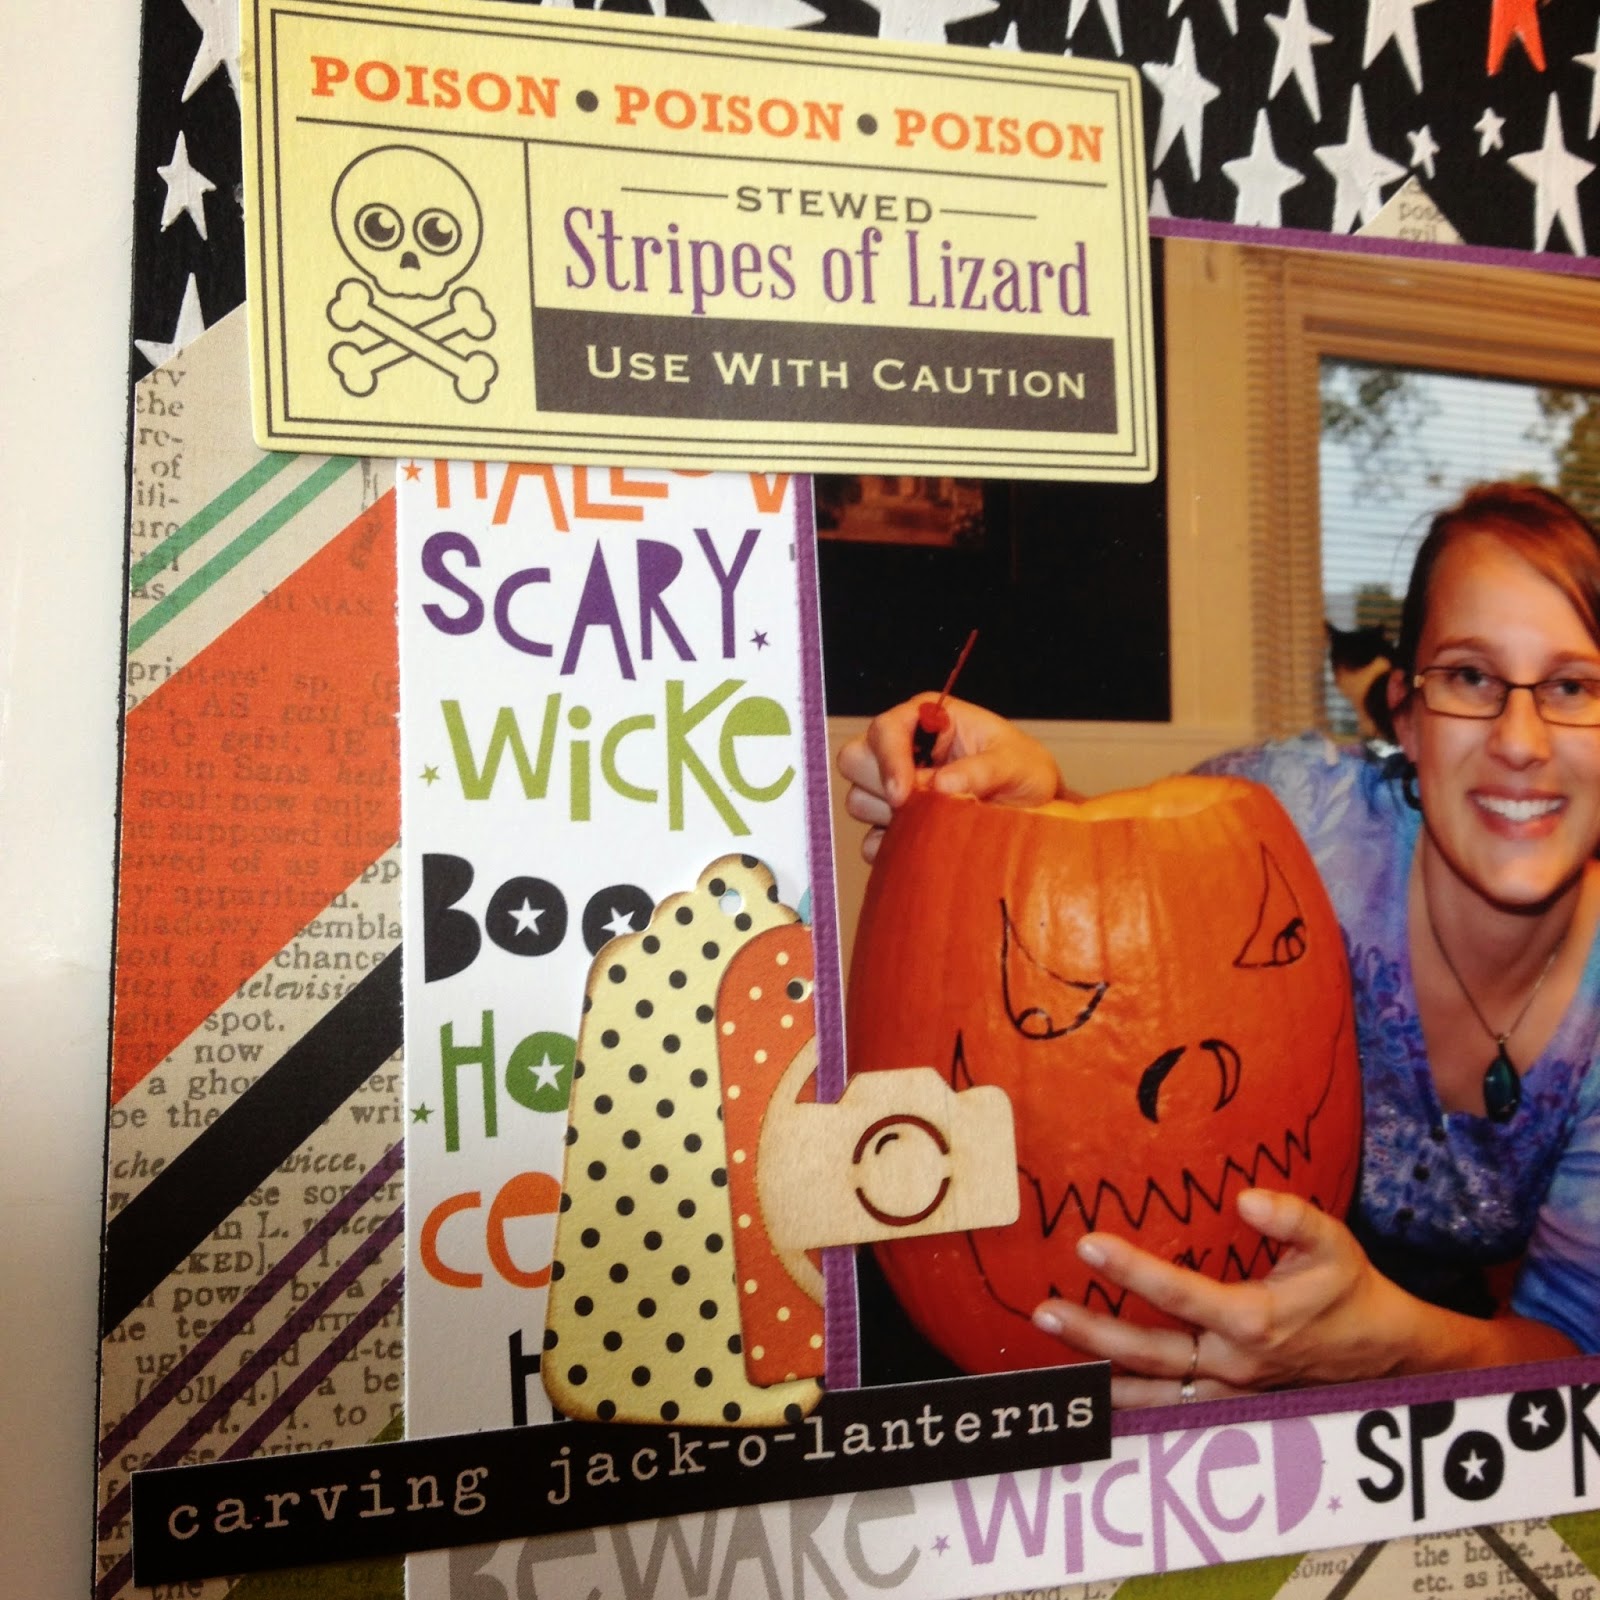
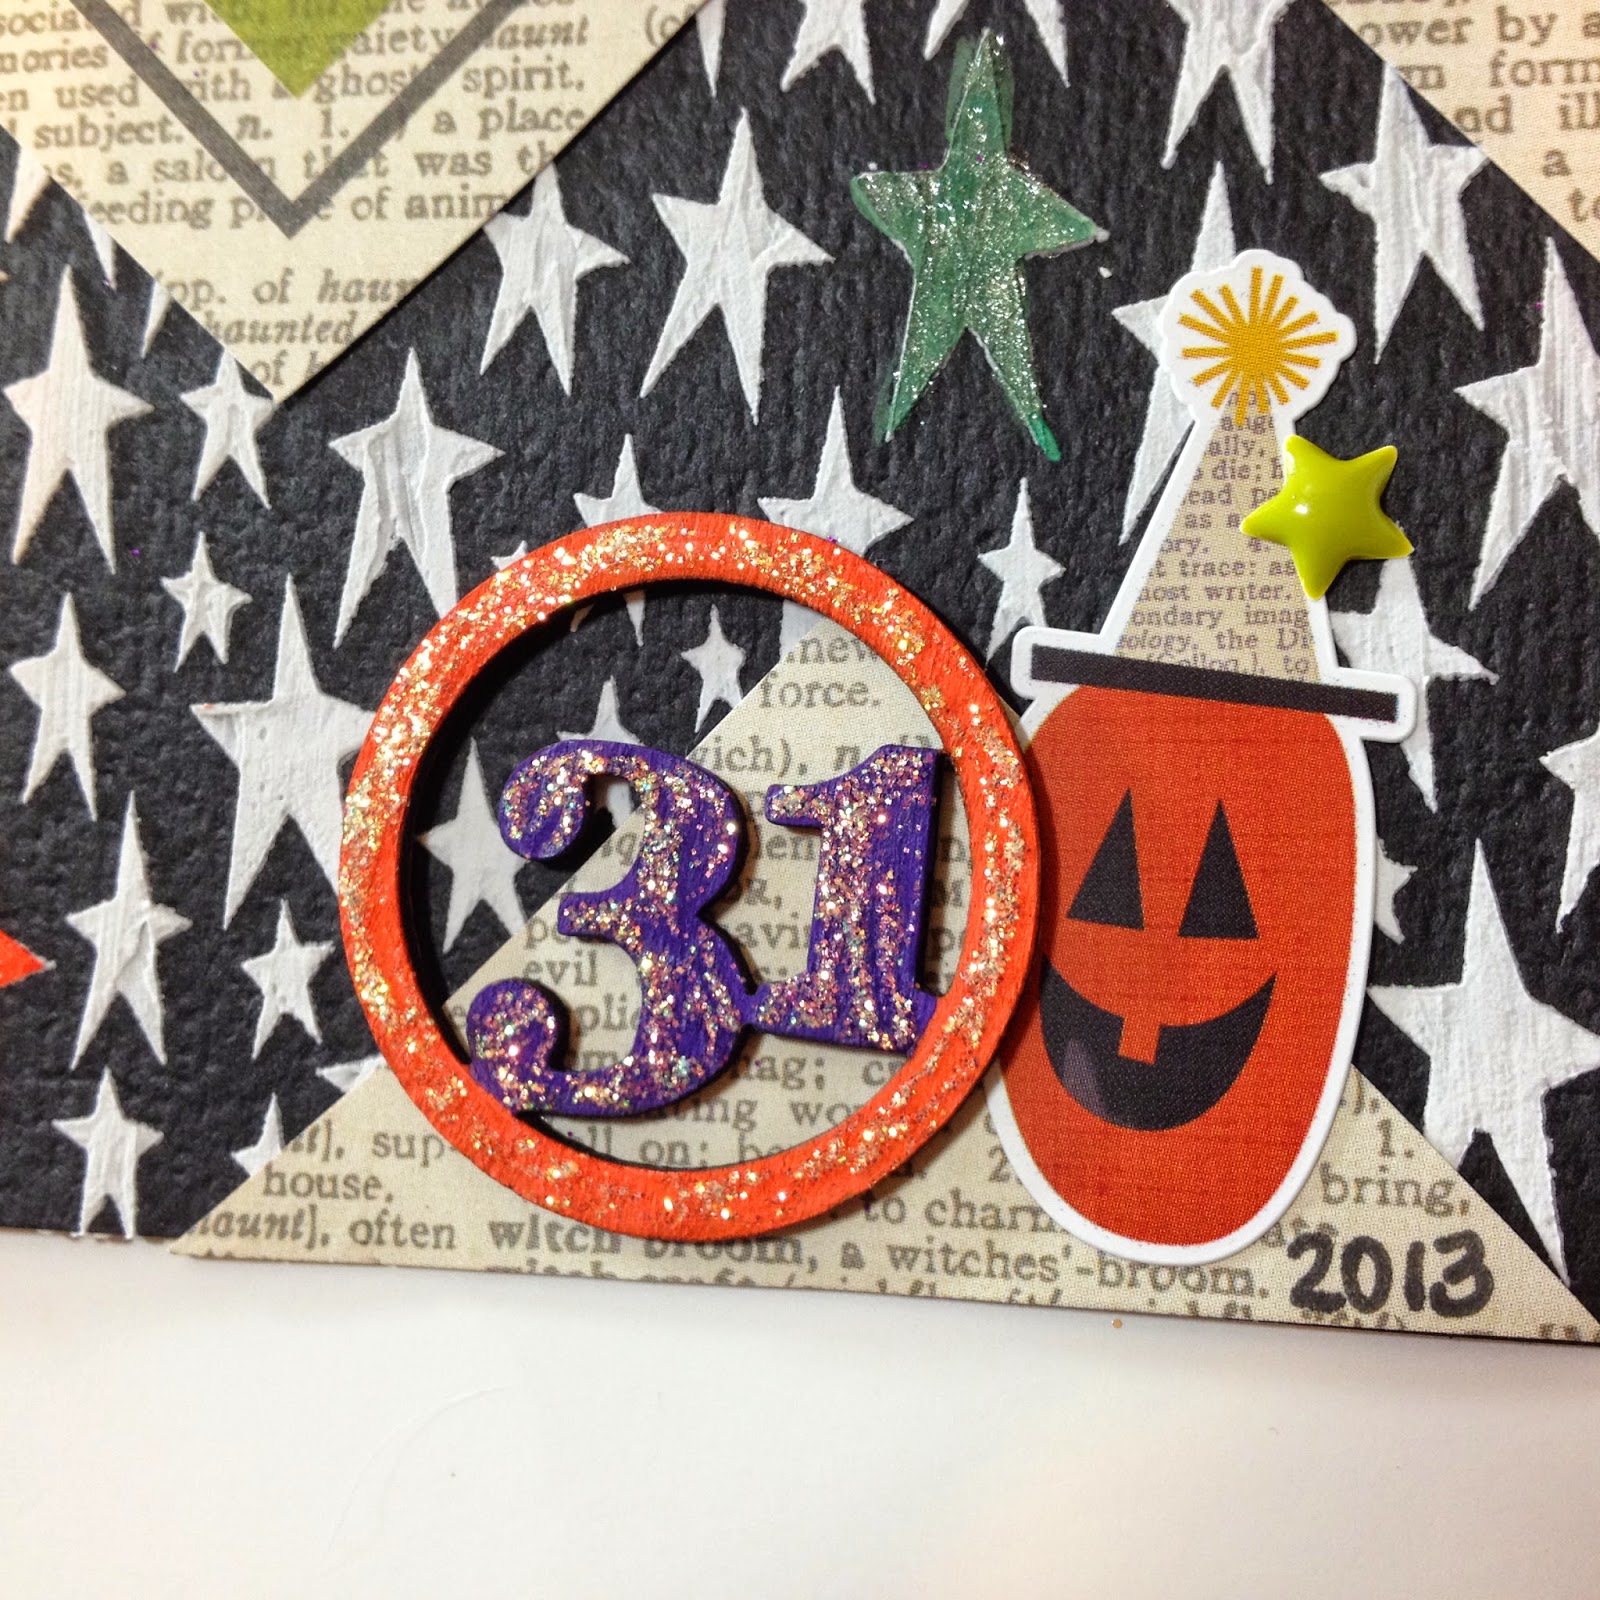
I made this layout using the October 2014 Scraptastic Kit - Thriller. I LOVE Halloween papers. I have way too many as I really don't take all that many pics of Halloween (or at least not enough for the crazy amount of Halloween stuff I have).
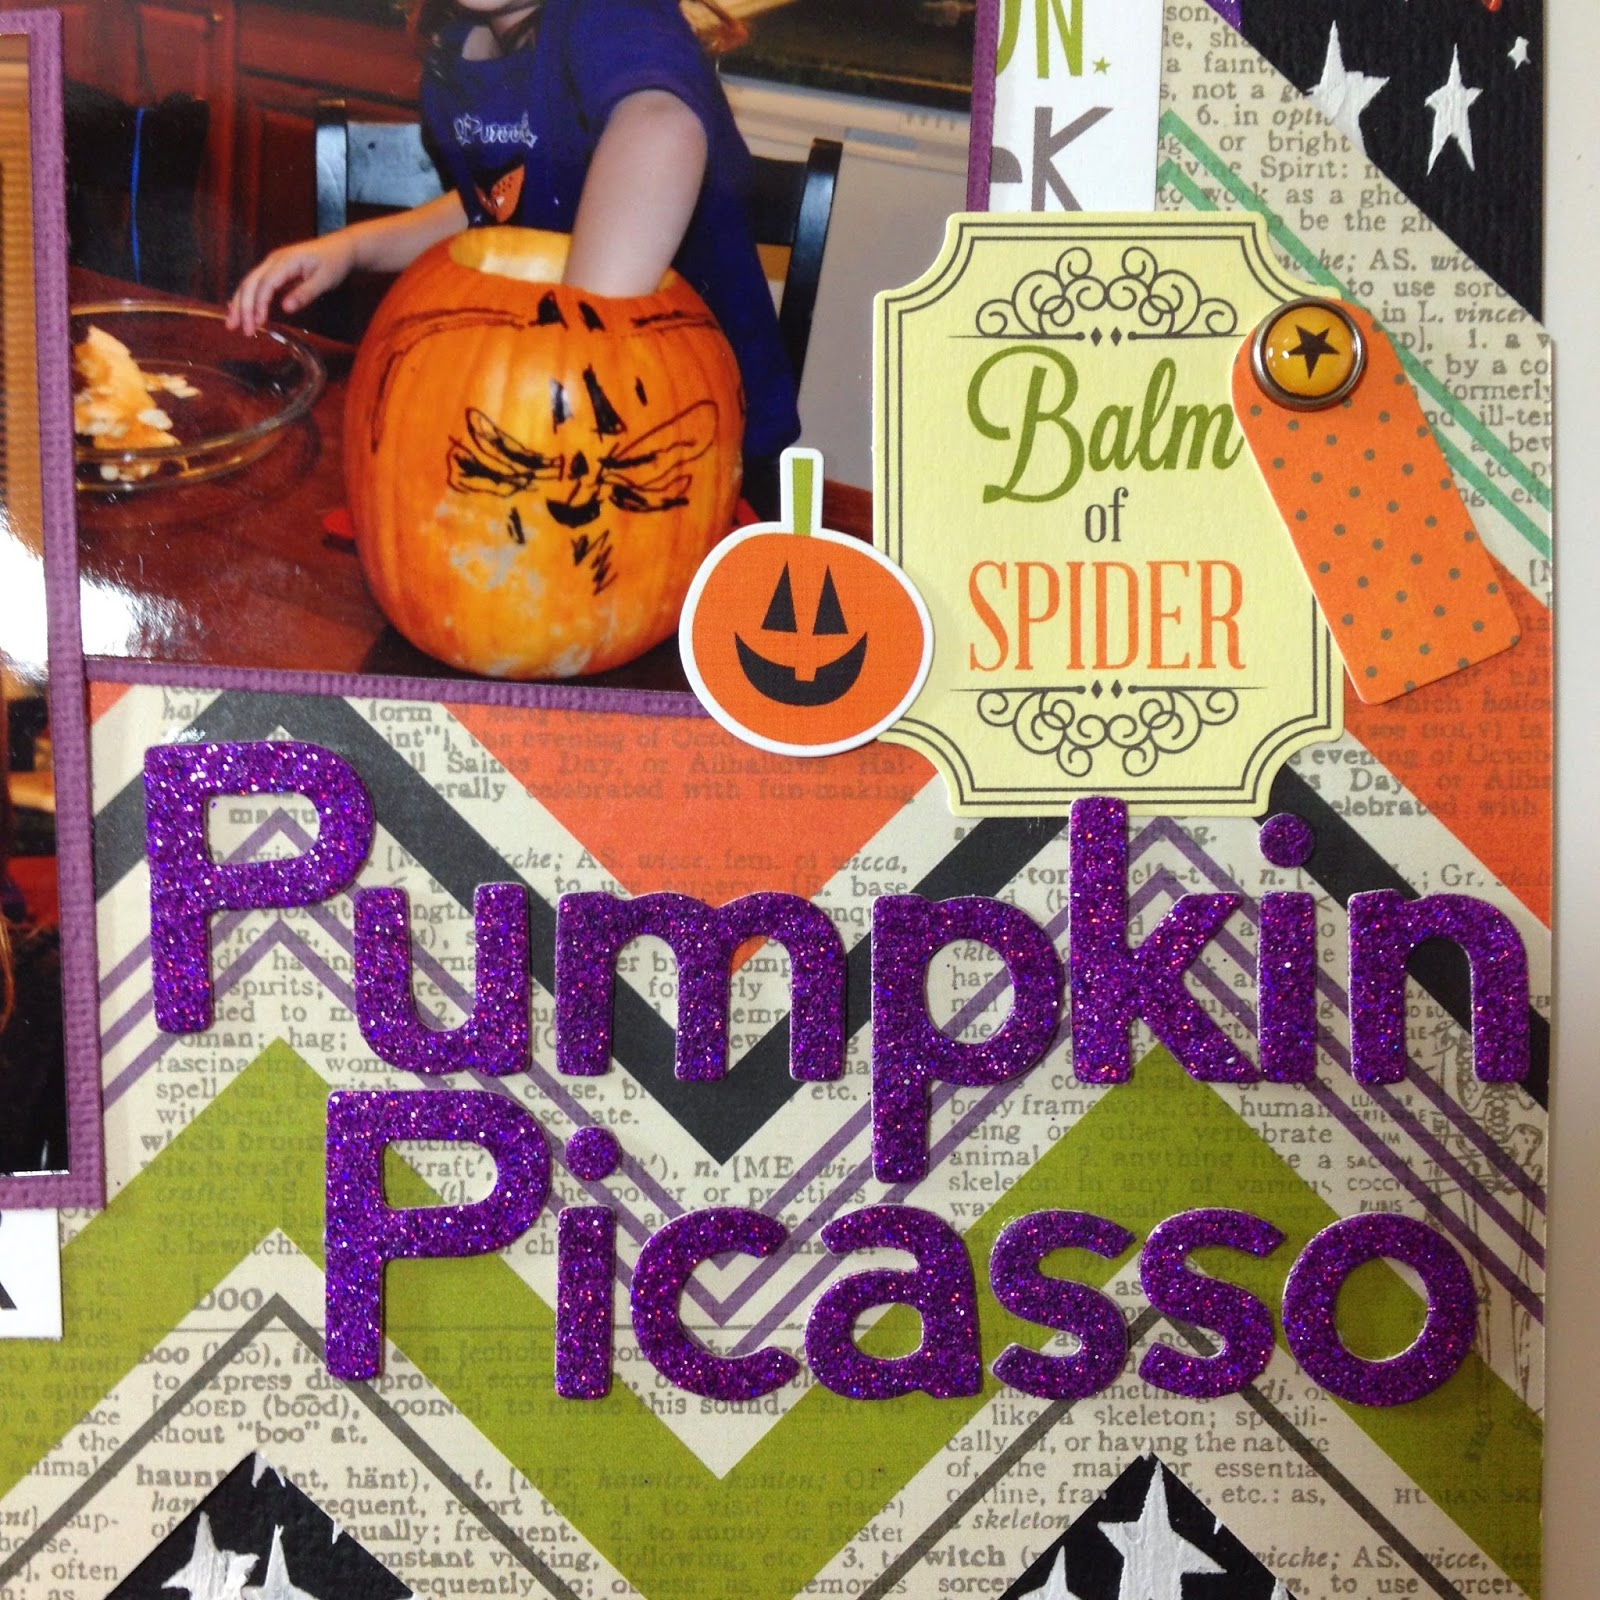
This is a layout of last year's Halloween. My daughter dressed up as a witch. The outfit was really cute. We got it at Costco for a really good price and it was well made. Score!
I matted the patterned paper form the kit to a sheet of black cardstock. I journaled around the outside of the patterned paper to do something a little different.
I added some oh-to-cute die-cuts and a spider brad to the left cluster.
To the right cluster I added several more die cuts, a cute wood veneer skull, and an eye brad.
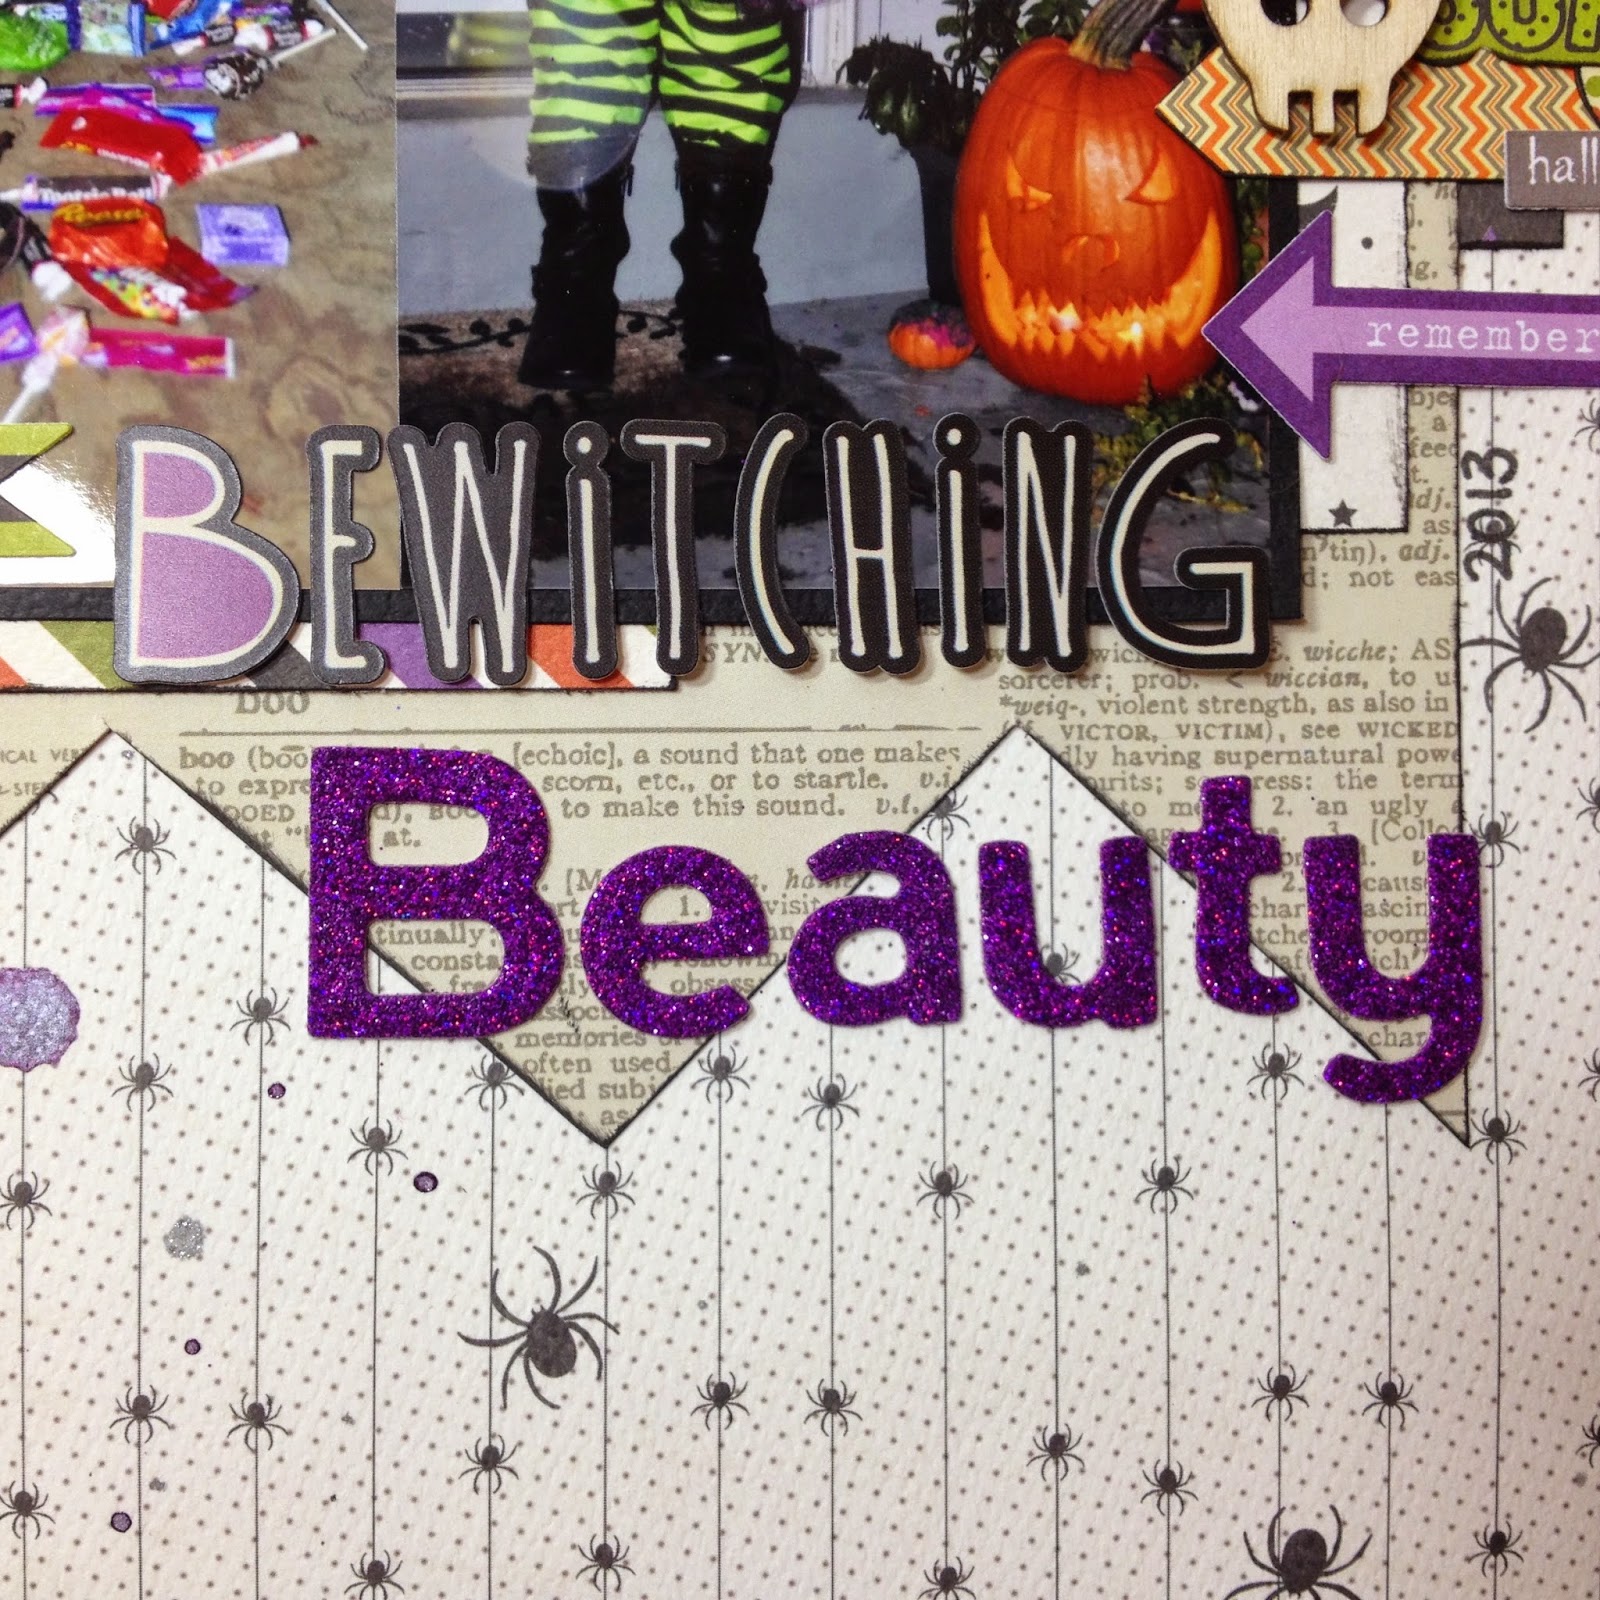
The letters came in the kit. The "Bewitching" is from Bella Blvd. and the "Beauty" is from Jillibean Soup. I added paper layers under my pics and for some added texture I cut triangles out of the bottom of the paper.
Thanks for stopping by. Hope you are having a great February.
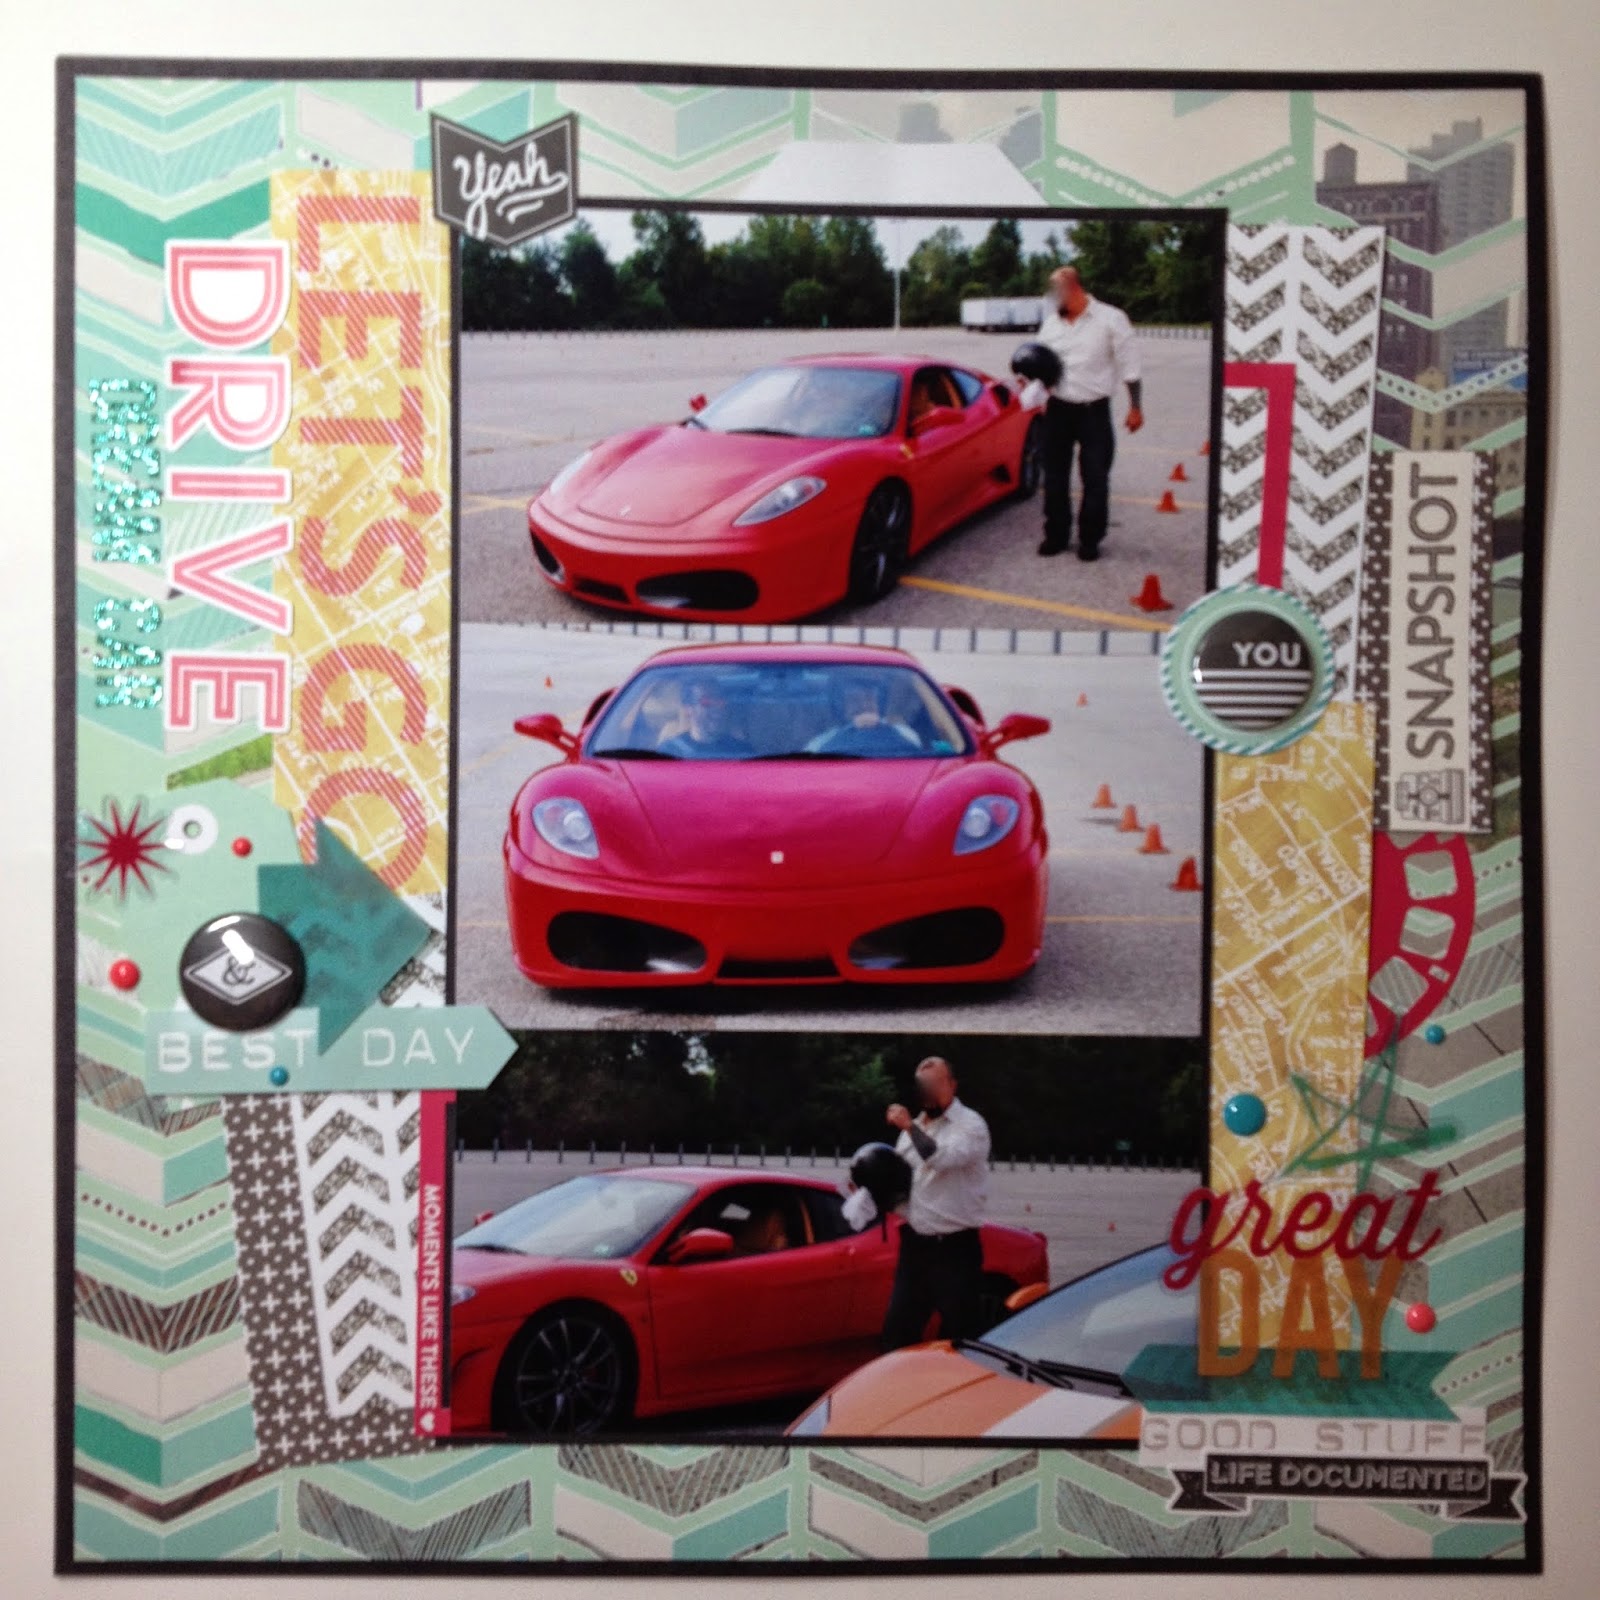
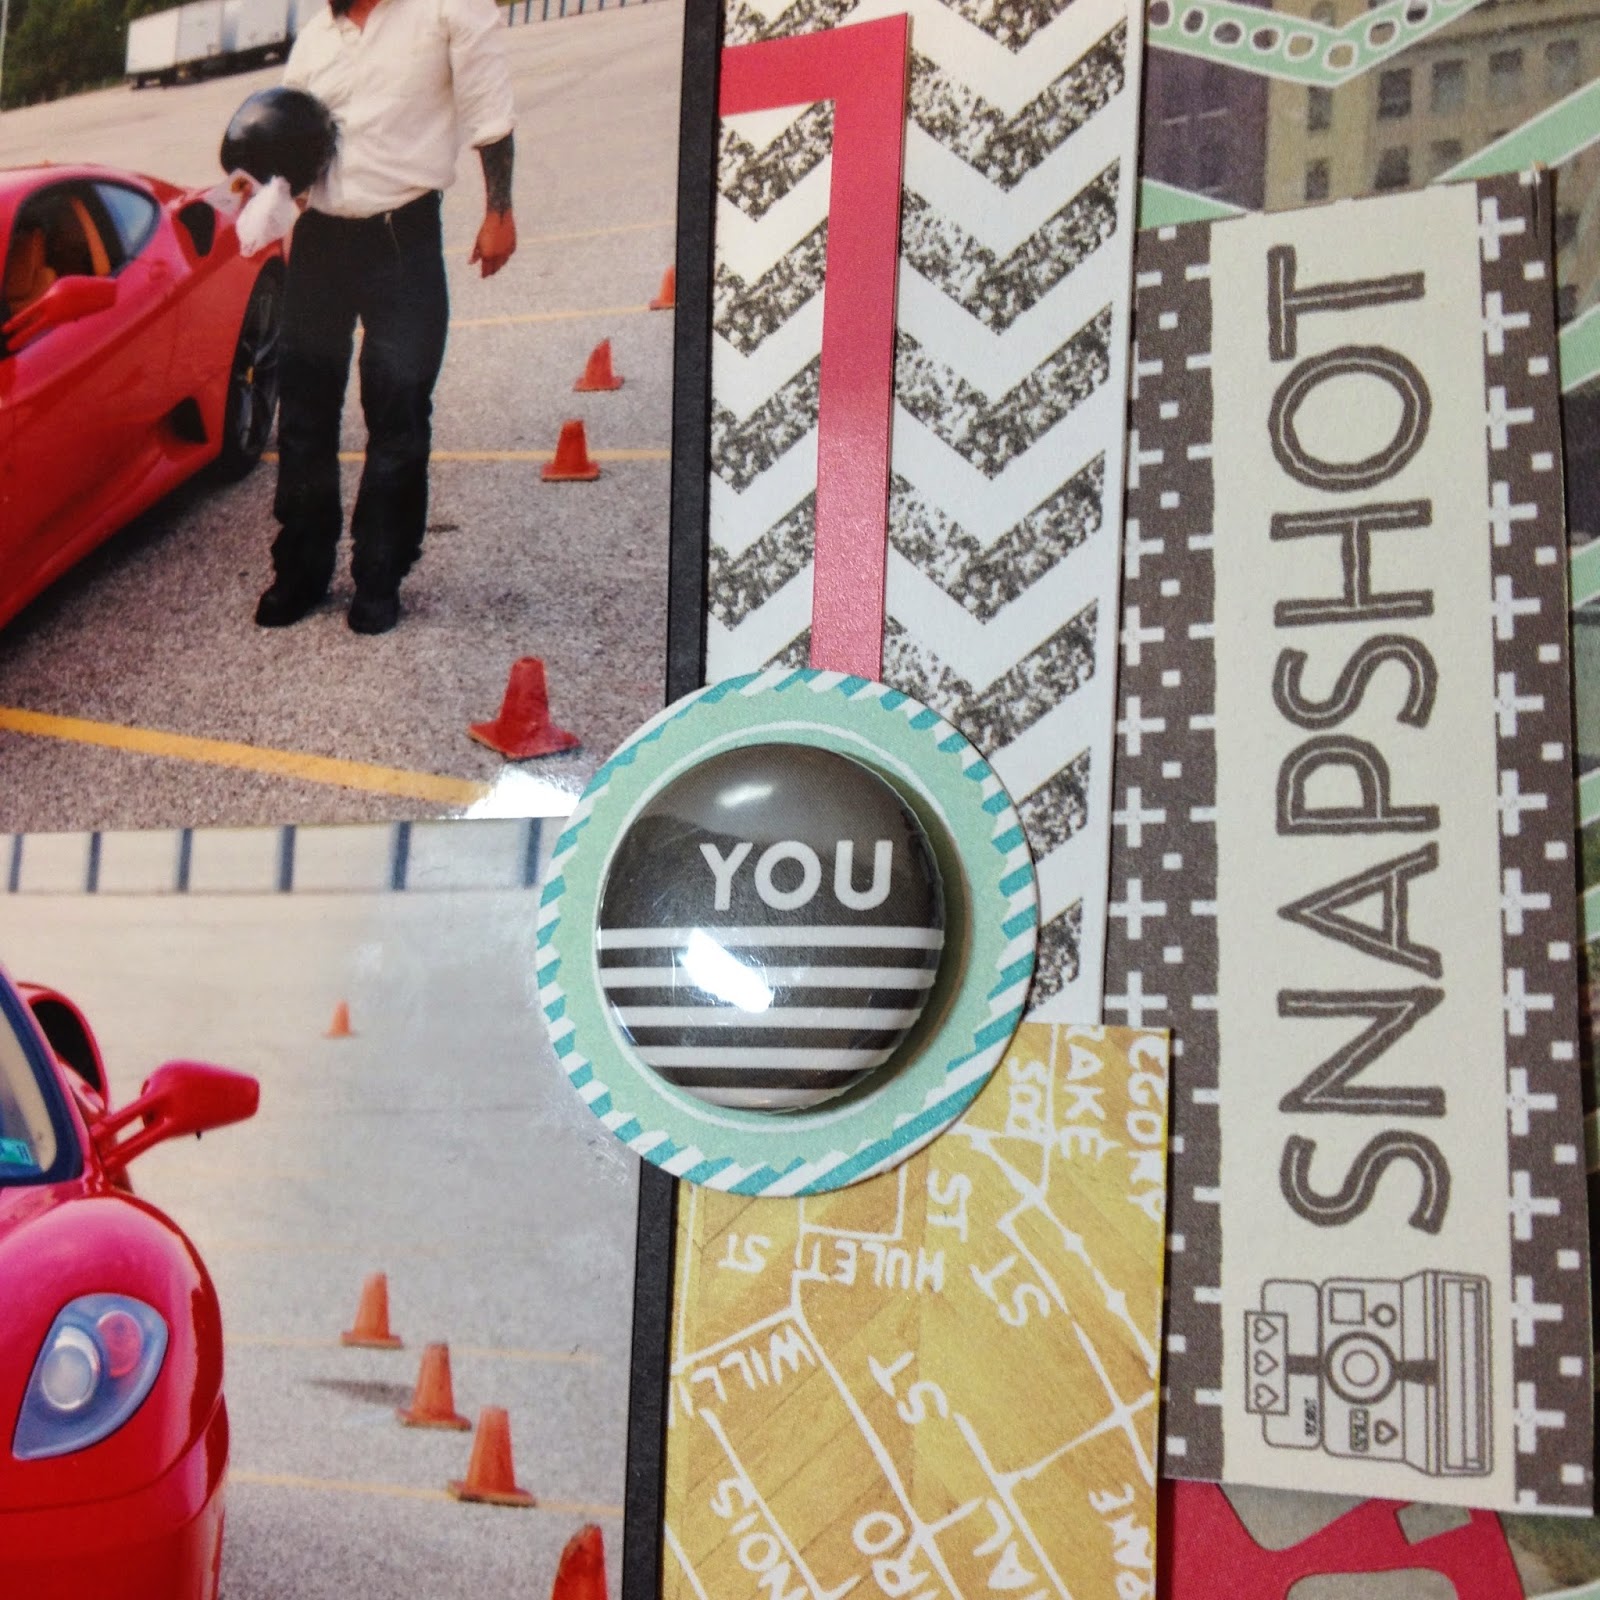
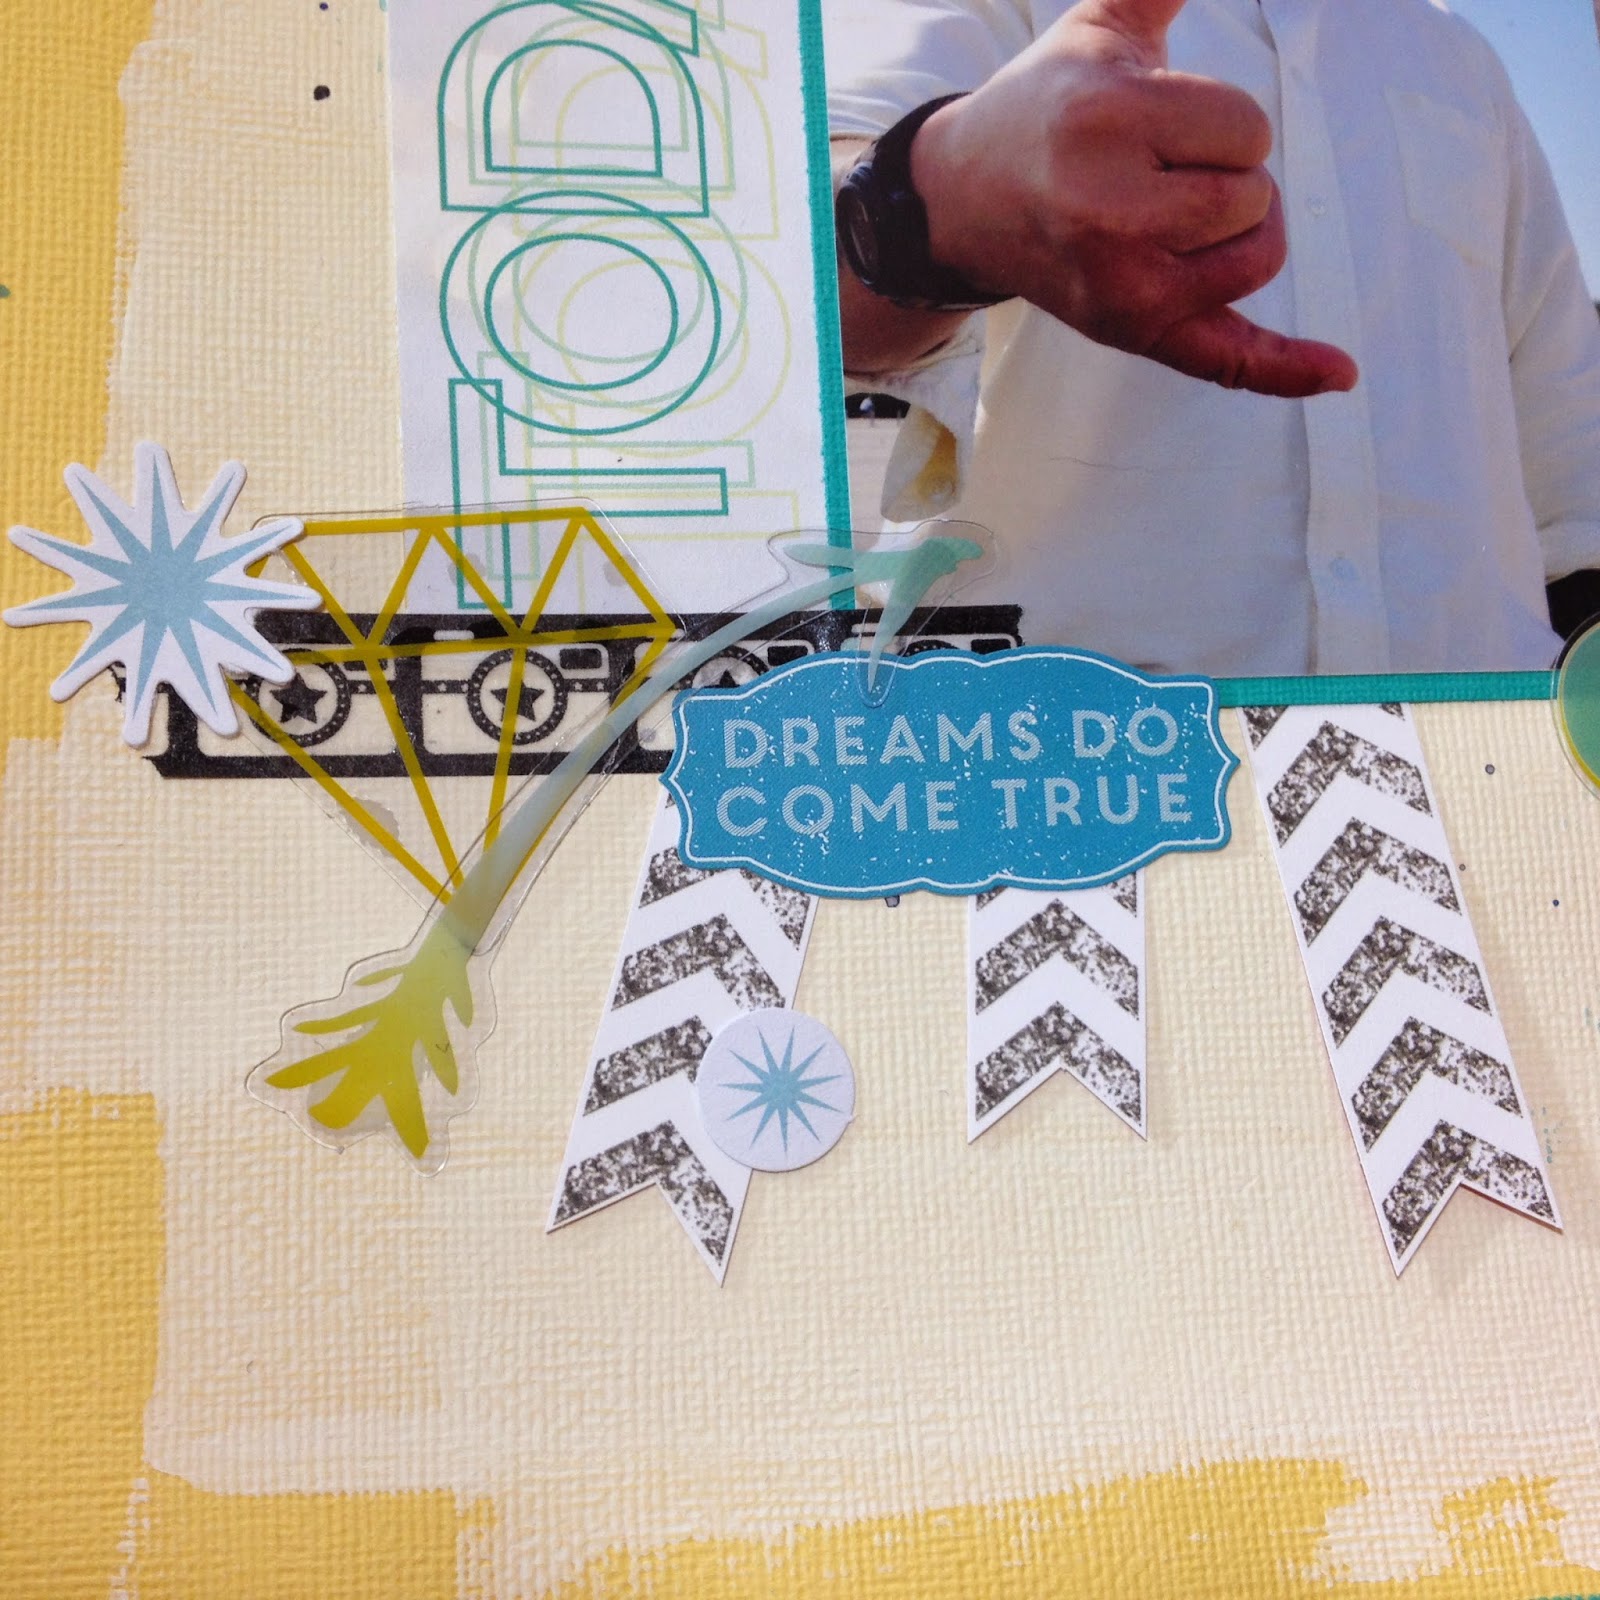
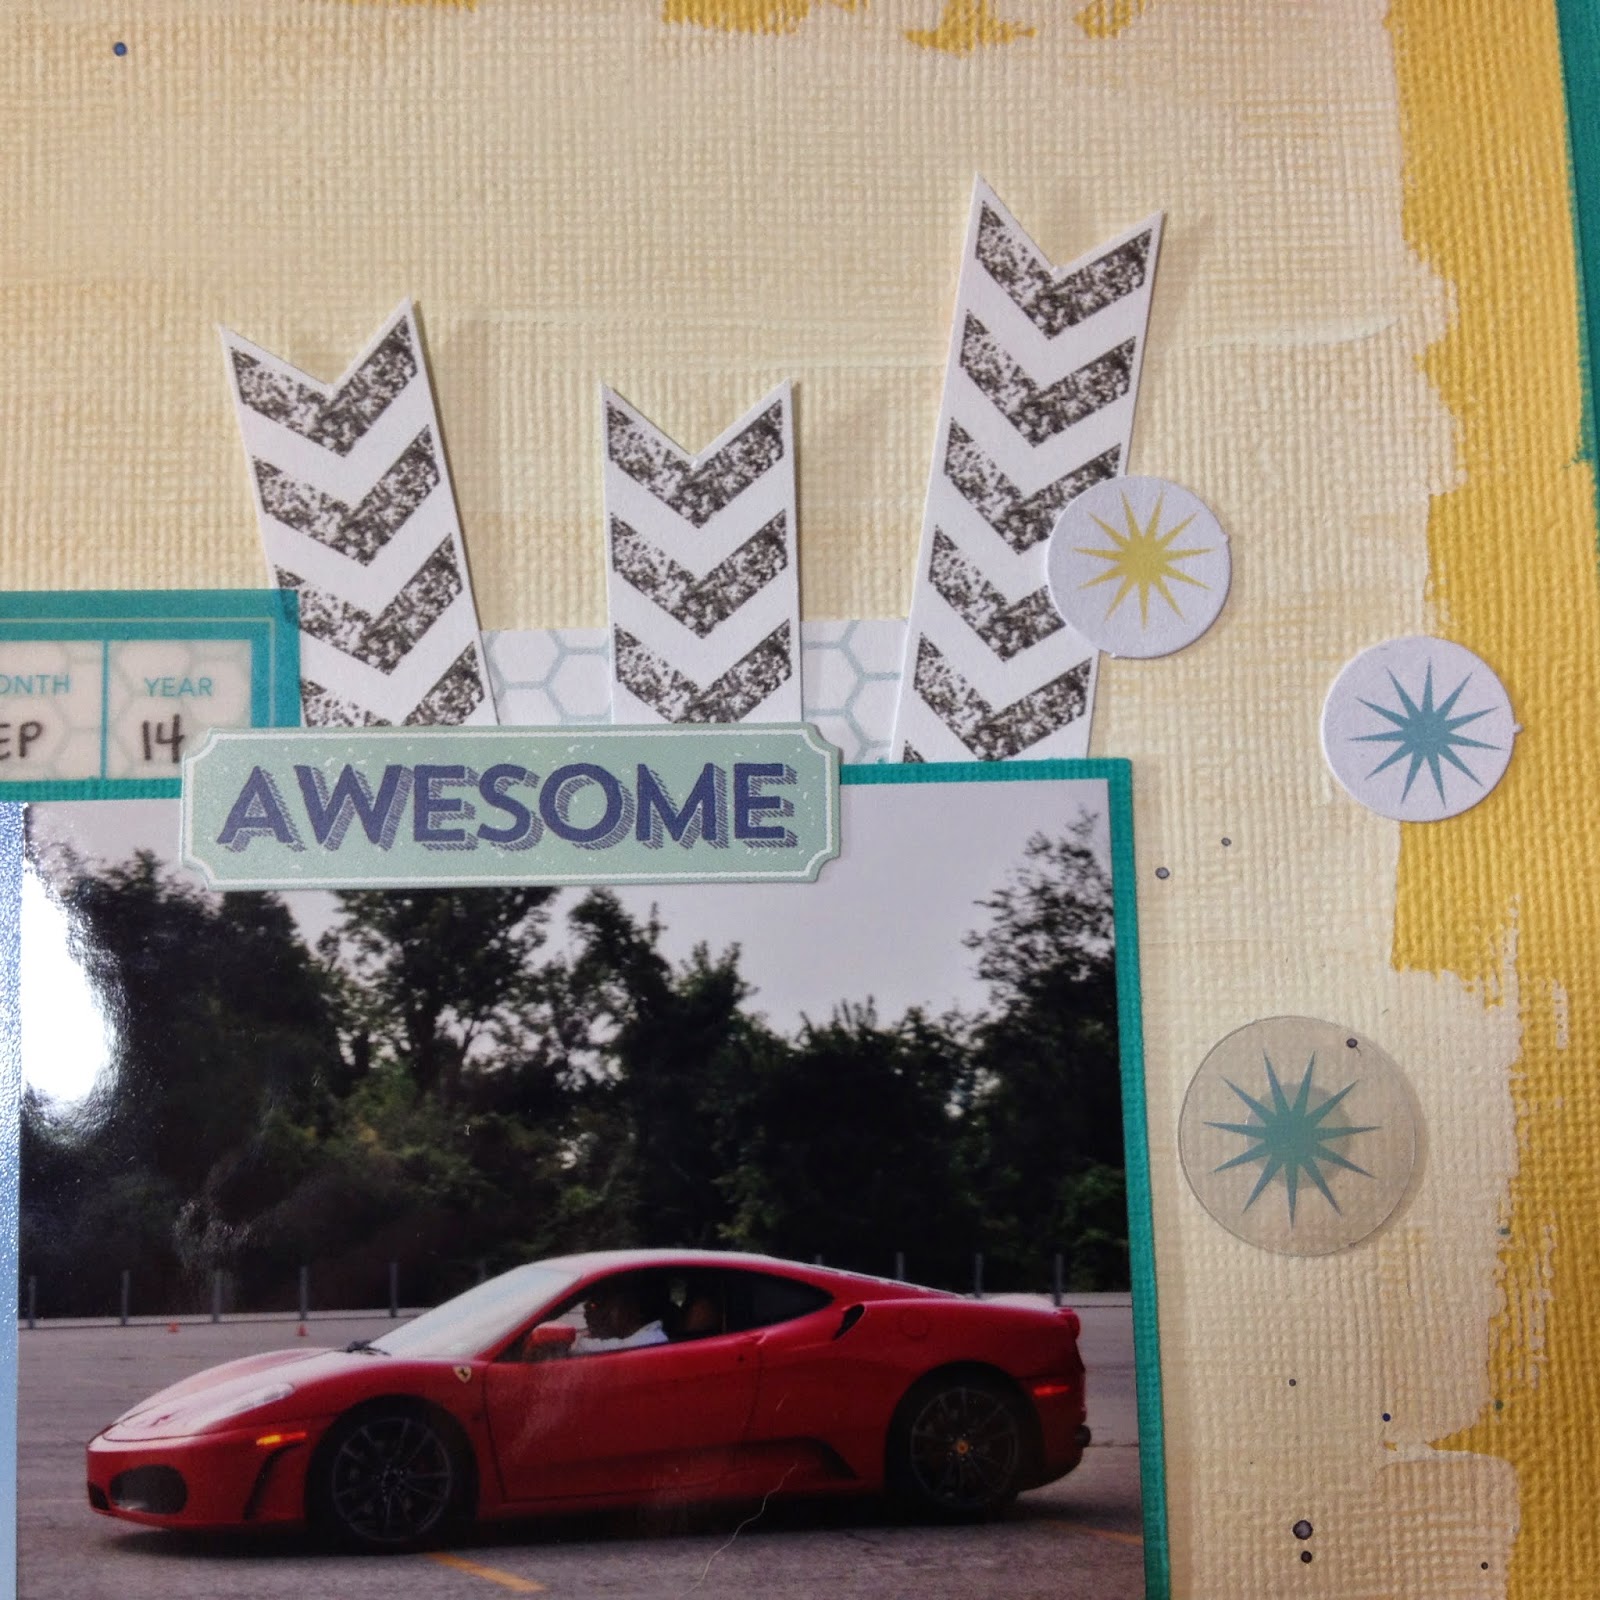
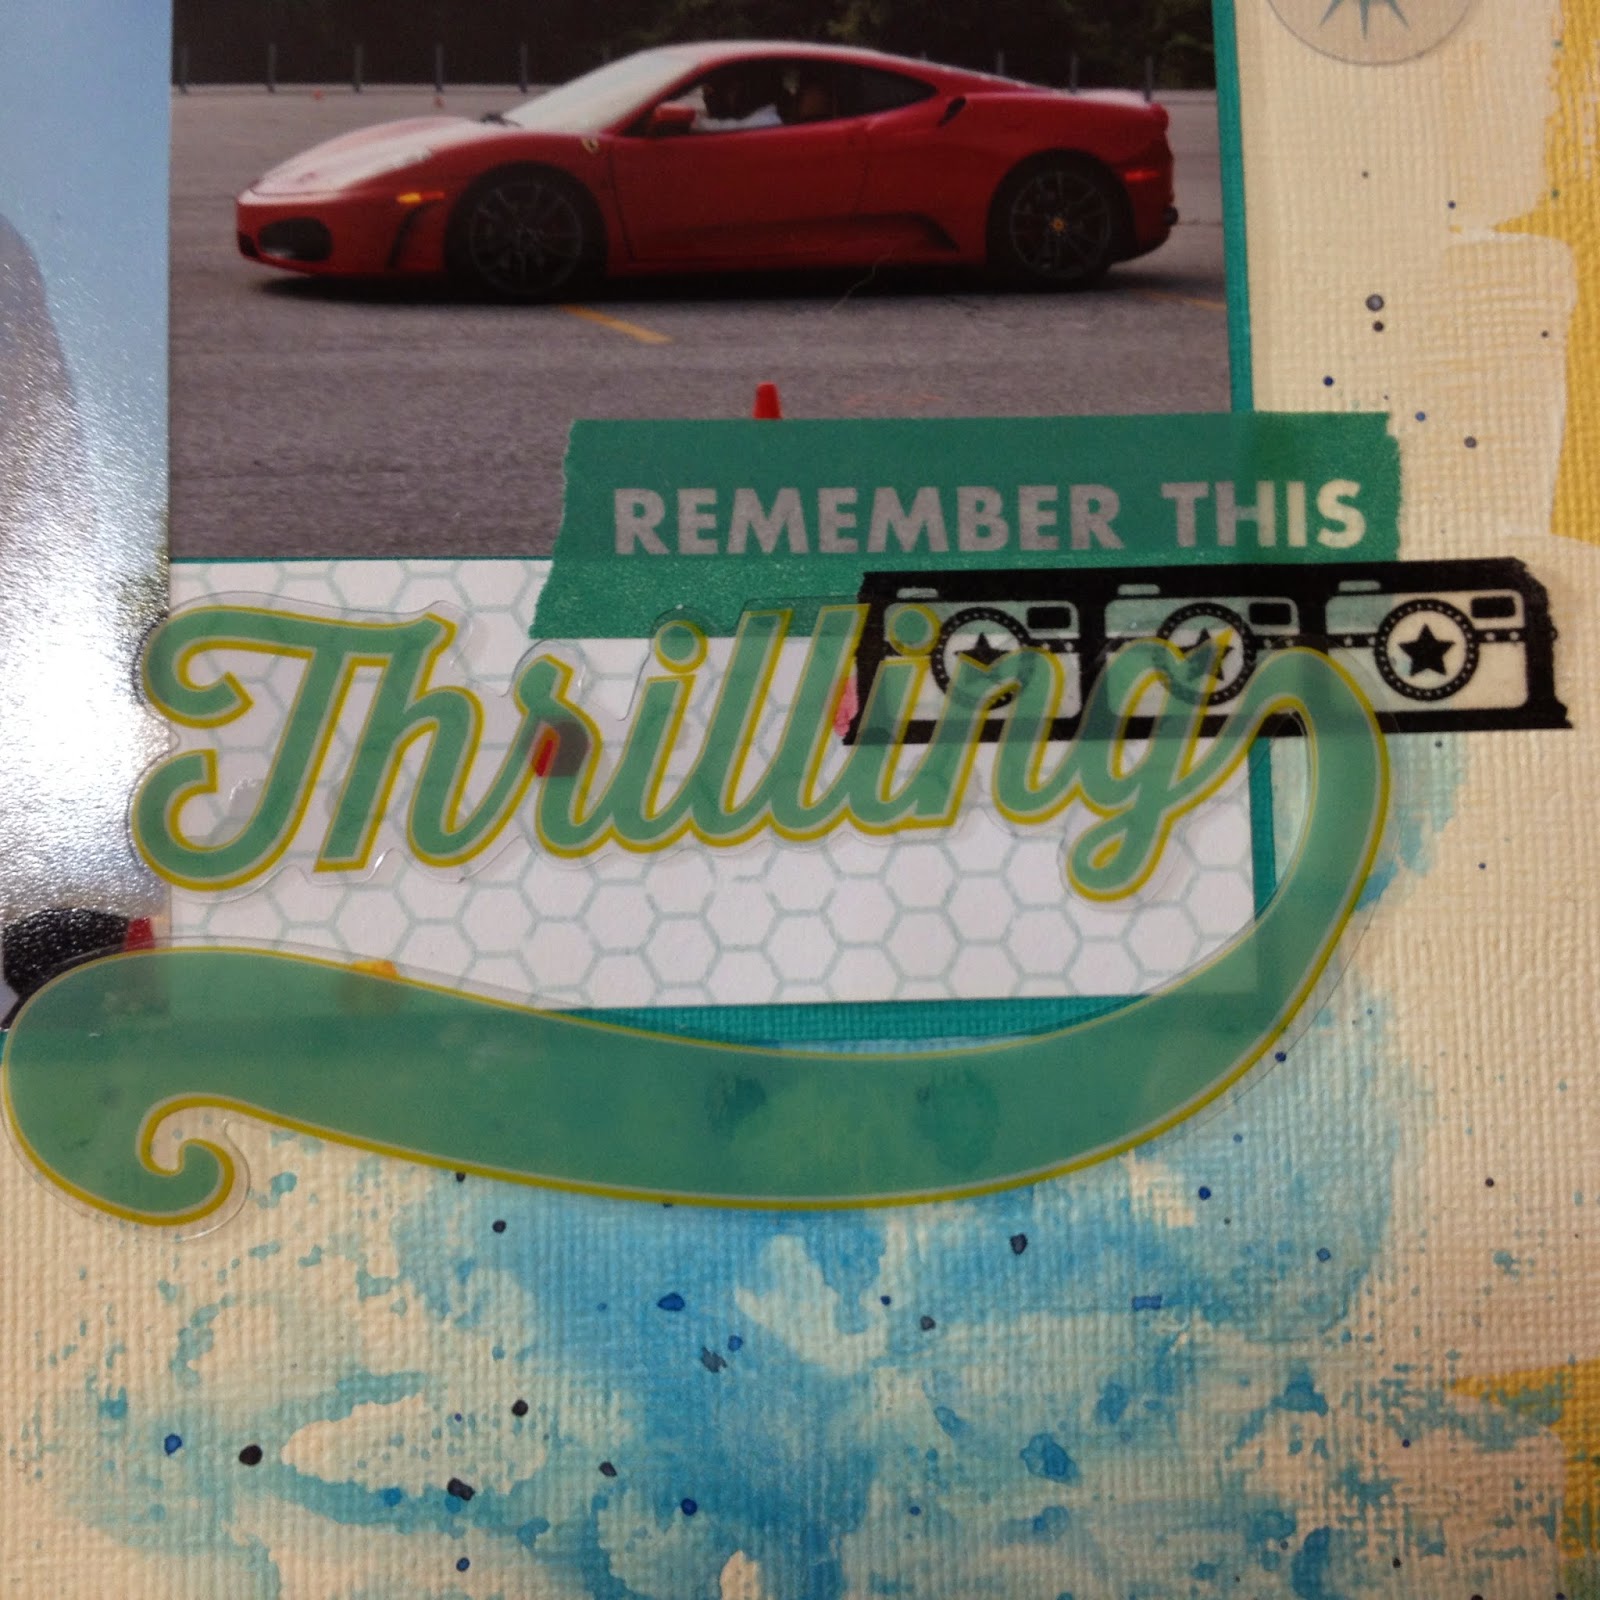
This layout is of my husband's Dream Car drive. He got to drive a Ferarri. He was so excited and has so much fun. So glad I was able to capture this moment. I don't get a lot of pics of my husband so any that I do get I am grateful for.
I made this page using the June Scraptastic Kit - Best Day of My Life. I wanted to include more photos on this layout to tell the entire story so I had added the photos vertically down the page. which left me less room than usual to add my layers and embellishments. I really like how this layout turned out. It is busy, but in a good way.
Here is a overall pic of the layout. I took a piece of patterned paper from the kit and mounted it to black cardstock. I think it helps to bring your eye into the page.
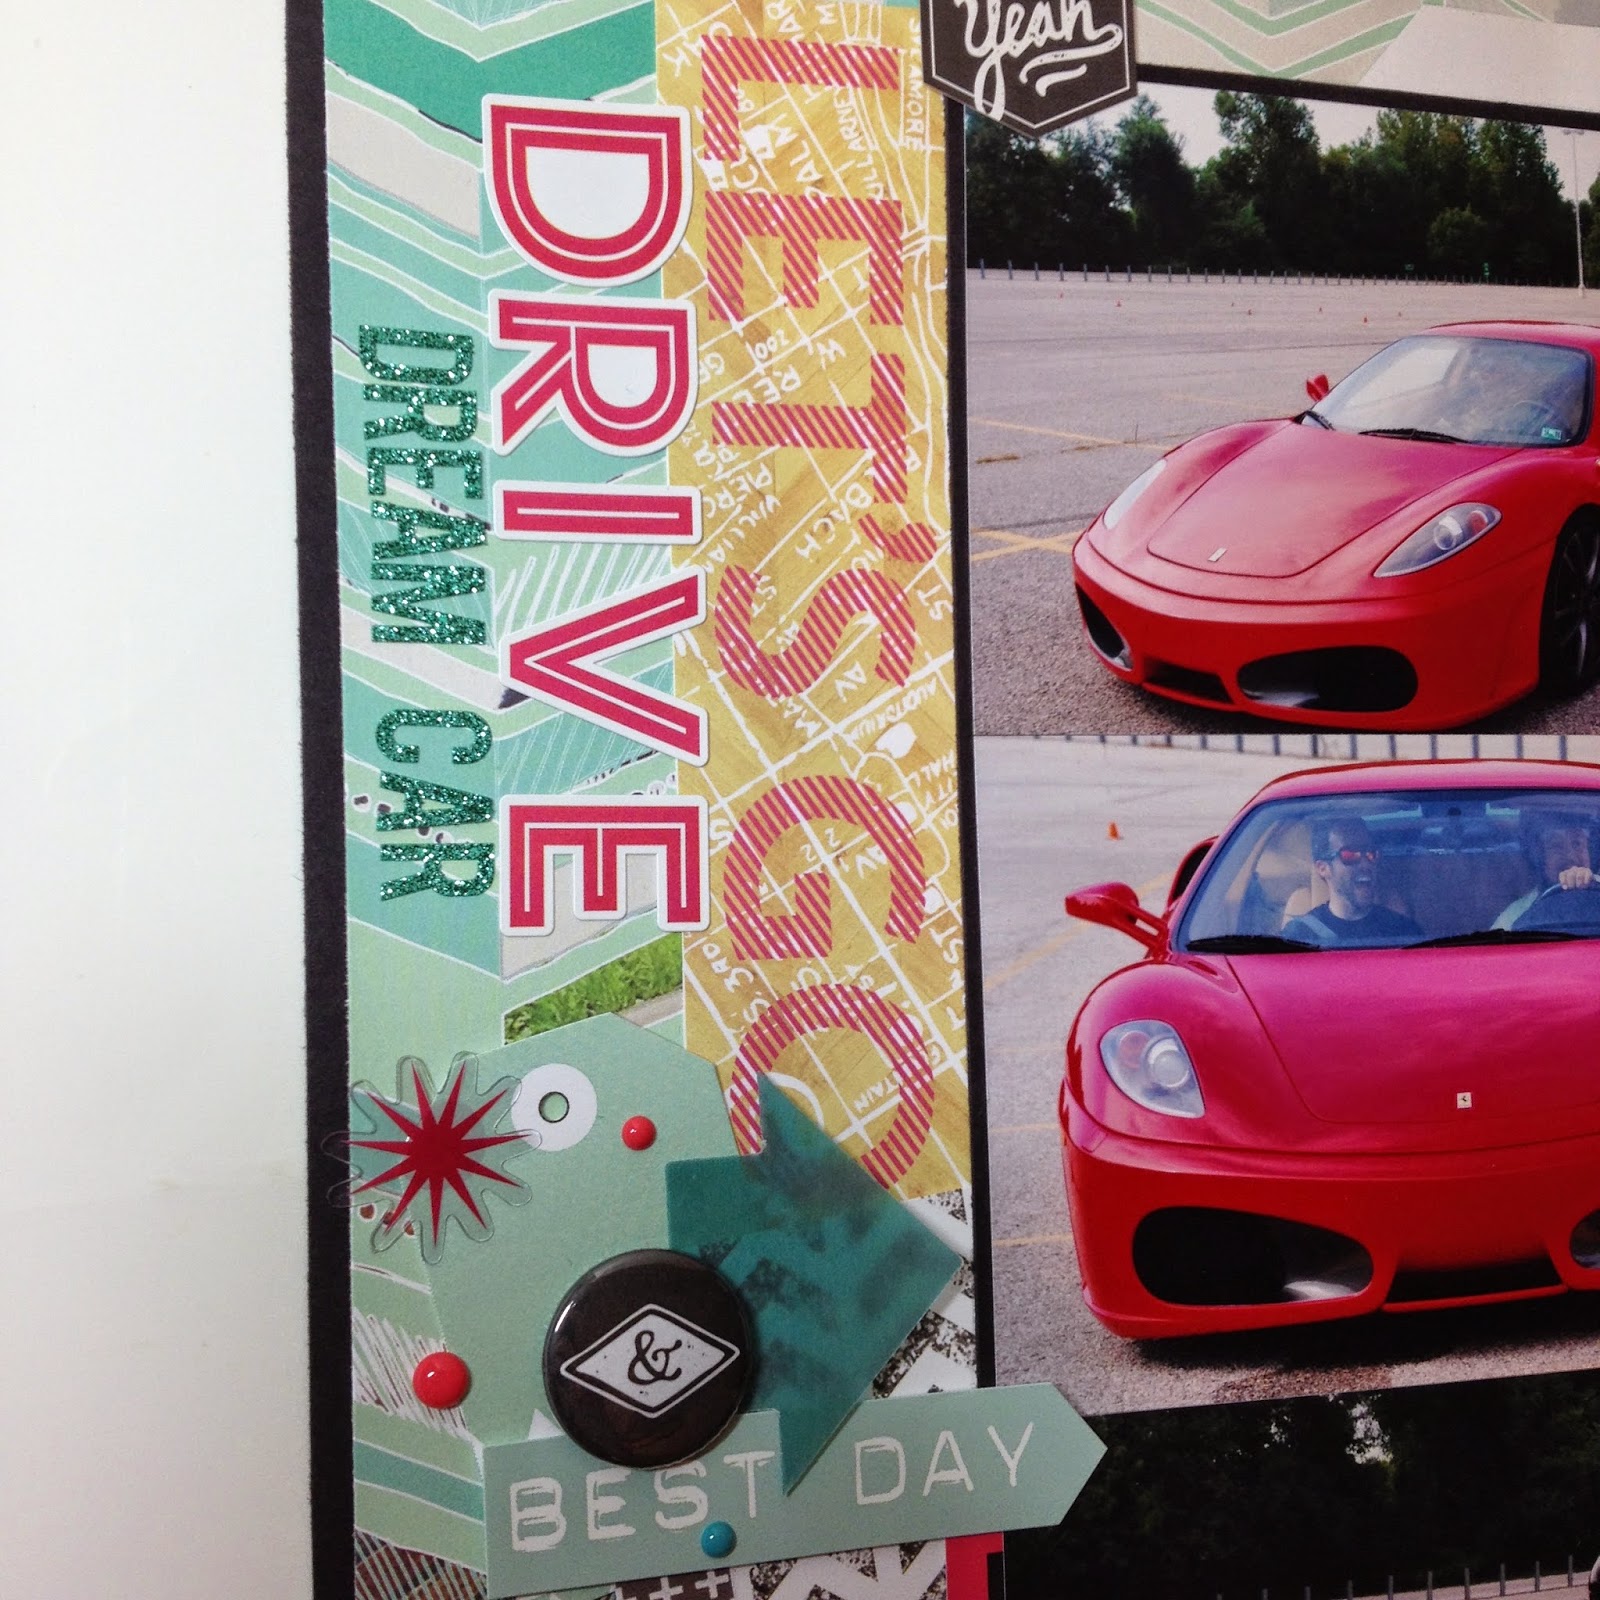
I used a journaling card for part of my title and the "Drive" and "Dream Car" are stickers that came in the kit. Love the sparkly ones from Heidi Swapp.
The rest of the page is filled with stickers, tags, acetate embellishments, flair, and enamel dots.
I added a flair badge that came in the kit on top of one of the stickers. I can't remember what that sticker said, but it didn't apply to the layout so I improvised.
Happy Valentines Day everyone. Hope everyone has something fun planned for this weekend. Not sure what we are getting into, but typically we try to do something after Valentines Day since it is not quite as busy. We may be going out tomorrow night. Anyway, on to the layout.
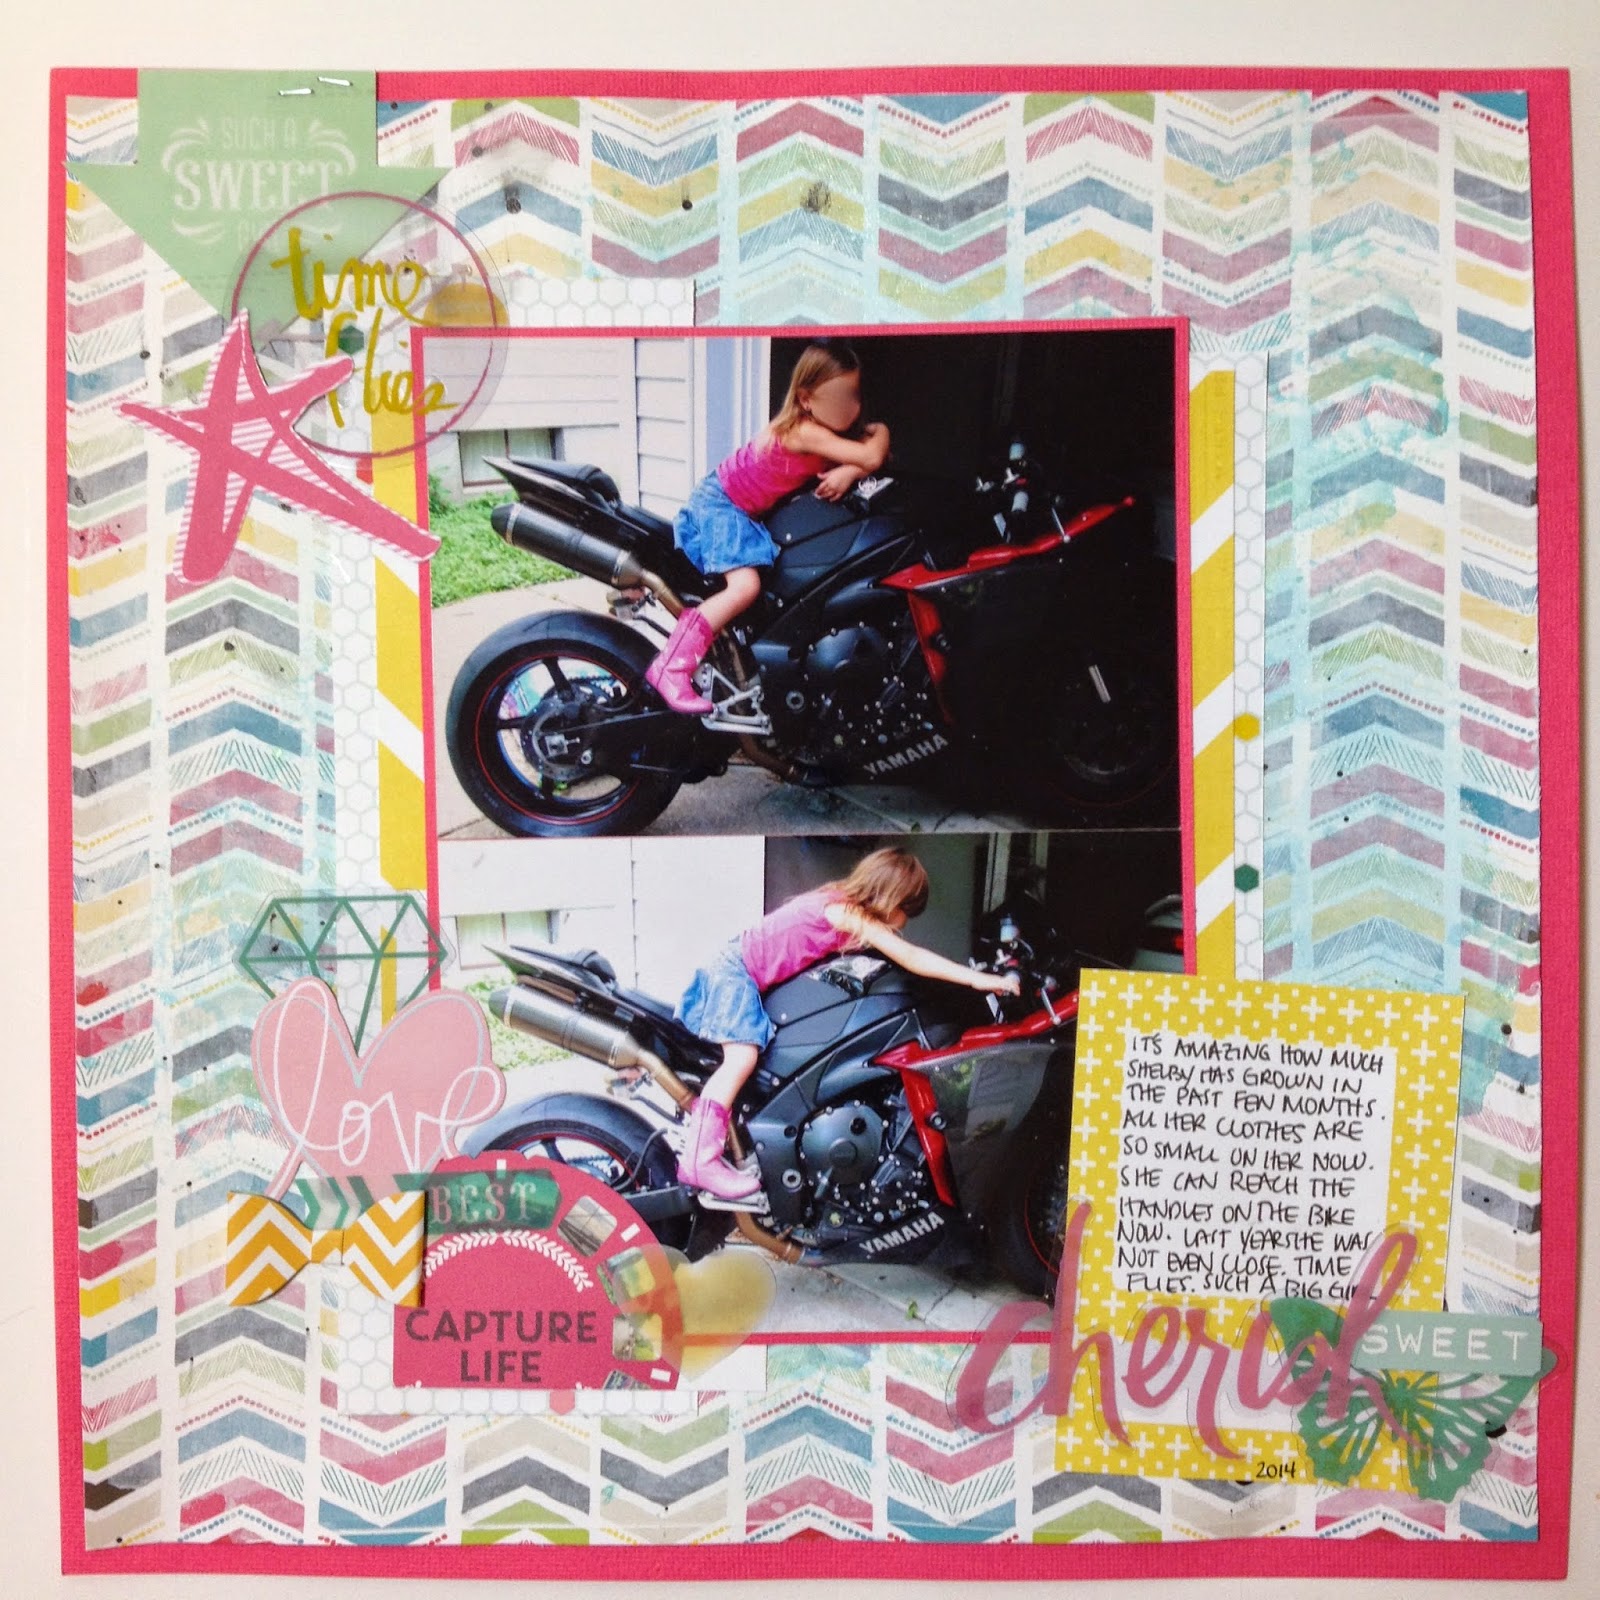
This layout was made using the June 2014 Best Day of My Life Scraptastic kit. I think I have said it before, but I really love the colors in this kit. They are so bright and cheerful. I can't believe how many die-cuts also came in this kit. I think I could probably make about 100 layouts and still have some left...LOL.
I mounted the patterned paper to some of the pink cardstock that came in the kit and put a very light coating of gesso over the patterned paper to mute it just slightly. It also allows the mists that I added to flow over the page better and not just immediately sink into the paper. For a final touch, I added a few drops of black water color.
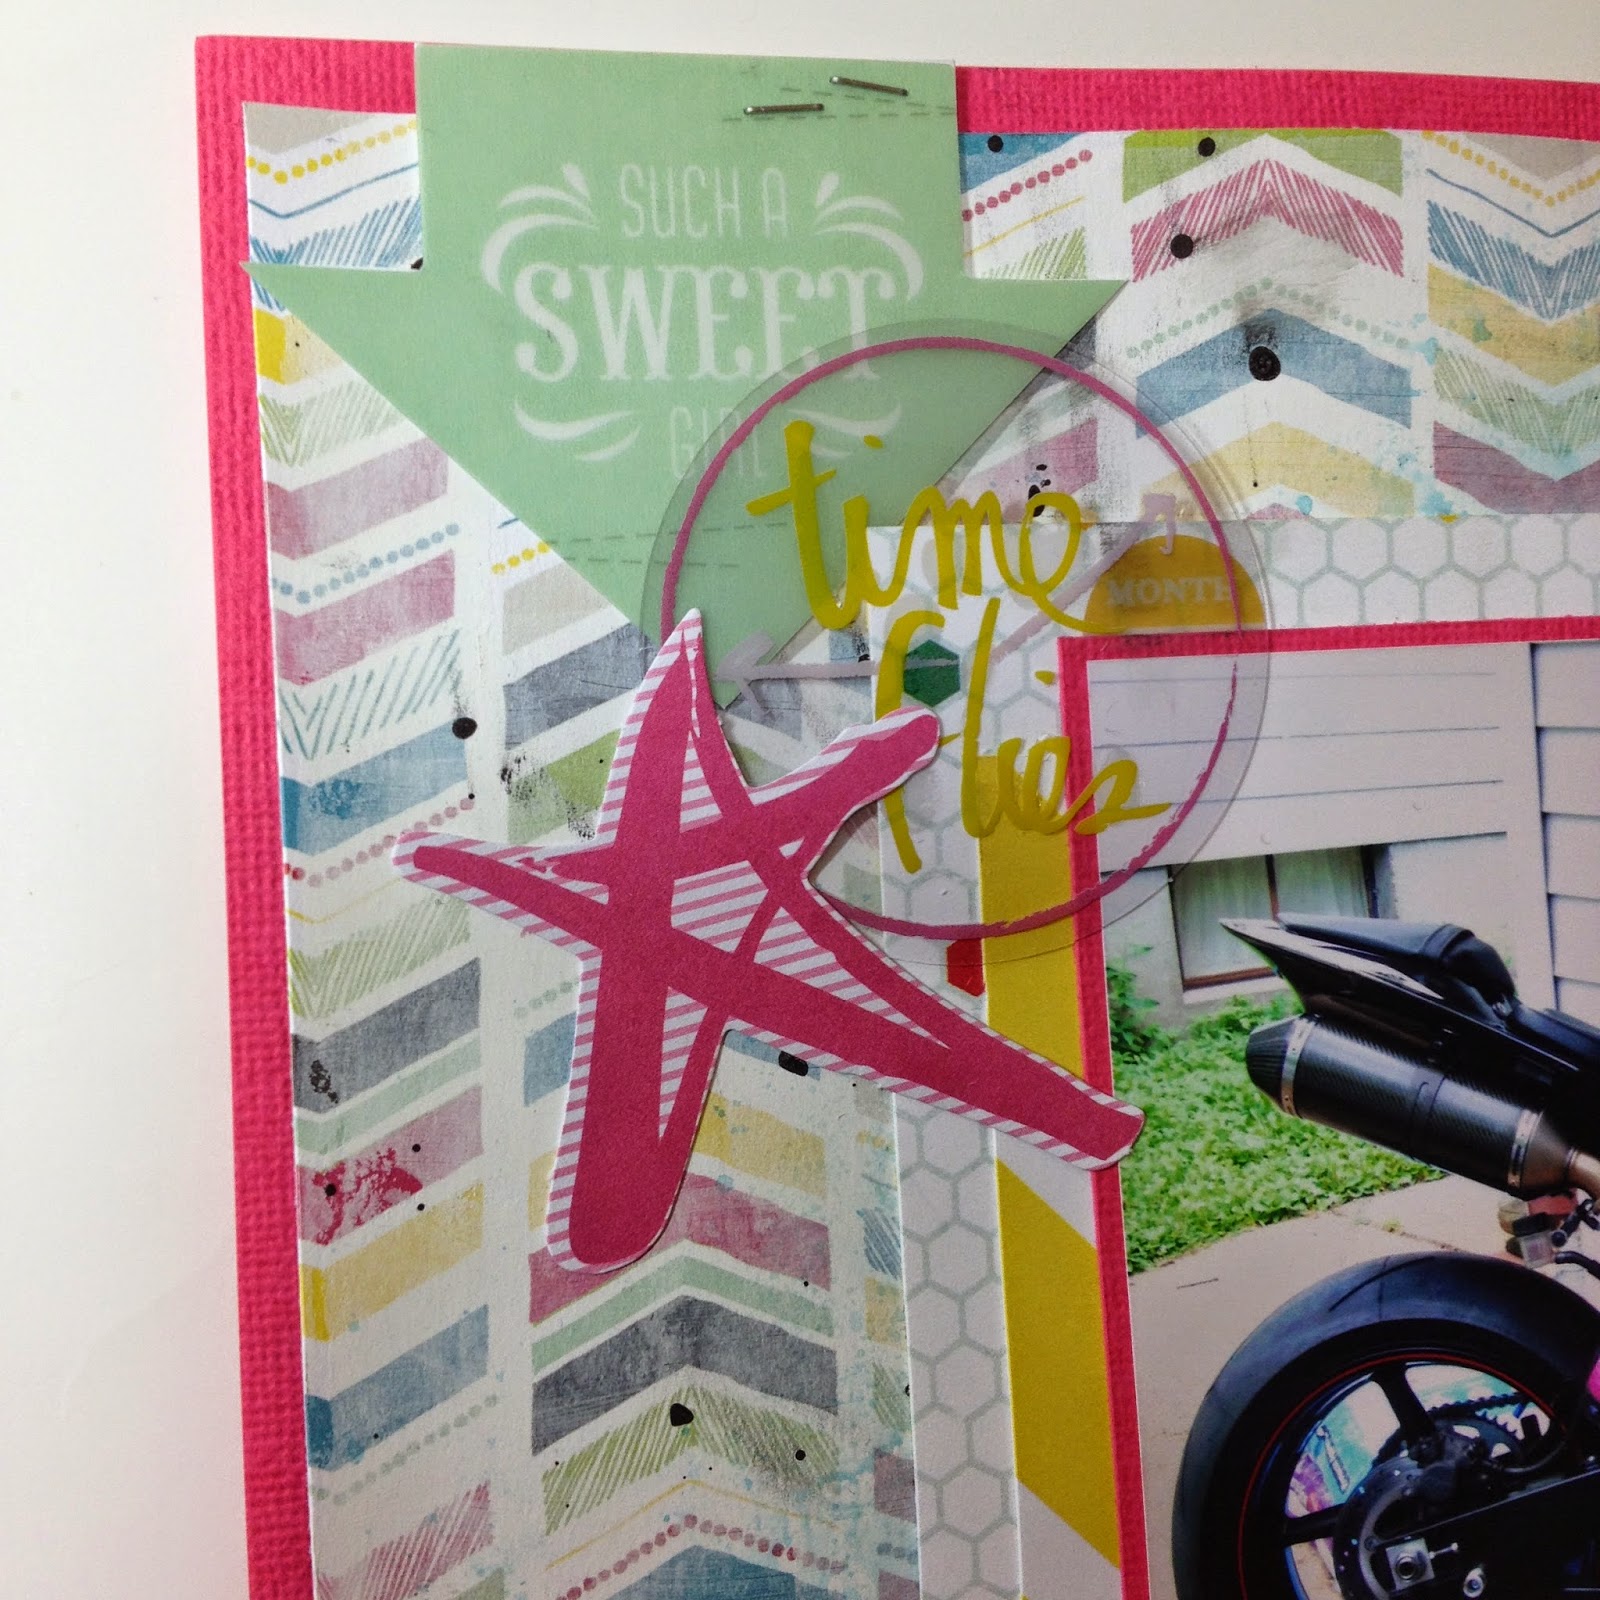
The picture is of my daughter sitting on my husbands motorcycle. He so wants her to ride when she gets bigger, but for now, he just takes her around the block.
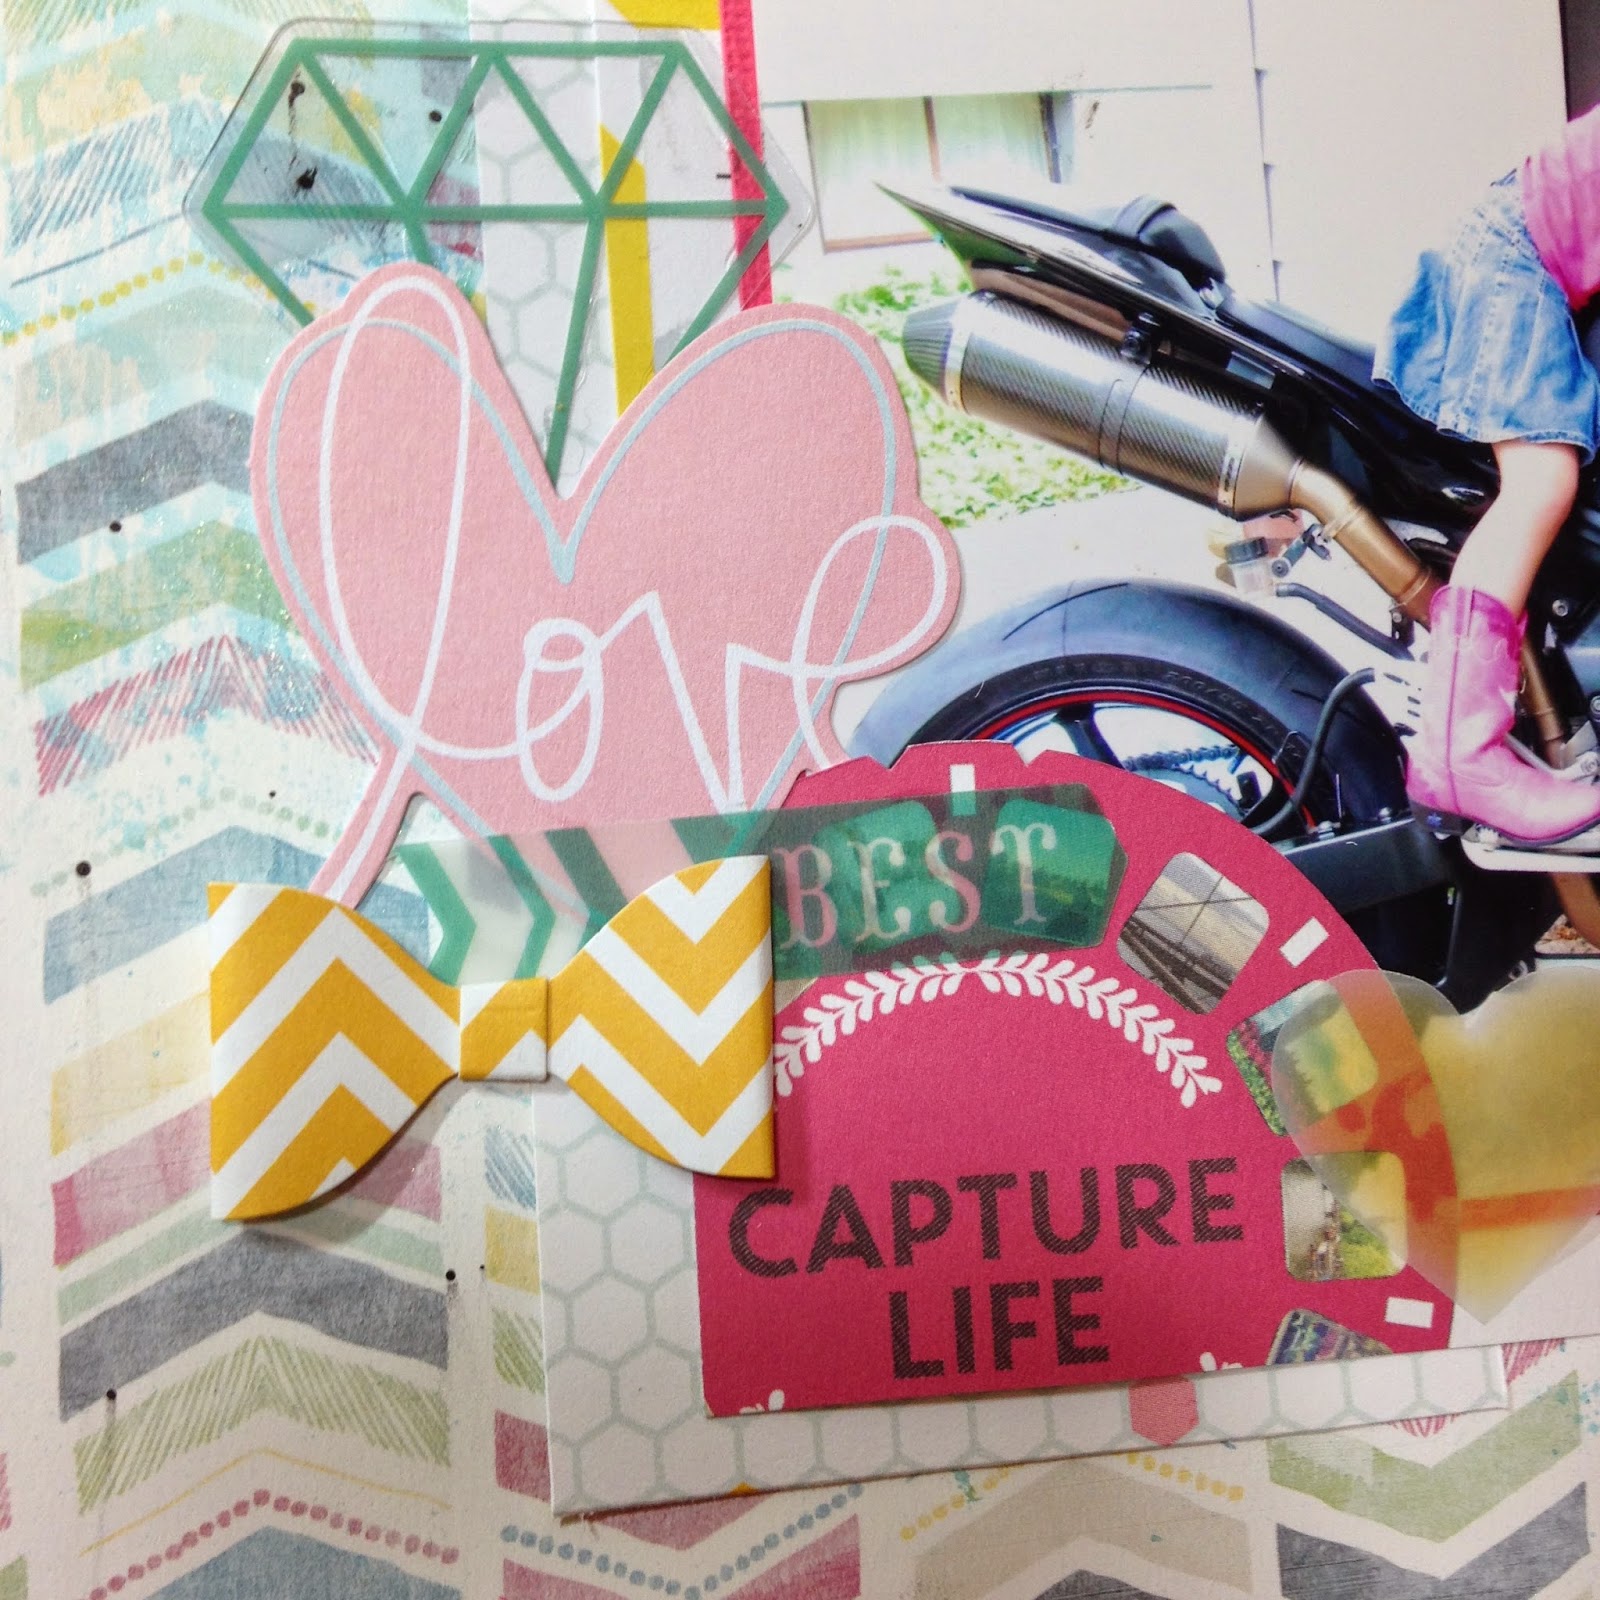
For this layout I layered the paper and acetate die-cuts from the kit around the page. I like the combination of the two styles of die-cuts and how you can see through the acetate. It makes the layers not look so heavy.
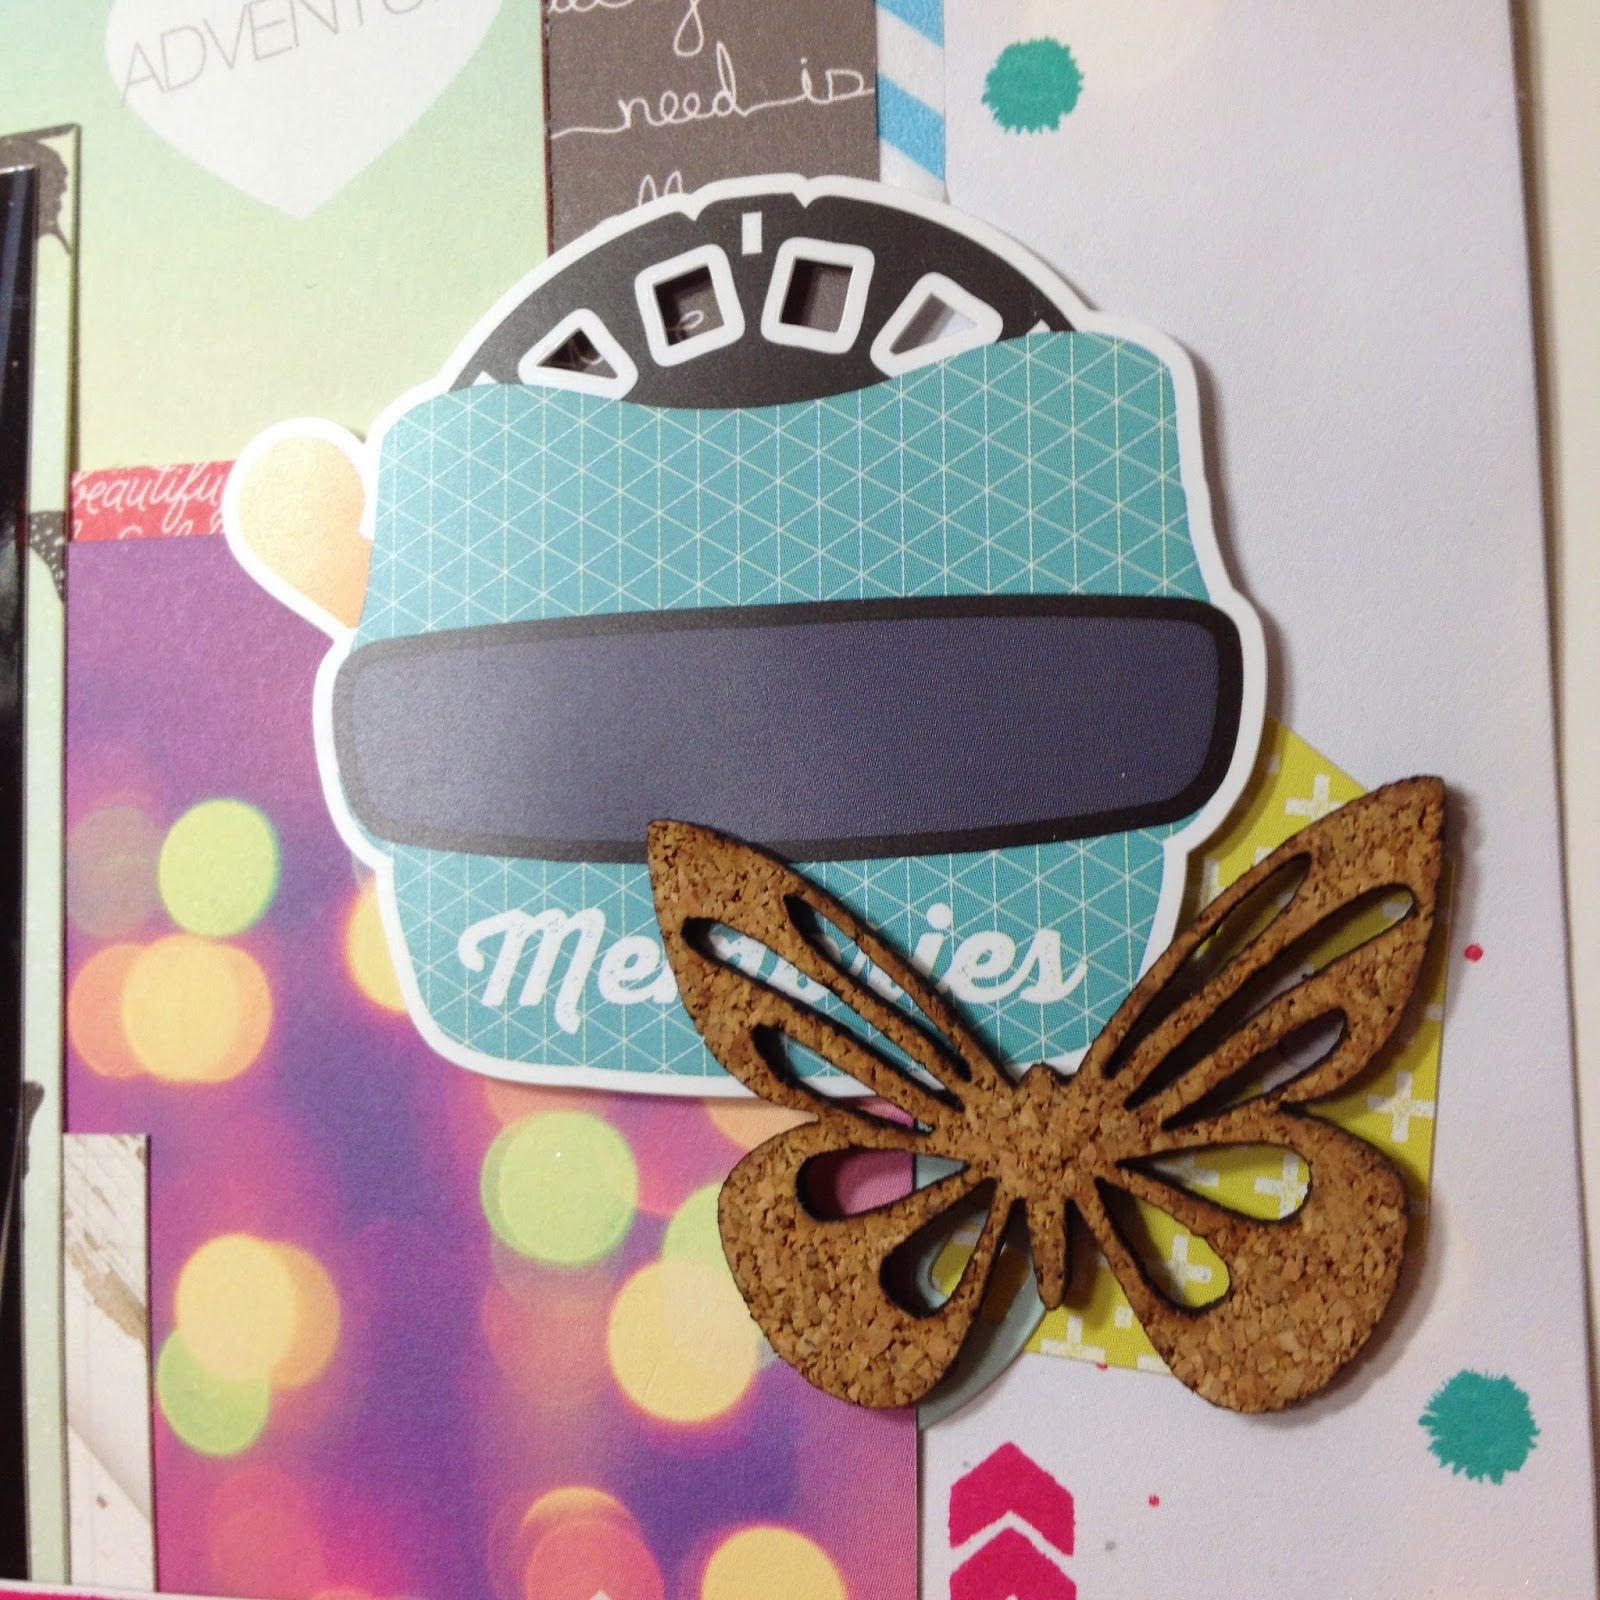
I love the paper bows that came in this kit as well. So cute. I am also a sucker for the view finders. Brings me back to my childhood.
Today I have a new process video to share. This is a layout that I did as part of a Facebook challenge over at the Victoria Marie Facebook group. If you would like to check the group out, here is the link.
The challenge was to use a sketch and complete a layout in 30 min. Although I did not complete the layout in 30 min, I did have fun using scraps from my stash.
Here is the sketch (we didn't have to use this sketch, it was just supposed to be a grid, but I really liked it so I stuck with it).
The squares are 2x2 and the picture is 4x4. All squares are inked in Tim Holtz - Pumice Stone. Here is a picture of the overall layout:
If you would like to see the process, here is the YouTube video.
Here are some pics of the embellishment clusters. The chipboard pieces are from My Minds Eye, the gold banner, gold circle with the heart, and the white label with gold is all from the Theresa Collins Studio Gold collection. The enamel dots are ones I made, the cork is from Studio Calico, and the puffy stickers are from Amy Tangerine (I think).
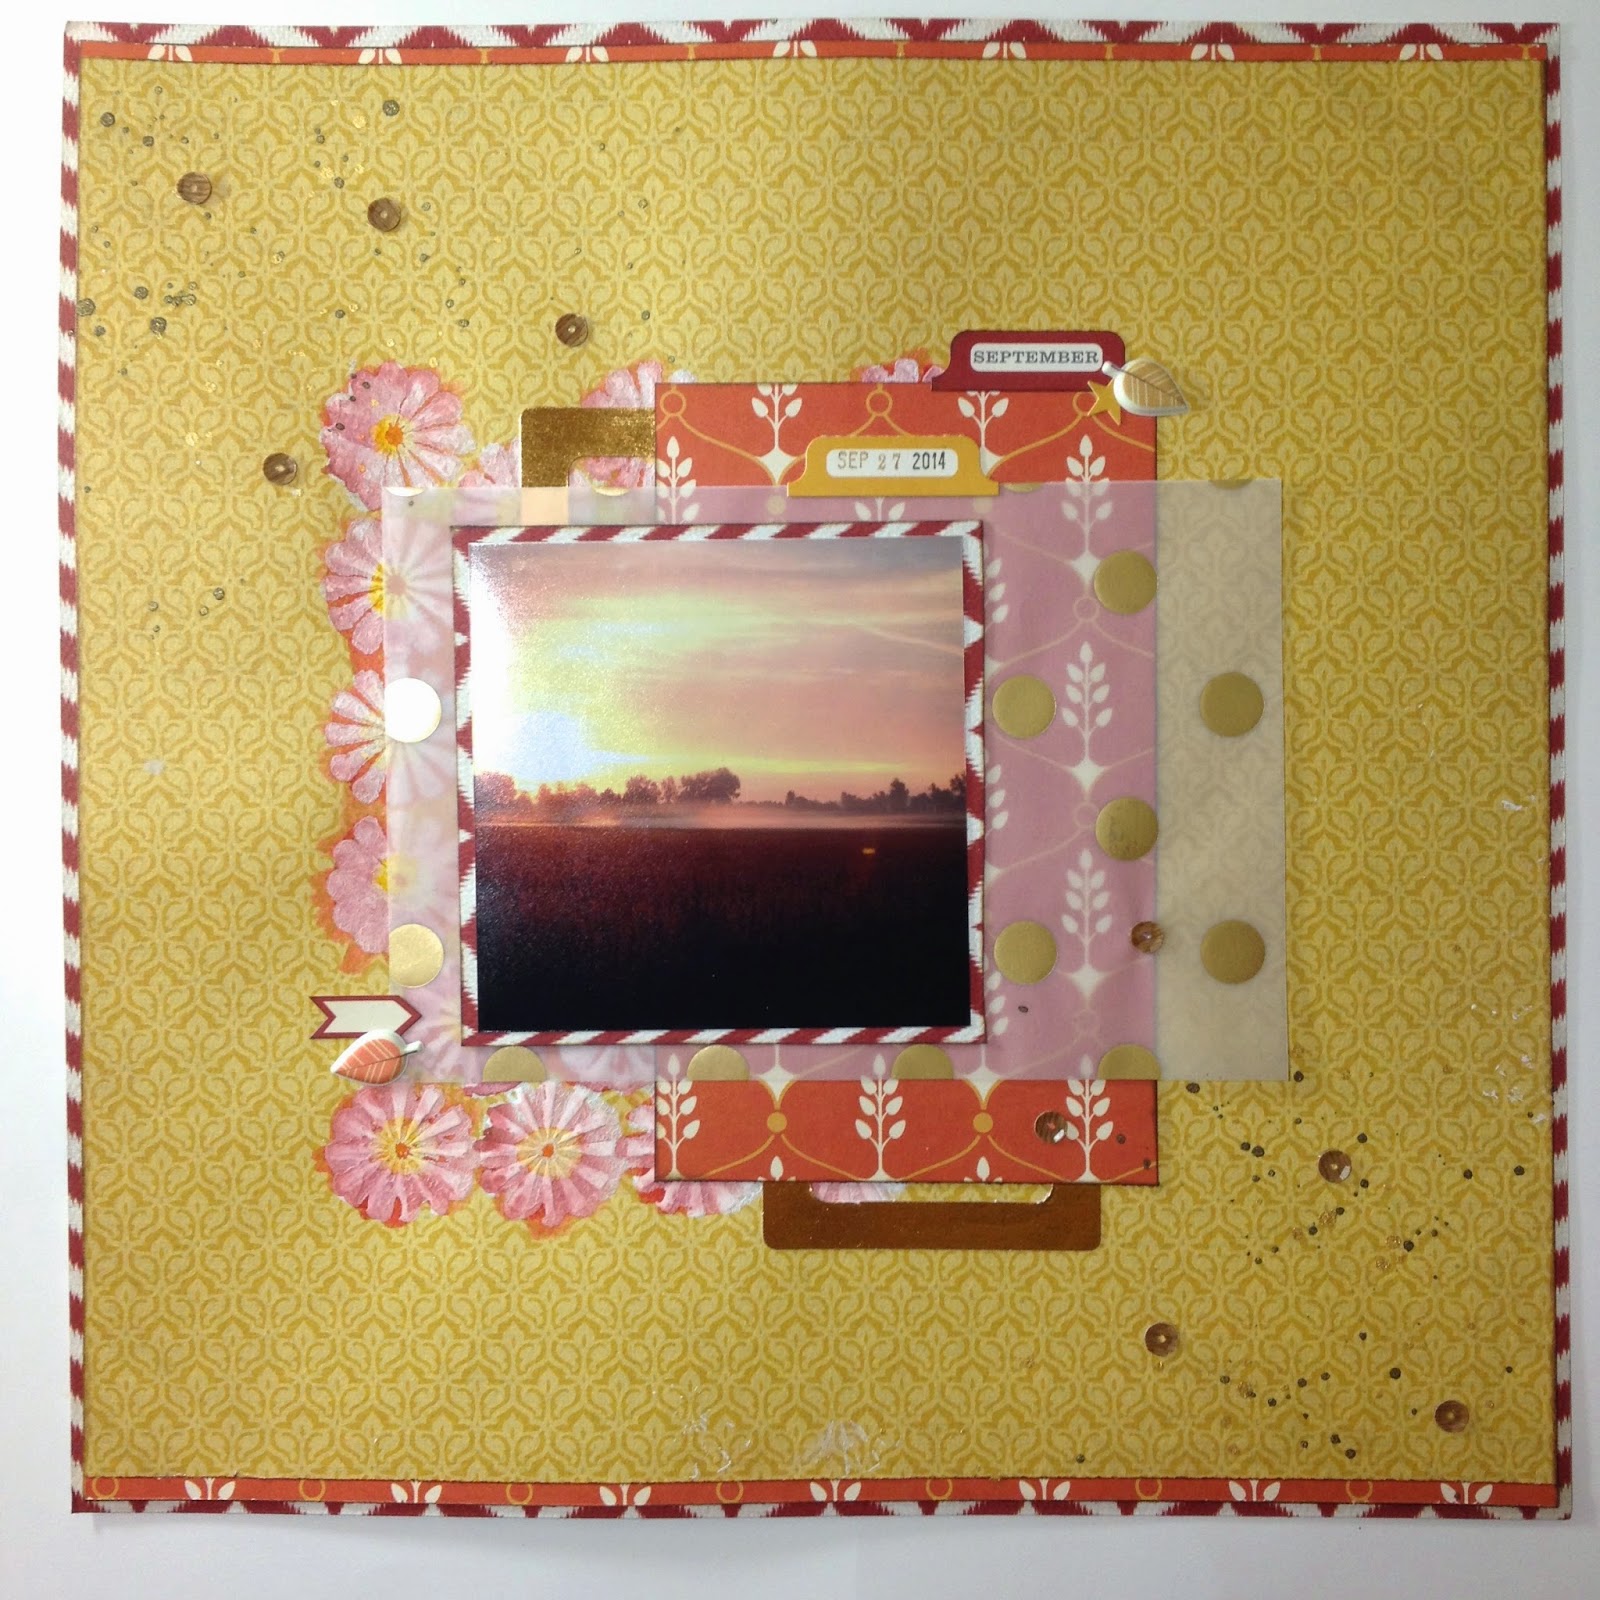
Welcome back. Today I wanted to scrapbook something a little different. It was a picture of the sunrise on my way to a 5K run. I used mostly items form the November 2013 Home Scraptastic kit.
I used multiple layers of pattern paper as the background to bring your eye into the page.
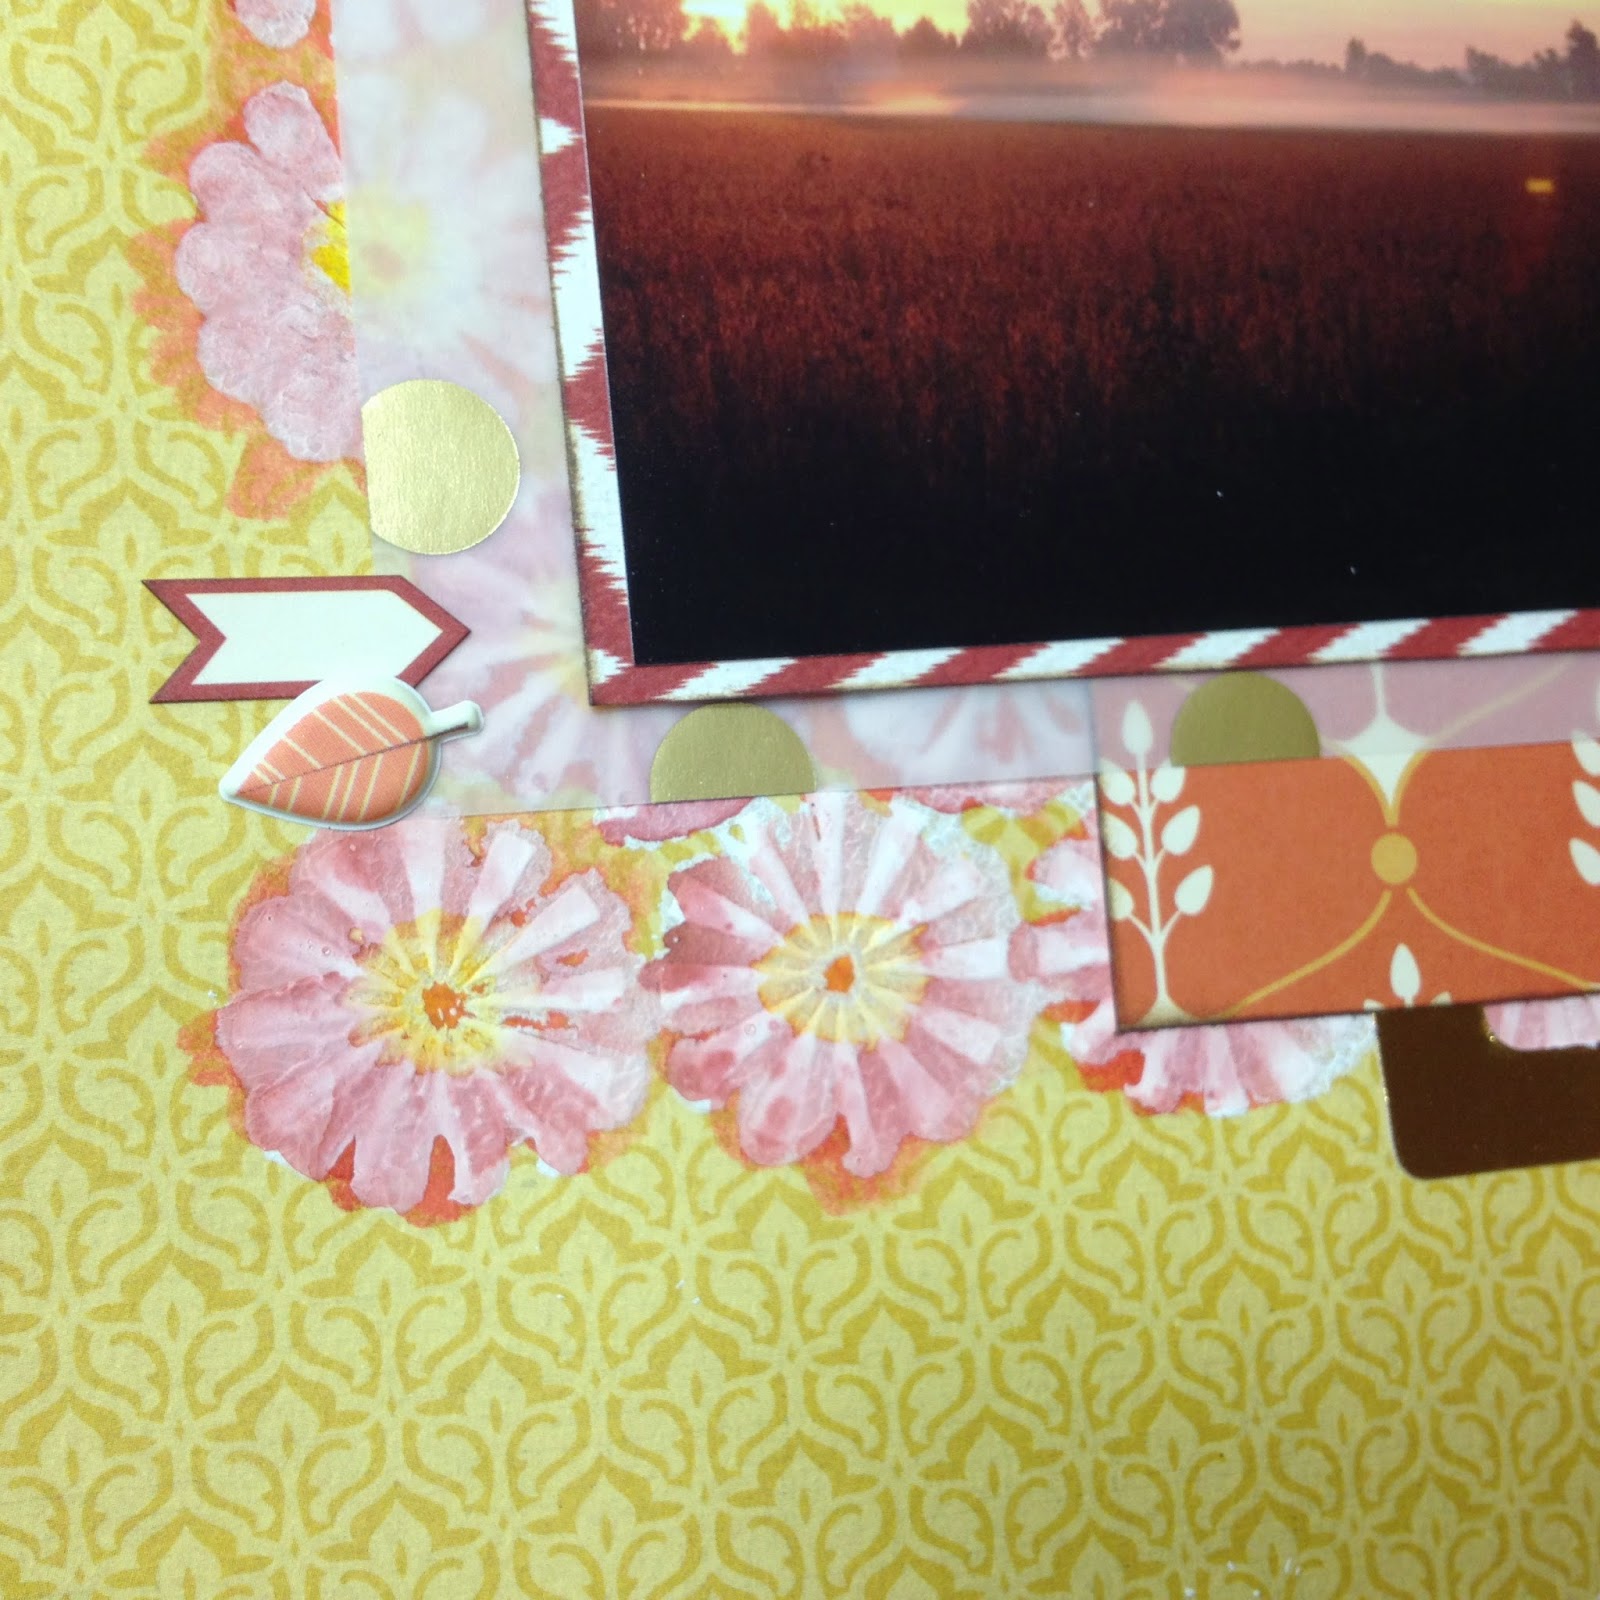
For the starbursts, I used a stencil and gesso. The gesso bled through the stencil pretty badly and I didn't like it much, but after adding the water color on top, it ended up turning out pretty neat. In this layout I also kept the layering pretty simple. I just added a few puffy stickers from the kit and a few die cuts. I inked all of the edges of the paper in brown ink.
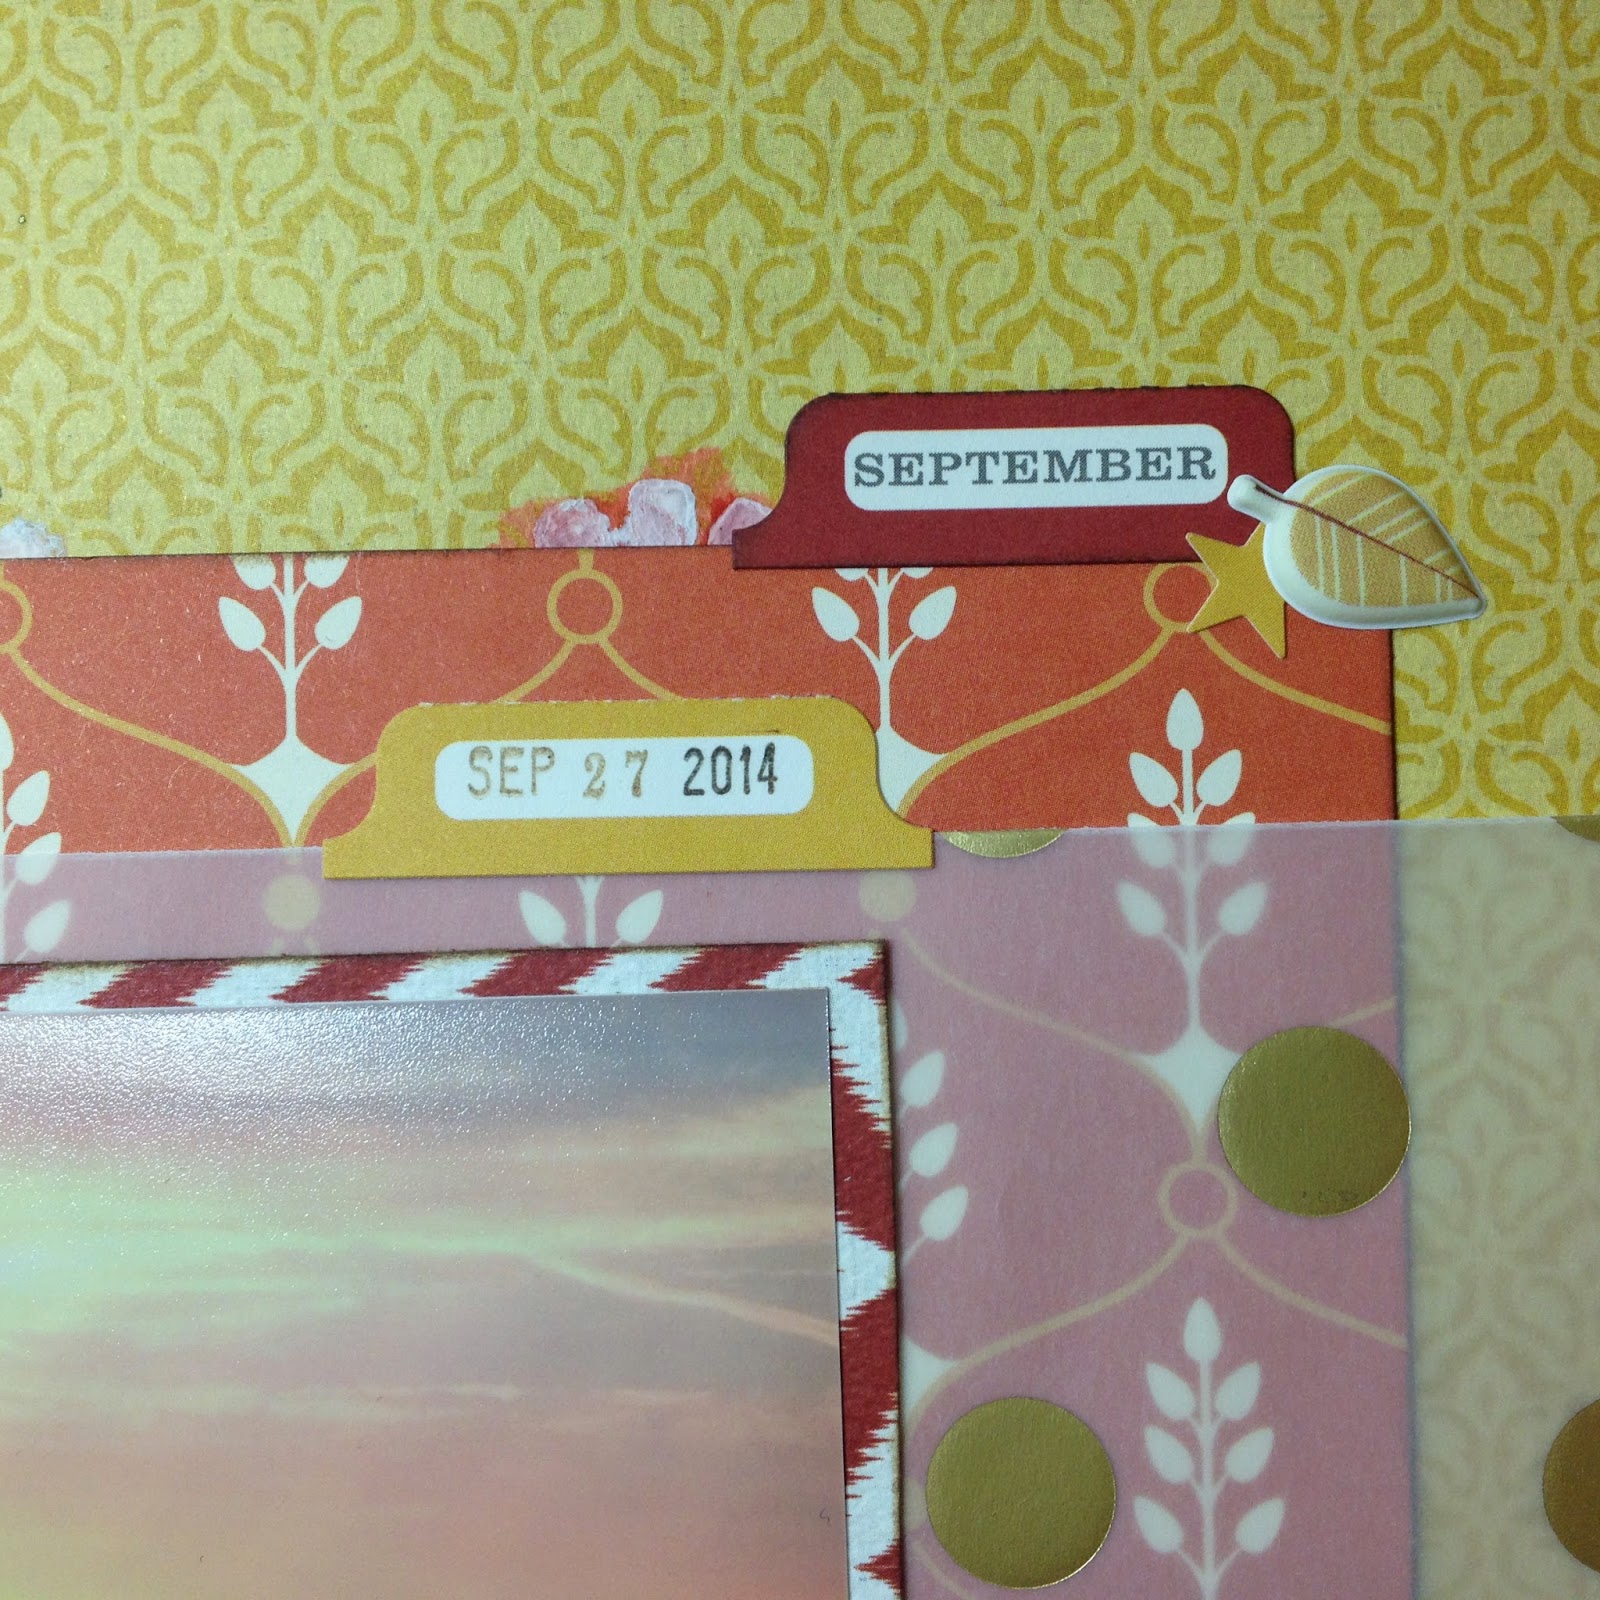
The tabs were also from the kit and I stamped the date and the month on them with stamps from my stash. The vellum with the gold circles is from Stampin' Up!. Love, love, love this.
I added a few drops of Heidi Swapp Colorshine in Bronzer and a few woodgrain sequins from an old Studio Calico PL kit.
Thanks for stopping by again. Have a wonderful rest of the week.
Today I wanted to share a layout (and process video) that I created over the weekend. For this layout I used the January 2015 Scraptastic Kit and some items from my stash (washi tape, mist, gesso, and enamel stars).
Here is what the over all page looks like.
I kept the layout pretty simple. I LOVE the background paper and because it was pretty busy, I didn't think that I needed to add a lot of layers.
Here is my process:
Here are a few close-ups of the embellishments and details.
I added wash tape, cork stars, and enamel stars to each of the clusters.
The cloud die-cut and the "beauty" die-cut was from my stash. I cut a lot of things ahead of time and color them to match my layouts. I find this the best way to utilize my silhouette.
Thanks for stopping by. Be sure to check out my video over on YouTube and subscribe if you have not already.
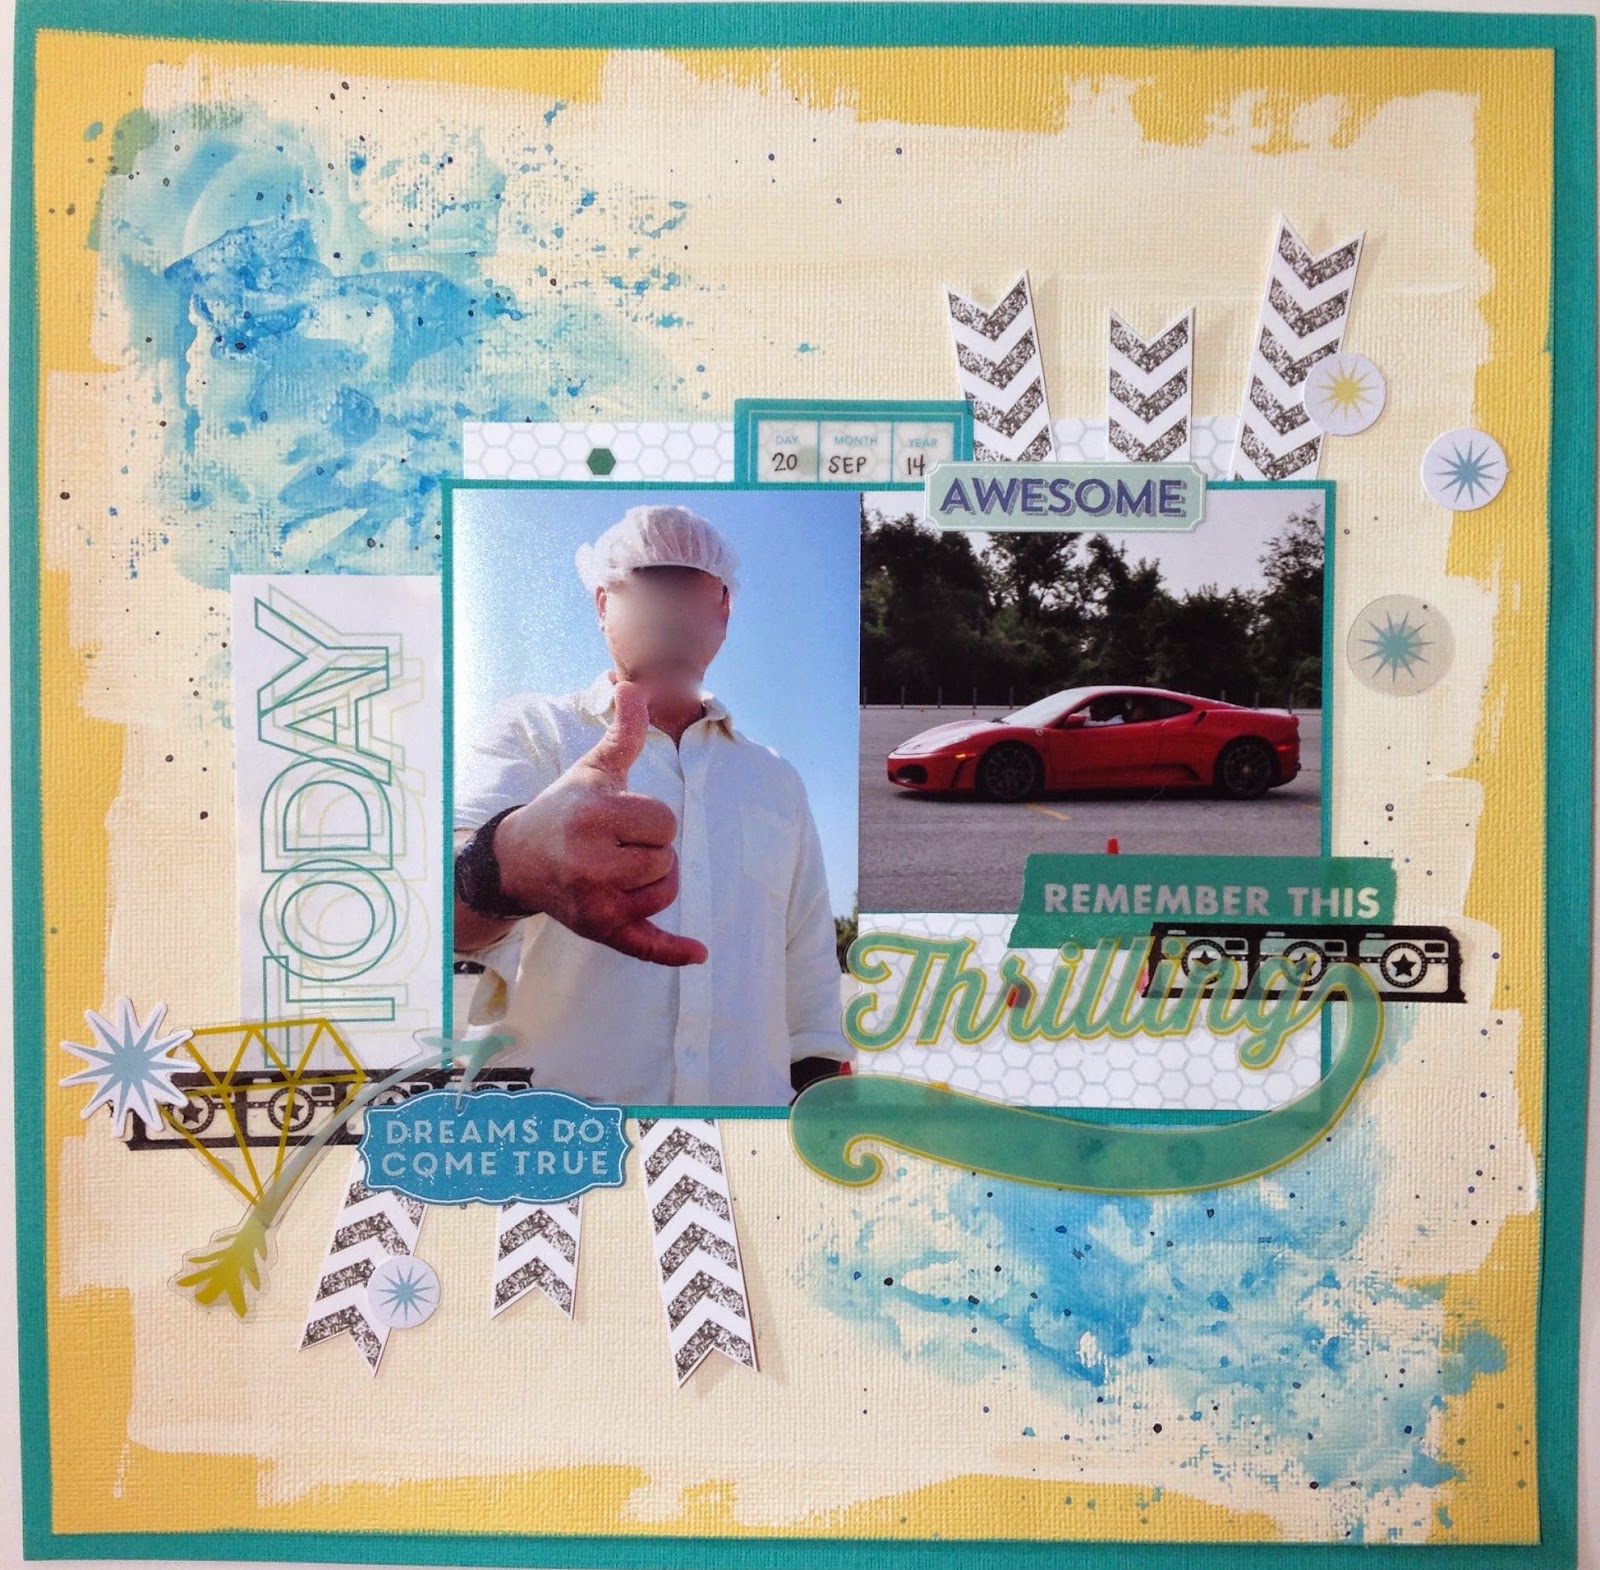
Here is another layout using the June 2014 Scraptastic - Best Day of My Life kit, which is very fitting for this page because I think it was one of the best days of my husbands life. He got to drive a Ferrari!!!!
My husband does not like getting his picture taken so I was so grateful to get these photos of him. He is wearing a hair net in the left page because everyone was sharing the helmets.
I took one of the sheets of cardstock from the kit and added gesso to the background and then added Lindy's Stamp Gang mists to the upper left and lower right corners of the layout using a piece of plastic packaging. I also added drops of mist.
I kept the layout pretty simple since I thought it made the layout look more masculine.
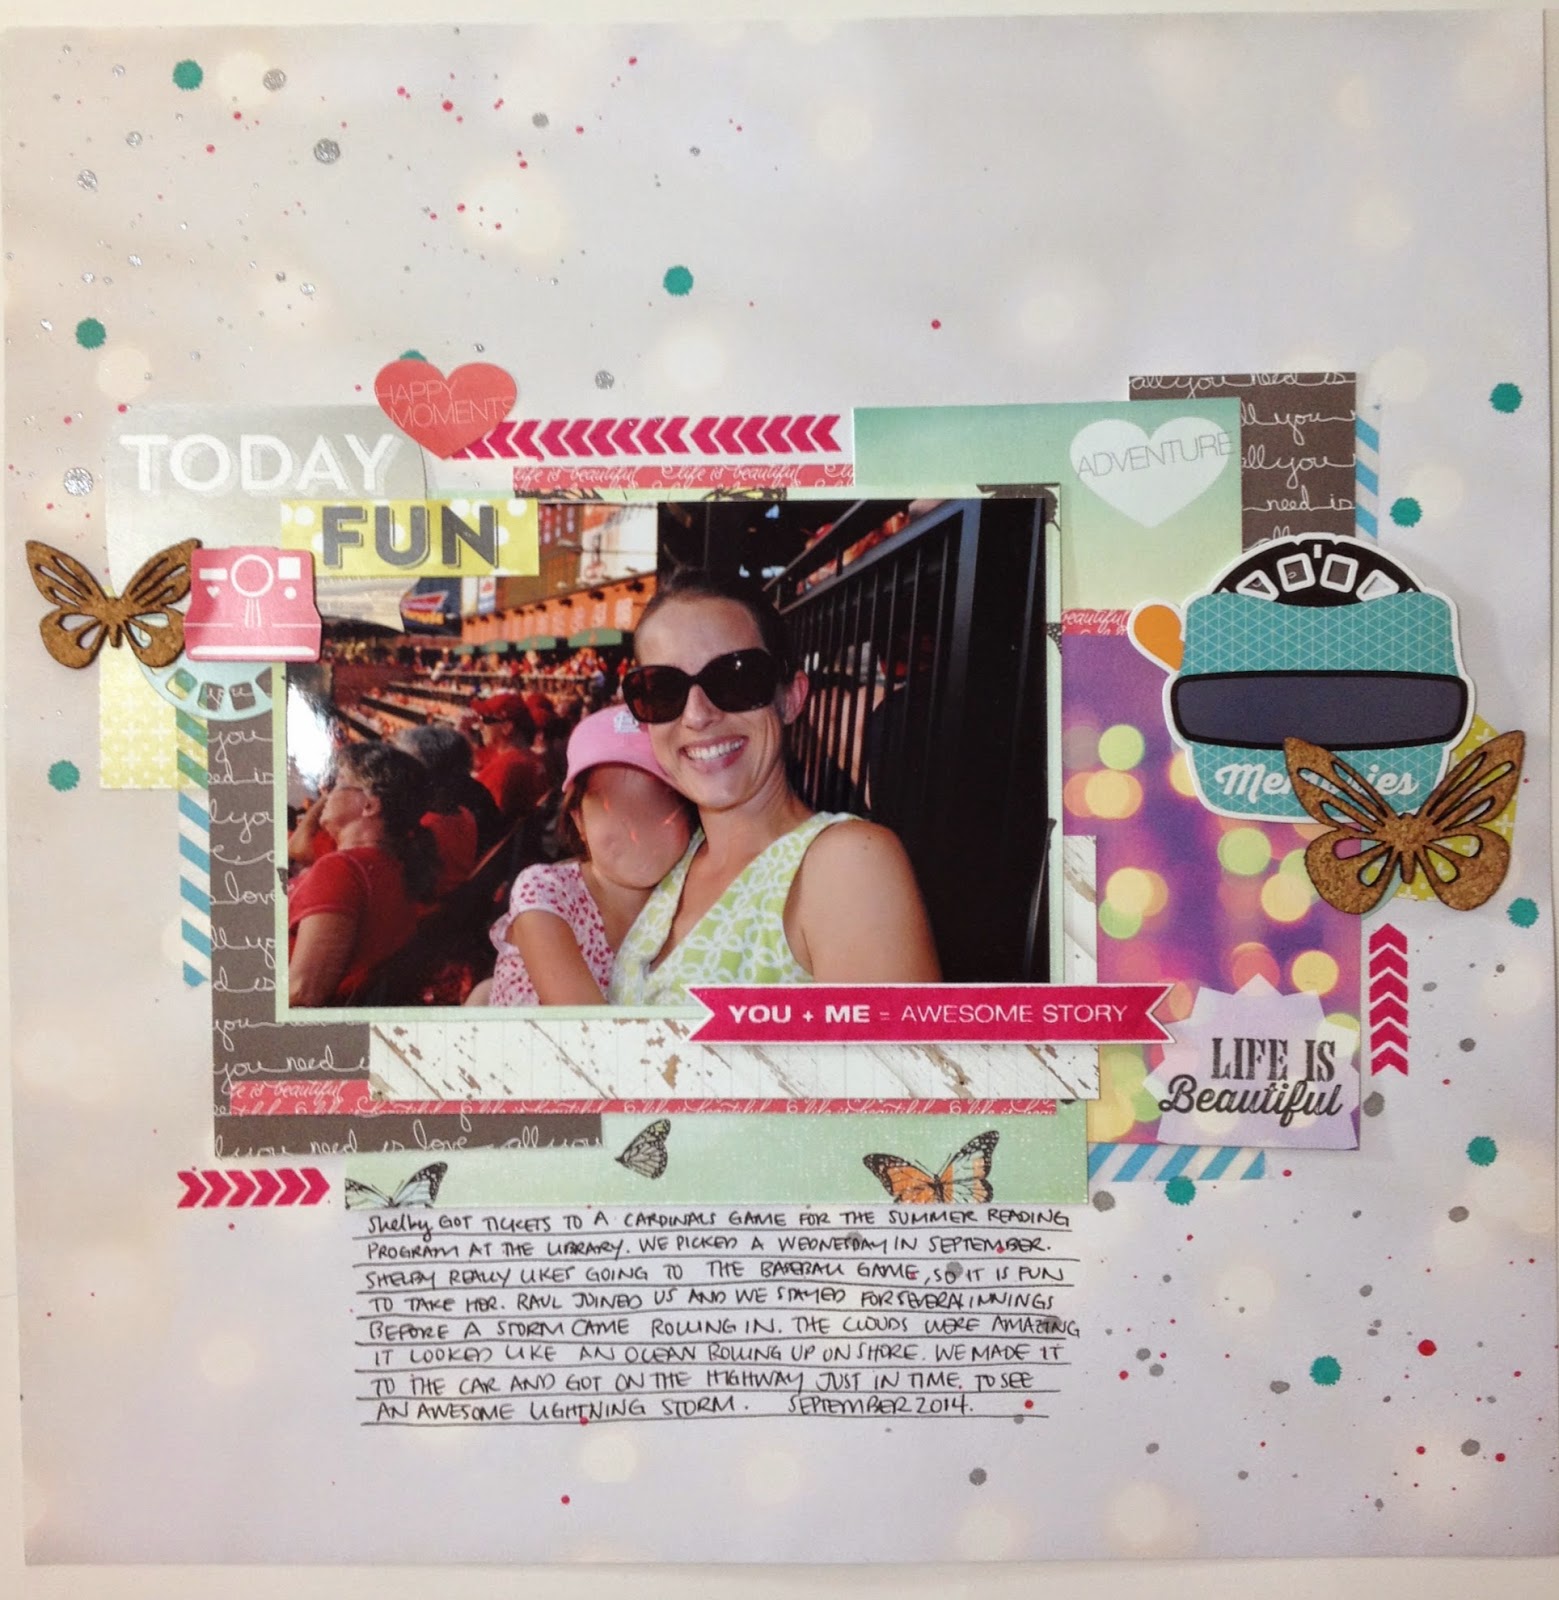
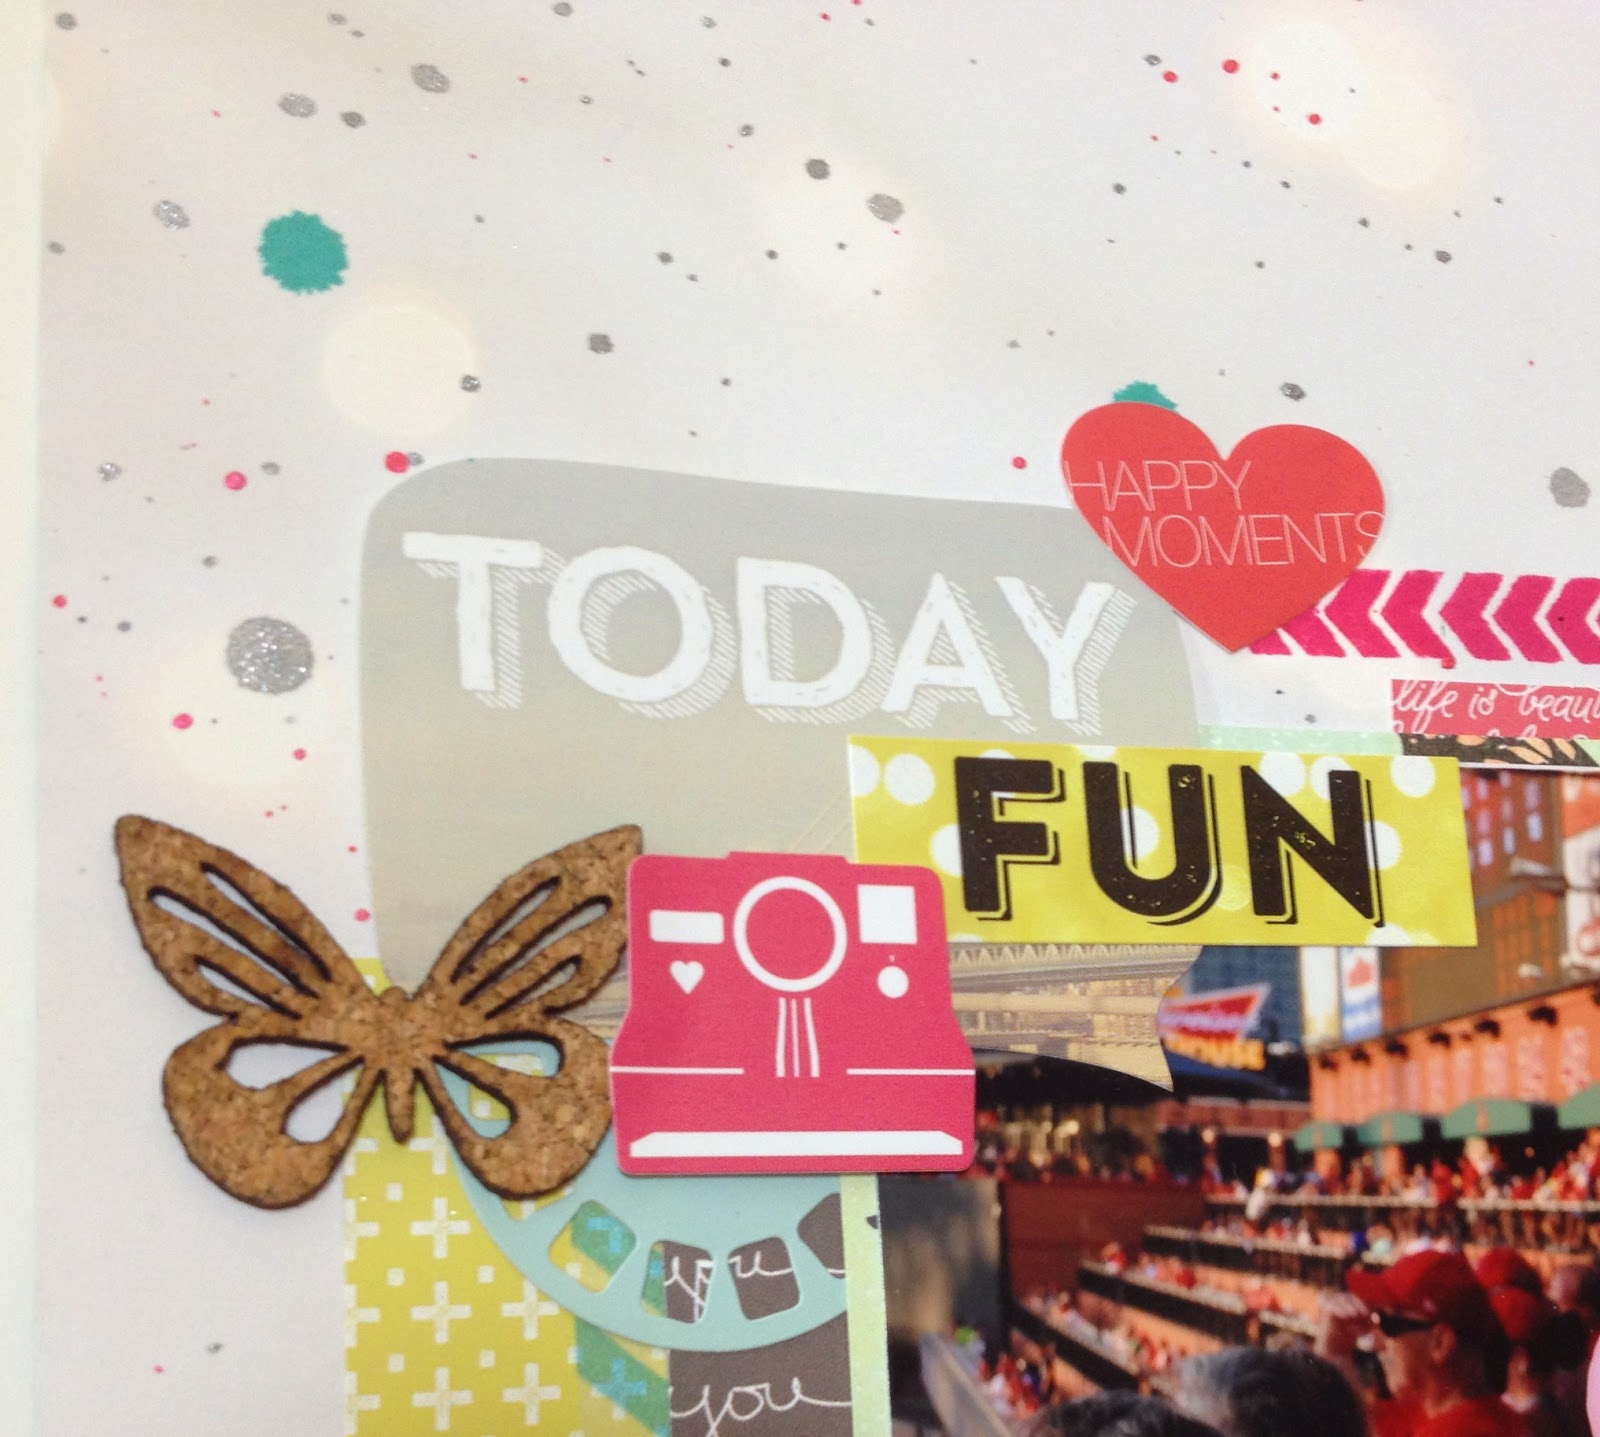
Welcome back for another scrappy layout. This time I used papers and embellishments all from the Scraptastic Best Day of My Life Kit. Here is a look at the full layout. The picture is taken at a baseball game that my husband, daughter, and I went to at the end of this summer. My daughter won tickets for the summer reading program at the library.
I really love the colors in this collection and the background paper I used was so pretty.
Here is a closer look at the embellishment clusters. I added three colors of mist to give a little more texture to the background. I believe they are all Heidi Swapp Color Shine mists.
I like the cork butterflies that came in this kit. They are so neat. Love the added texture/dimension that they bring to the page.


.JPG)