Saturday, June 27, 2015

Summertime Fun

Today I have another layout to share using the Simple Stories - 100 Days of Summer collection.  Like I said last time, I really love this collection.  The colors make me happy and the distressing on the paper is beautiful.

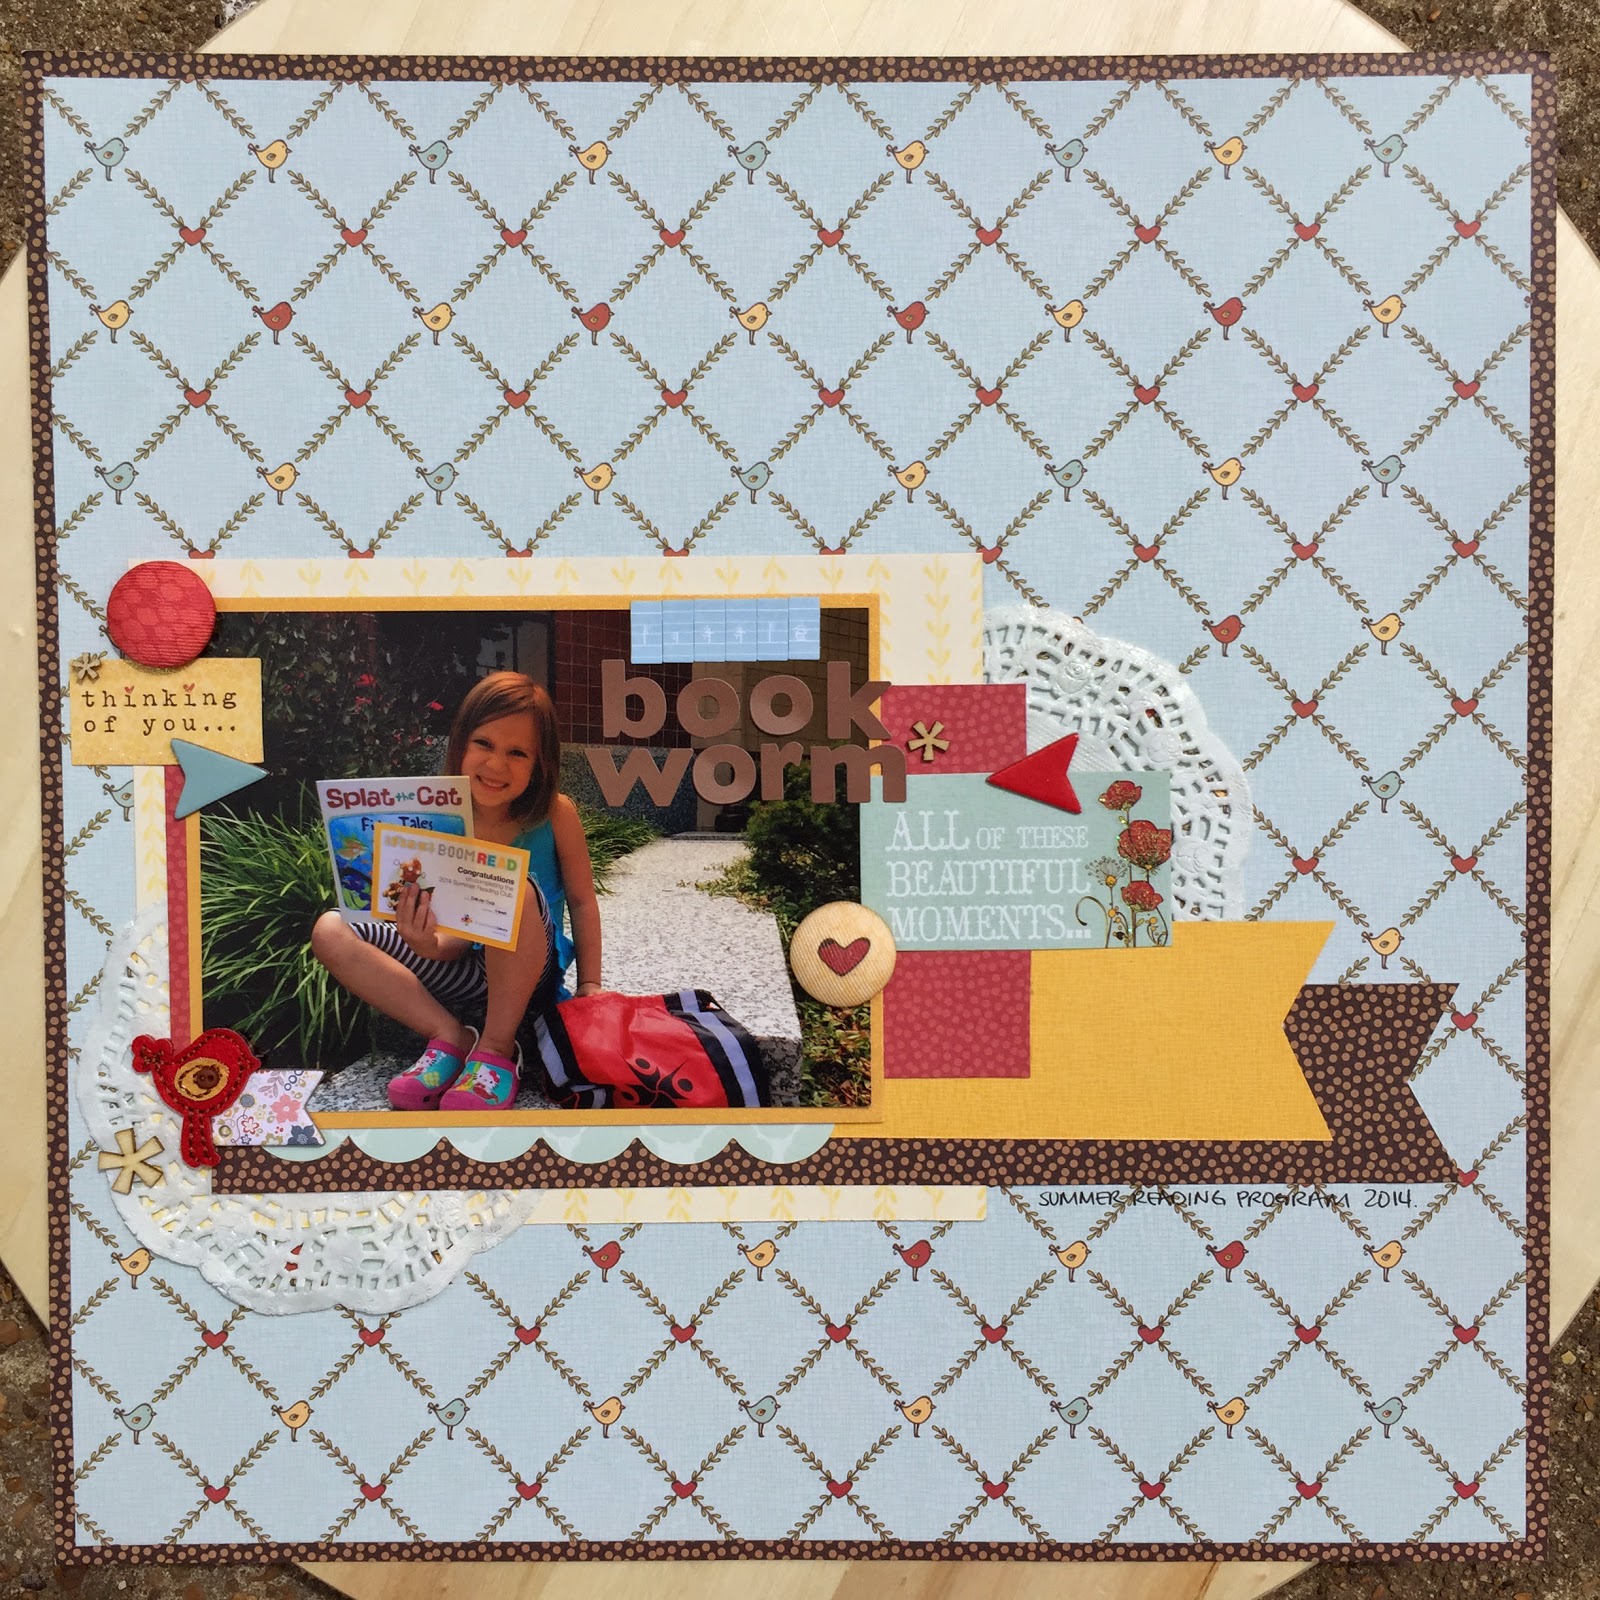
Here is a picture of the overall layout.  This is the companion page to the one I posted about from Wednesday. 


For this cluster I cut out a sun from the cut-a-part sheet (the outline that was left over was used in the previous layout - see last post).  I also cut the outline of the card (the black outline to add even more dimension.  The enamel dots are homemade using Pearler Beads.  The word stickers came from the collection.   


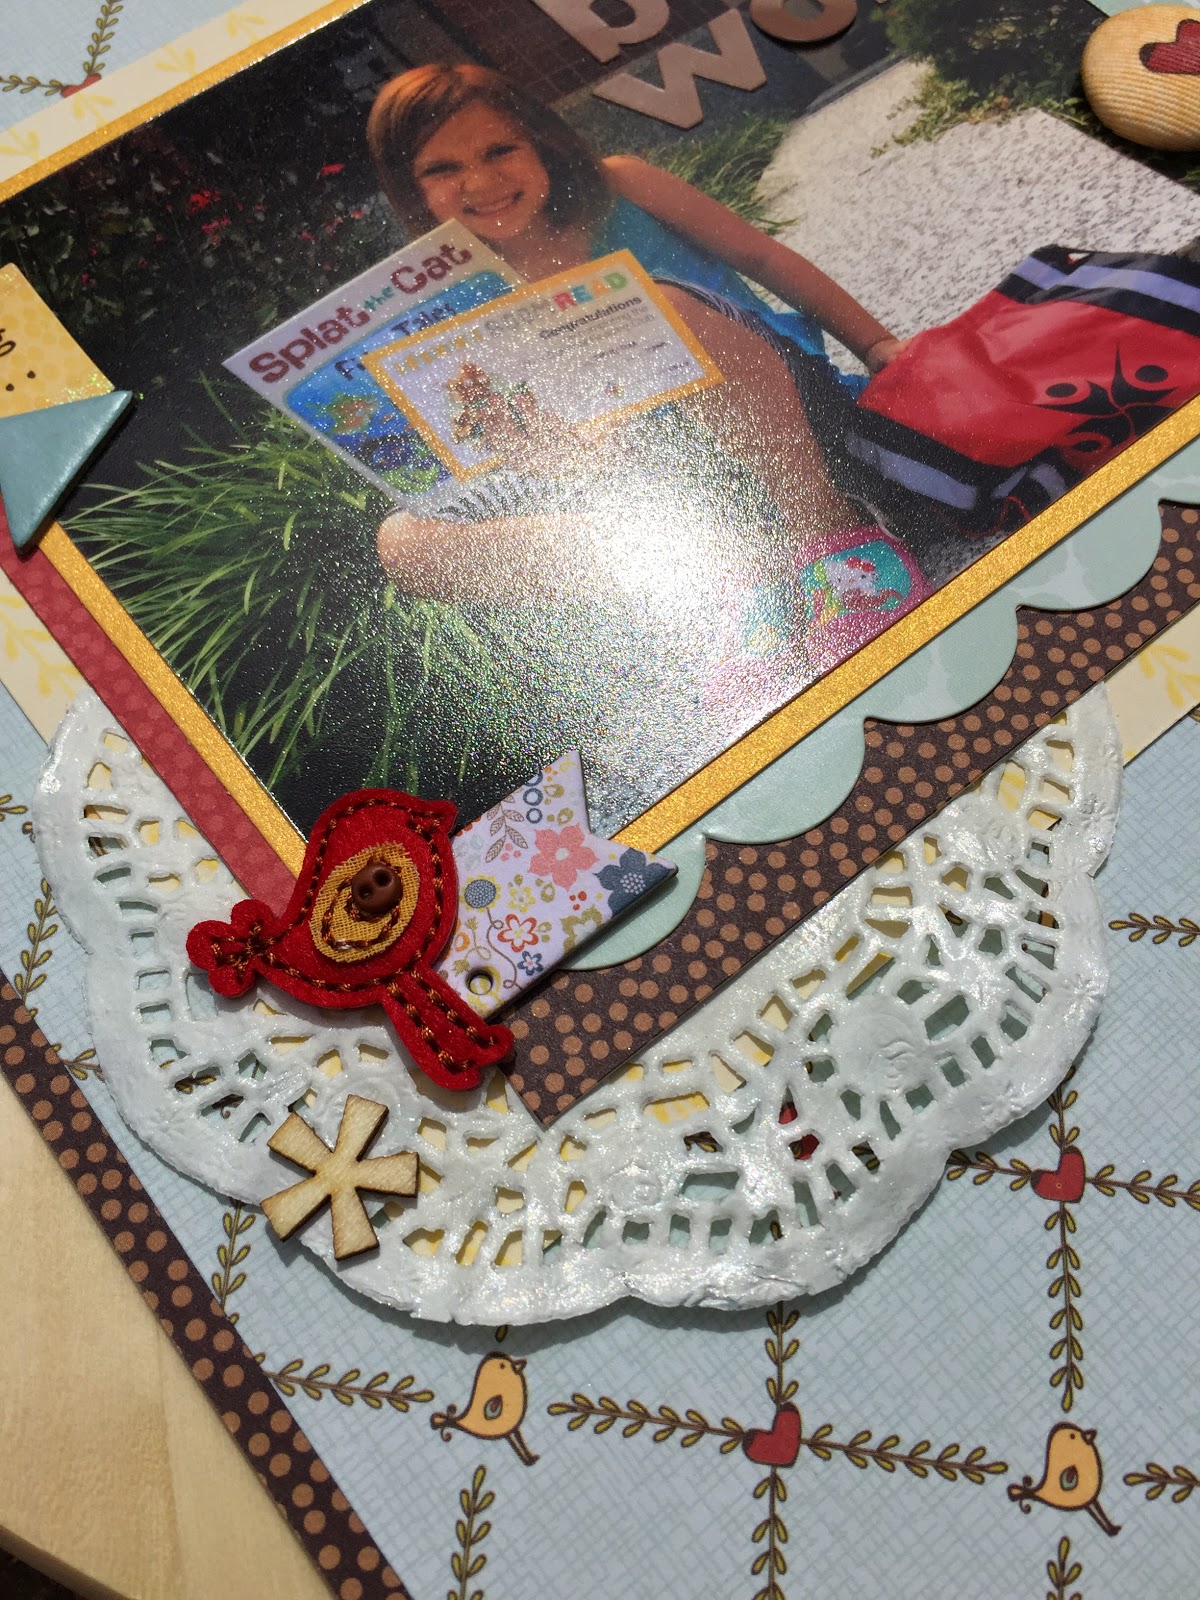
For the bottom right picture I added a flair that I got from Two Peas in a Bucket before they closed :(, more word stickers from the collection, and more homemade enamel dots.  The blue swirls are from a transparency that I layered up with the other paper layers.


The banners were made using twine that I had in my stash and I cut the banners from paper in the collection. Last, but not least, I added journaling about the day.


Thanks for stopping by again.  If you haven't already subscribed to my blog please do so.  Until next time...happy scrappin'.

Saturday, June 20, 2015

A Bootiful Night

Hello everyone.  I hope you are having a good week.  

Today I am back making Halloween layouts and yes, they are from 2013 :).  This page was made using some very old stuff that has been hanging around my stash for quite some time.  I was so glad to use it.  It is fun to use the new stuff, but so gratifying to use up something you have had sitting around since 1985 (or maybe it hasn't been that long, but sometimes it feels that way).

For the background I used my spray mists to "grunge" it up a bit.  I really like the color combination and think it goes well with the Halloween theme.


For the top of the page, I cut up some of the papers and made tags.  I inked all of the edges in the Tim Holtz - Black Soot Distress Ink.  I added twine to the holes I punched in the tags.  The collection I was using came with some rub-ons that I thought for sure would be a pain to get down, but they worked really well.  I was very impressed.  I also inked up the wood veneer arrows/chevrons to bring your eye into the page.


For the bottom cluster I repeated the elements that I used above.  I also added a haunted house brad.


The title was made using Thickers and a Recollections glitter font.


Have a great day.

Saturday, June 13, 2015

I Want a Mustang.

Hello, I'm back with another 12x12 layout.  This time I used a Studio Calico kit that I got in a Mystery Kit.  

To ground the photo and cluster, I added some gesso in the background and then layered the photos and paper on top.  There is not a lot showing through, but I like that you can see the edges and it gives it a fuzzy look.  


In the kit came a piece of paper that I mostly cut up.  It has tickets and other fun things that added a lot of texture and detail to the layout.  I basically just kept sticking the different layers until I was happy with the results.

The Thickers are chipboard and also from the kit.  The smaller letter stickers did not come in the kit.  They are from Glitz Design.  


The last thing I added to the page was the splatter of ink (Heidi Swapp Color Shine -
Black).


If you have not already done so, please subscribe to my blog.  If you have any questions/comments, I would love to hear them.  Please leave them below.  Until next time - Happy Scrappin'.

Saturday, June 6, 2015

Pre K Graduation

Hello everyone.  Hope you are having a wonderful day.  Today I wanted to share a 12x12 layout with you of my daughter's Pre K Graduation.  For this page, I used the Teresa Collins - Memorabilia collection.  I have been struggling a bit to use this collection, but I have found a few events to scrap.  I really love the golds in the collection, but I am having issues with the other, more ornate details.

Here is a picture of the overall layout.  I kept this one pretty simple adding a "shelf" for the picture to sit on.  I used my Heidi Swapp Gold Color Shine for the misting on the page.


The cute, little envelope holds the journaling.  I also layered up some stickers and die-cuts from the collection.  For the shelf I used one of the die-cut boarders that came in the collection and well as some of the paper elements that I cut out into a banner shape.


I added another cluster using more of that pretty gold, glitter to the top right of my photo and a few more stickers from the collection.


Hope you are getting some crafting in today.  Have a wonderful day.

Saturday, May 30, 2015

Love & Hugs

Welcome back everyone.  Today I have a layout to share using items from my stash.  The photo is a picture of my daughter and her friend (face blocked for privacy).  One day her friend's mom gave me a call to see if the girls wanted to go out.  Of course!

Here is an all over picture of the layout.  For the background I splattered it with some of my homemade brown ink and Gold Heidi Swapp ink.  I also added some stamping using Chocolate Chip Stampin' Up! ink.  


For this layout I mostly stuck with "flat" emblishments using paper to create most of the texture on the page.  I used various papers, stickers, and die-cuts layted to give a chunky look to the pictures. I inked all of the edges with Tim Holtz - Walnut stain.


The title is made using foam Thickers and I really like how the color of the title pops on the page and brings out some of the aqua colors from the paper.


On the right side I added a banner for some visual weight and grounding of the picture and just kept tucking paper, stickers and die-cuts.  To bring the aqua of the Thickers around the page, I used the asterisk that came in the pack in the embellishment clusters.

I also added more stamping around the layout using phrase stamps from Technique Tuesday - Ali Edwards line.  I really like the little added detail that it provides.  Not to mention, I'm using my stamps on my layout which I sometime struggle with.


That is it for today.  Hope you enjoyed.  

Saturday, May 23, 2015

Process Video - Using My Rub-Ons

Today I have a process video to share with you where I used almost an entire package of rub-ons.  I have never done that before and never really want to use up an entire package of something on one layout, but I find with run-ons I sometimes have a hard time using them. I use one here or there and then the package sits around.  So today, I did something different.  

Here is a picture of the overall layout.  This time since I only wanted to scrap 1 photo and use the rub-ons, I decided on a 8.5 x 11 layout.


I first made the background by adding some gesso.  Then after it dried I added my run-ons and on top of that, watercolor.  I didn't like how dark the watercolor went on, so I wiped some away using a baby wipe.  


Once everything was dry, I added on my photo, paper layers, die-cuts, and minimal embellishments.


I also got to use of the wood veneer flowers that came in a Scraptastic Kit (finally, I have been trying for a long time to get that on a page).


I topped it off with some homemade enamel dots and that is about it.


Here is the process video where you can see me create the background and put this page together.


Thanks for stopping by!

Saturday, May 16, 2015

Process Video - Little Bookworm

Hey guys.  I'm back with another process video catch-up blog post.  For this one I have a layout of my daughter showing off her reading certificate from last summer's reading program at the library.  The picture quality is not all that good and I probably could have reprinted, but since I was at a crop when I made this layout, I just wanted to get the page done.  

Here is the overall page. I used an old Heidi Grace paper collection for pretty much everything on this layout.  The only thing outside of the collection was the doily and the wood veneer.


Here are a few of the close-ups of the clusters.  I really like the fabric covered flair that came in the kit.  I like the different texture it adds to the layout.  


The fabric birdies are too cute and I almost didn't want to use them and hoard them forever.


Here is the process video.  If you have any questions please let me know and if you haven't already, please subscribe to my YouTube channel. 


Until next time...have a great one.

Wednesday, May 13, 2015

Goggle Girl

I love this picture of my kiddo with these huge pink goggles on.  She looks so silly.  

This page is made using the Simple Stories - 100 Days of Summer collection.  I love the colors in this collection and the distressed nature of the papers.  For this layout I wanted to do something a little different.  I tend to alway put my picture cluster on the right side of the page.  This time, I put it on the left and added a second paper/embellishment cluster on the top right to hold my title.

Here is an overall look at the page.


The top right cluster has papers and stickers from the collection.  For the sun, I had already cut it out of one of the cut-a-part sheets, but I liked the outline that was left over.  Instead of tossing it, I added it to the cluster.  I really like the texture it added to the page.  The title "Goggle Girl" was made using stickers that came in the collection and Thicker that were in my stash.


The bottom right cluster on the photo was also made using stickers from the collection.  I used one of the sticker as a journaling spot to add a bit about the picture and the day.  To top it all off, I added some homemade brown mist to the entire layout.


Thanks for stopping by.  I hope you are having a wonderful Spring so far and are getting out an enjoying things.  


Saturday, May 9, 2015

Sunday Drive

We love taking drives.  Sometimes to a particular destination and sometimes just to drive around.  This time we had a destination in mind, Pere Marquette.

I love the background paper that came in the Scraptastic Kit  The only thing I added were a few additional silver splatters.  


The camera wood veneer is from Mya Road, the enamel dots are homemade using Pearler Beads, and the wood stars are from Studio Calico.  I outlined all of the elements with a black pen to make them pop off the page more and to stand out from one another.


On this side I just layers up a bunch of paper that I cut appart from a 12x12 page.  The title was made using the Daily Flash font from October Afternoon. 


Overall I really like how this one turned out.  What do you guys think?  

Thanks again for stopping by.  Bye, bye for now.

Wednesday, May 6, 2015

Magic House

I used a Scraptastic Kit this time (I believe it was from the summer of 2014).  My daughter won tickets to the Magic House for reading books over the summer so my husband, her, and myself all went up and had a great time.  

Here is the over all layout.


"The Story" die-cut was from the kit and I sprayed it with a gray mist to match the background paper. I backed it with the teal cardstock that came in the kit to help it stand off the page a bit more.  I inked the edges of the elements with a black ink.


There was a paper that came in the kit with several different colored chevron stripes so I cut those up and added dimension by folding them up slightly and adding a bit of foam adhesive under the edges.


Until next time, happy scrappin!

Monday, May 4, 2015

Process Video - Project Life 2015


Here is something new to the blog.  I have started recording my Project Life process.  I am a bit behind, but I really like the new format that I am using.  This year I am trying out the Collect app.  I love how it makes your photos look like Polaroids and that you can journal on them.  It makes keep up a bit easier.  

Here are my first two weeks.  For these two weeks I am using the Scraptastic Club - November 2014 This Life Noted kit.  I got it in on clearance over the holidays.  I thought it was a good way to try out their PL kit without getting the subscription.  Many of the embellishments that I used were from my stash.

Here is Week 1:


Process Video from Week 1:


And here is Week 2.


Process Video from Week 2:


Let me know what you guys think.  Do you like the Project Life videos?  Do you prefer the traditional layout process videos. I would love to know what you guys think?  What do you guys like to watch?  Would you like to see any other videos on my channel?  I am all ears.

Process Video - Flat as a Pancake

Here again with another process video.

For this layout I used the Scraptastic Club - Heart It Races kit.  I added a bit of gesso to the background to soften it up bit.


Here are a few close-ups of the embellishment clusters.  I really like how this one turned out.


I added some Heidi Colorshine in Mustard to add a bit of sparkle to the page.


The only thing that didn't come in the kit were the wood veneer starts.


Would love to hear from you guys.  Have a wonderful day.

Sunday, May 3, 2015

Process Video - Mom's Day

Hey scrappy peeps.  Today I have another process video to share with you.  This one features a picture from last Mother's Day.  My daughter planted a flower and gave me a card she make in her Preschool class.  It was so sweet.  No telling what I will get this year now that she is in Kindergarten...I love surprises.

This layout was mades using all items from the Scraptastic Club - Heart it Races kit.  I really like the colors in this kit.  They are very warm.  Even though they came in a Fall kit, I think they are good for Summer photos/themes as well.


Process Video:


Here are a few close-ups of the various clusters.


I ended up coloring some modeling paste with gelato so that it would match the colors in the layout.  I used a Studio Calico stencil.  Really like how it turned out and the texture is great.  I also like how the arrows pull your eye into the center of the layout.


I have been having such a great time making process videos.  I love hearing from you guys too.  Please feel free to leave me a comment and stop by to see me at my YouTube channel.  While you are there, don't forget to subscribe.  Have a great day!