Tuesday, March 31, 2015

Process Video: This is What's Its All About

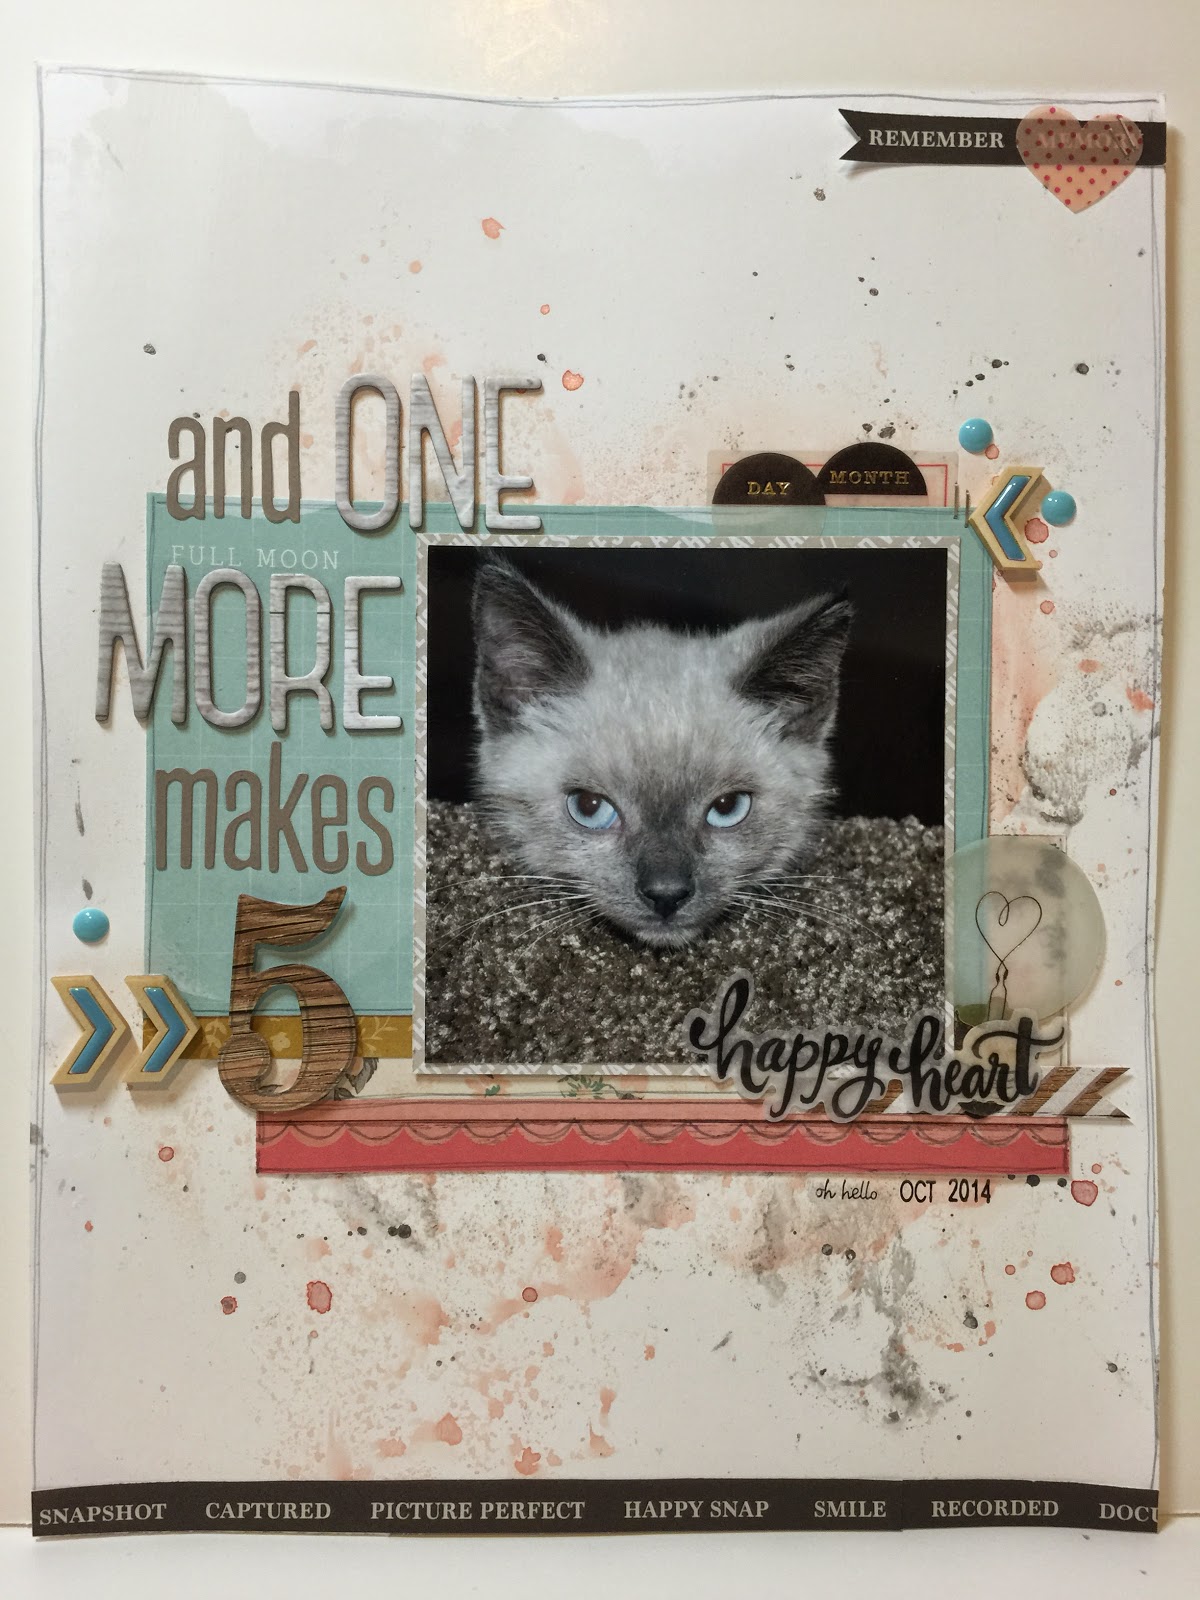
Still playing catch up and getting my process videos posted to my blog.  Today I have another mixed media layout to share.  For this one I created my background using cardstock, modeling paste, and a stencil from Heidi Swapp that I got in a recent Crafty Steals order.

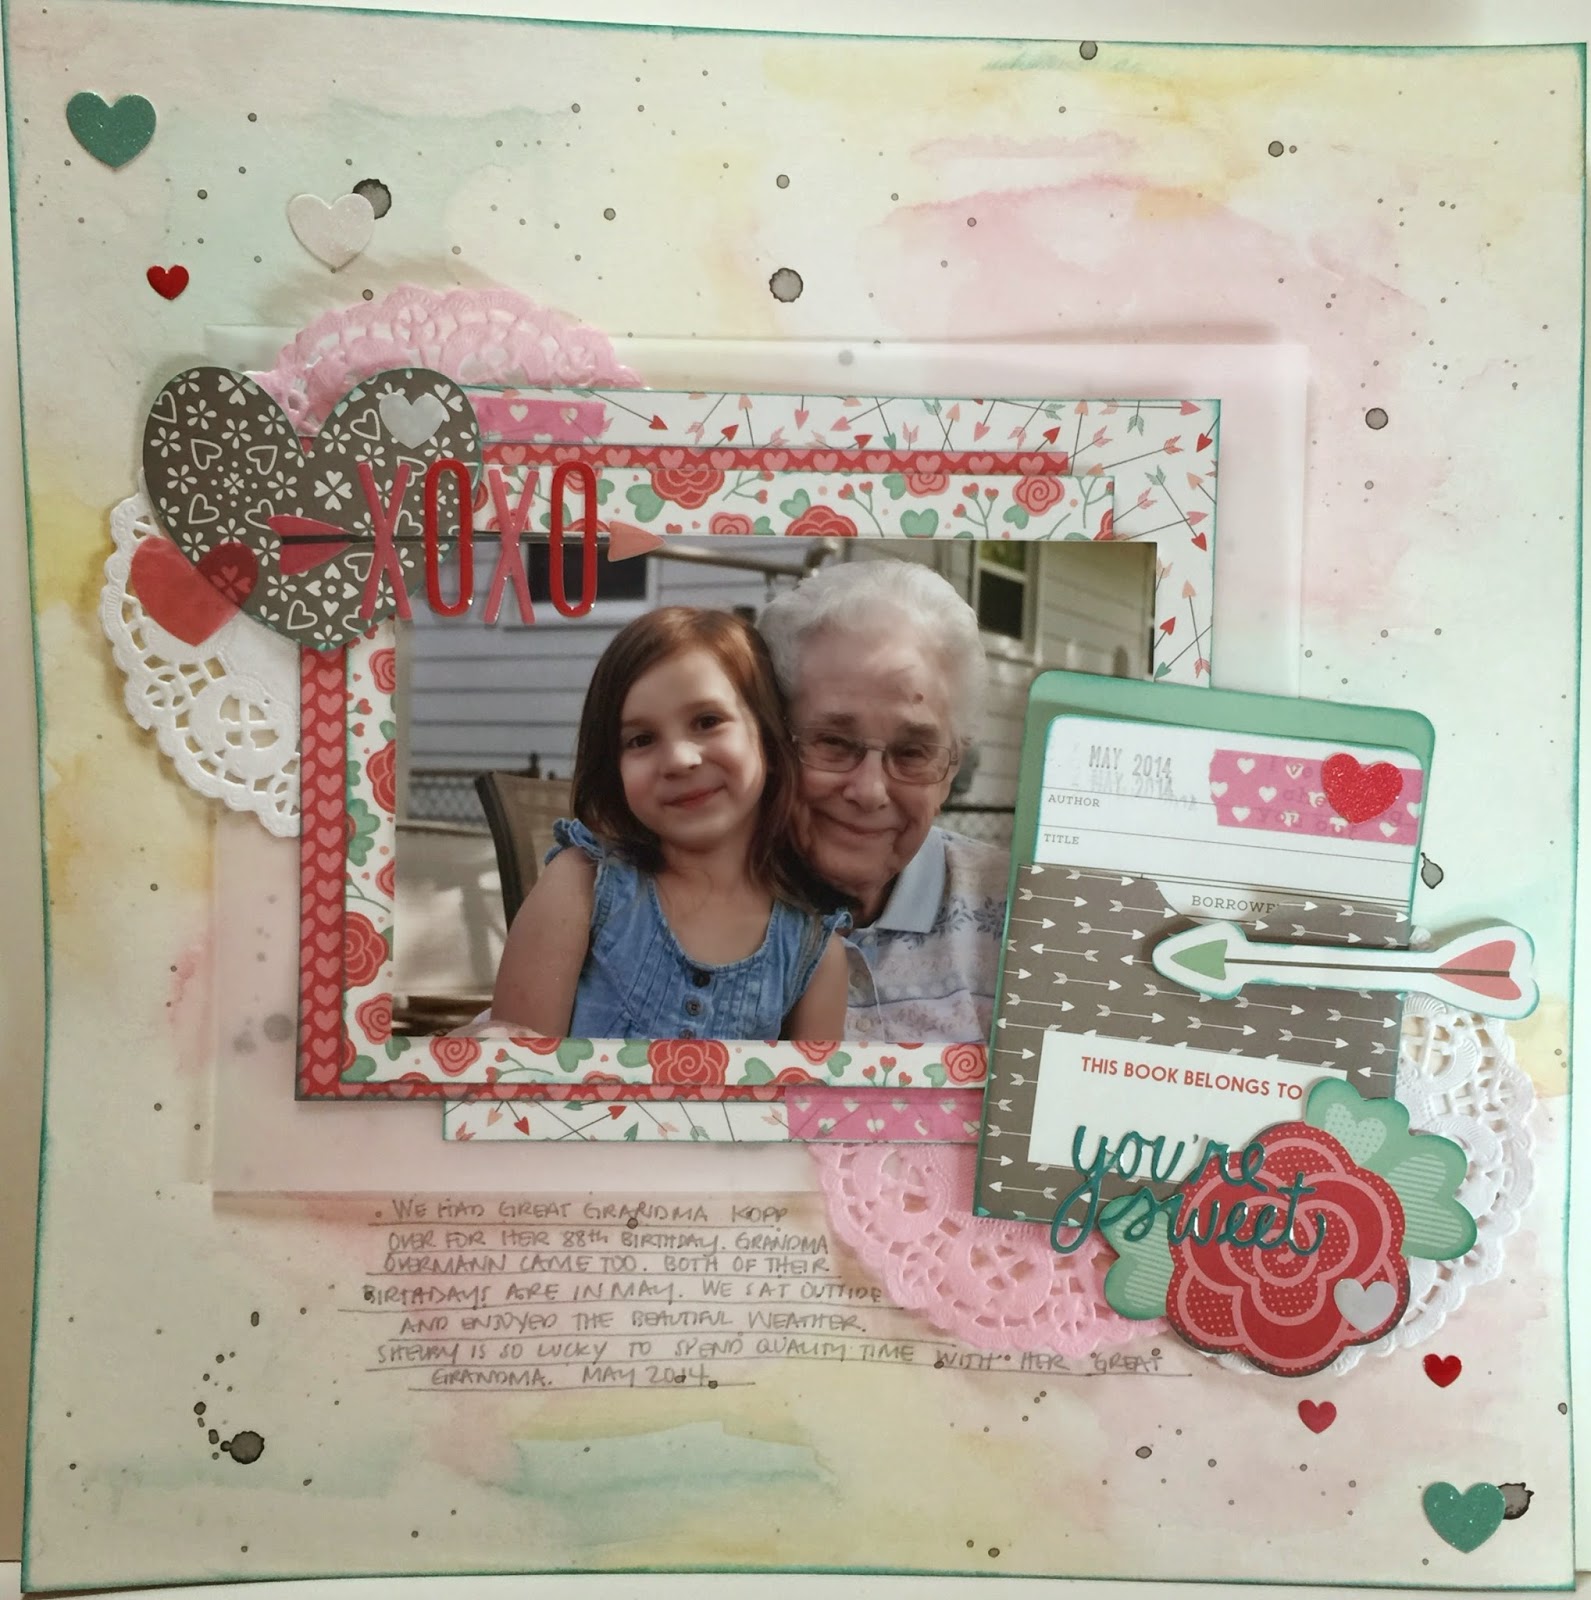
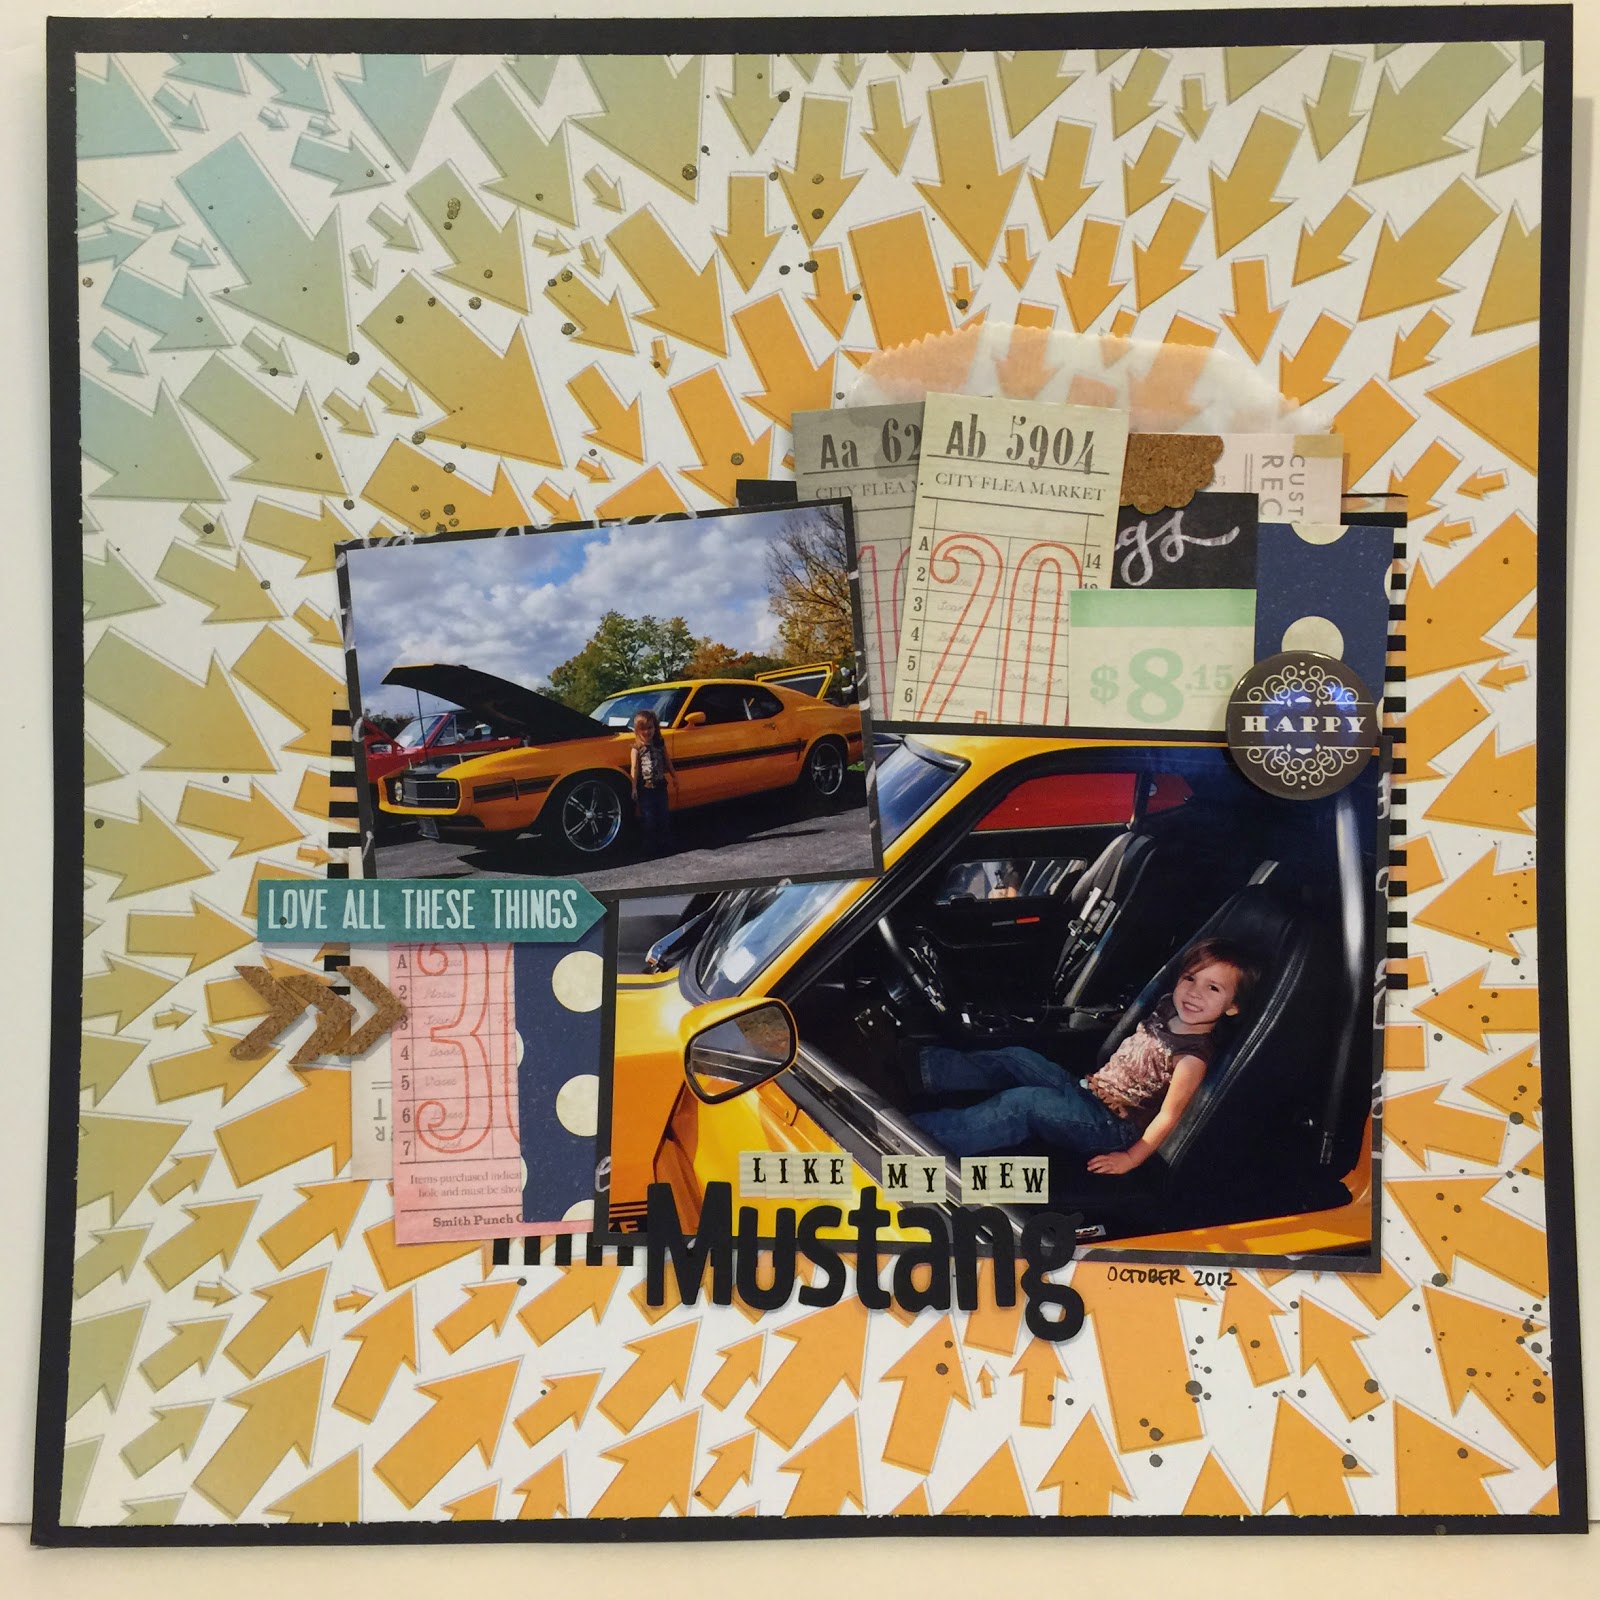
Here is a picture of the overall layout.

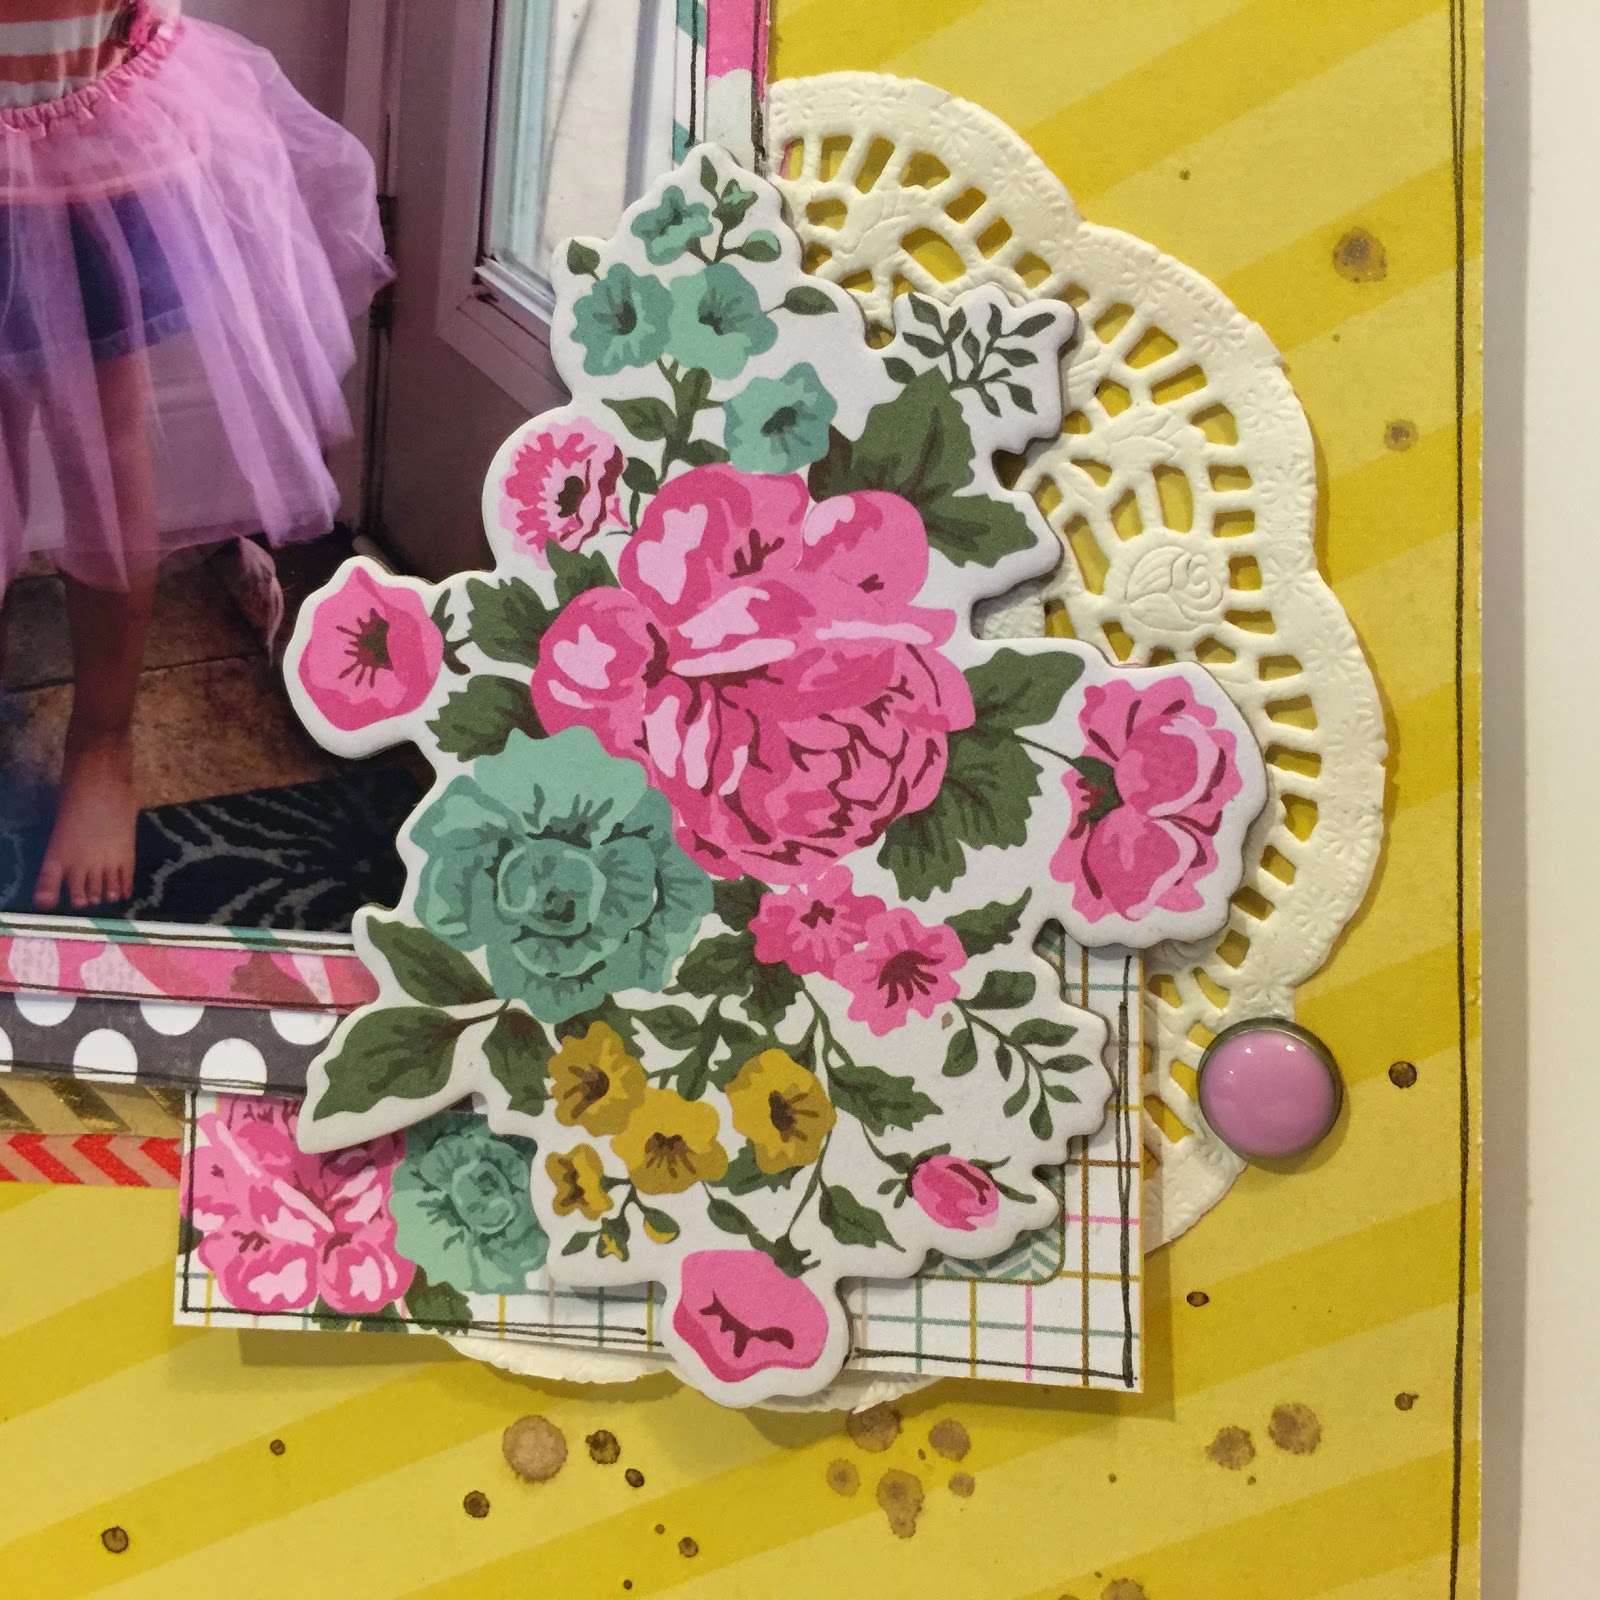
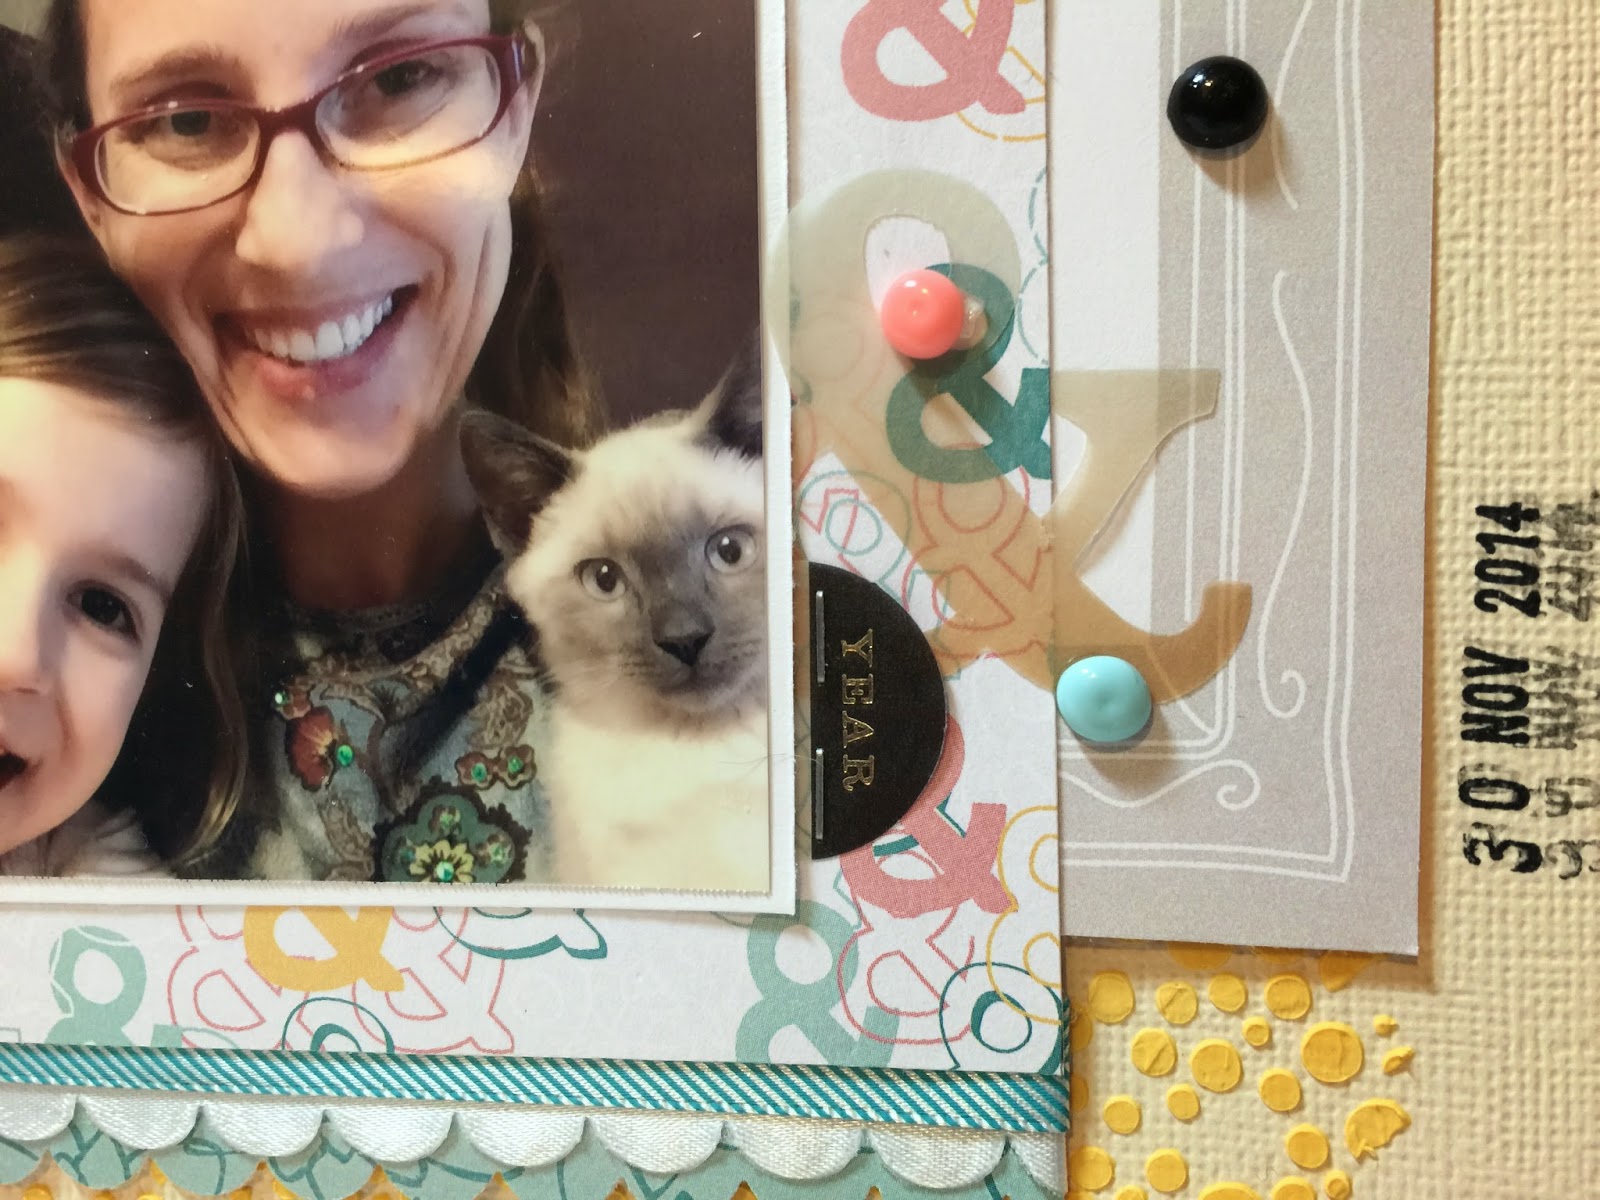
I used the modeling paste and some mist and gelatos to color the paste to match the papers in the collection.  By the way, the papers, embellishments, and such are from the January 2015 Scraptastic Kit - This Must Be the Place kit and add-on

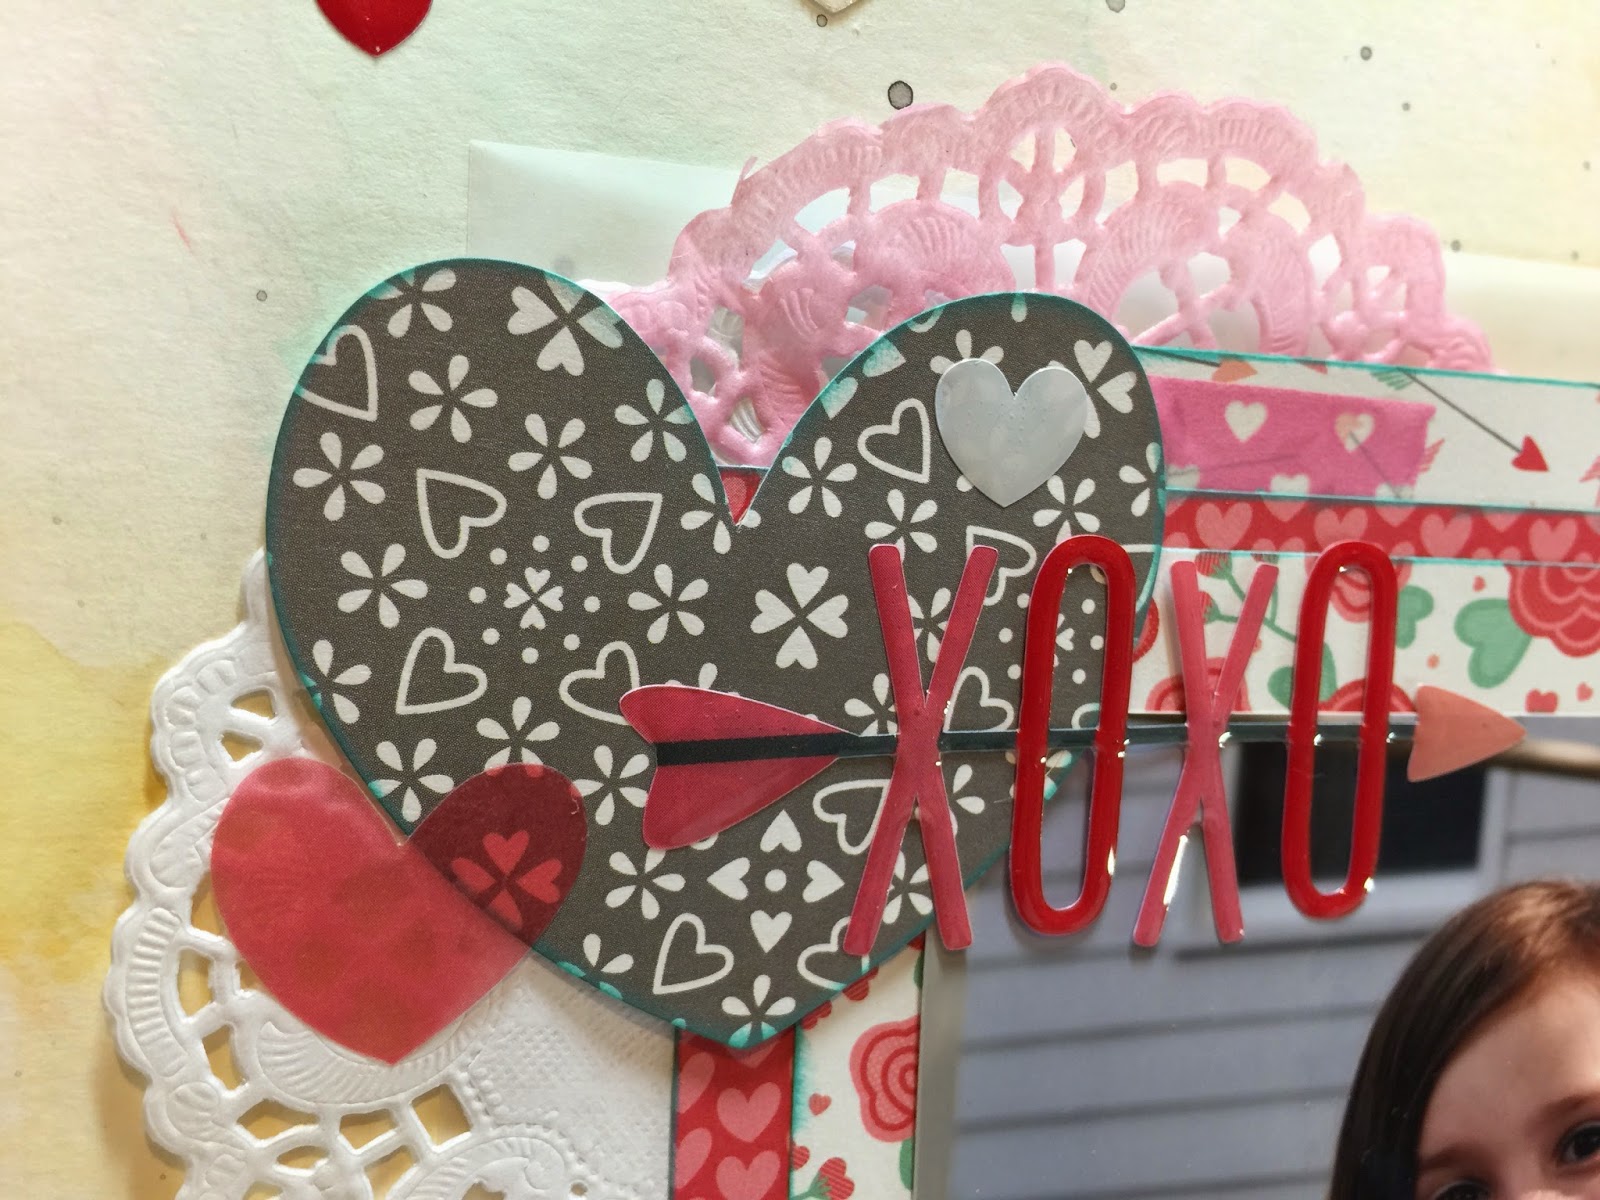
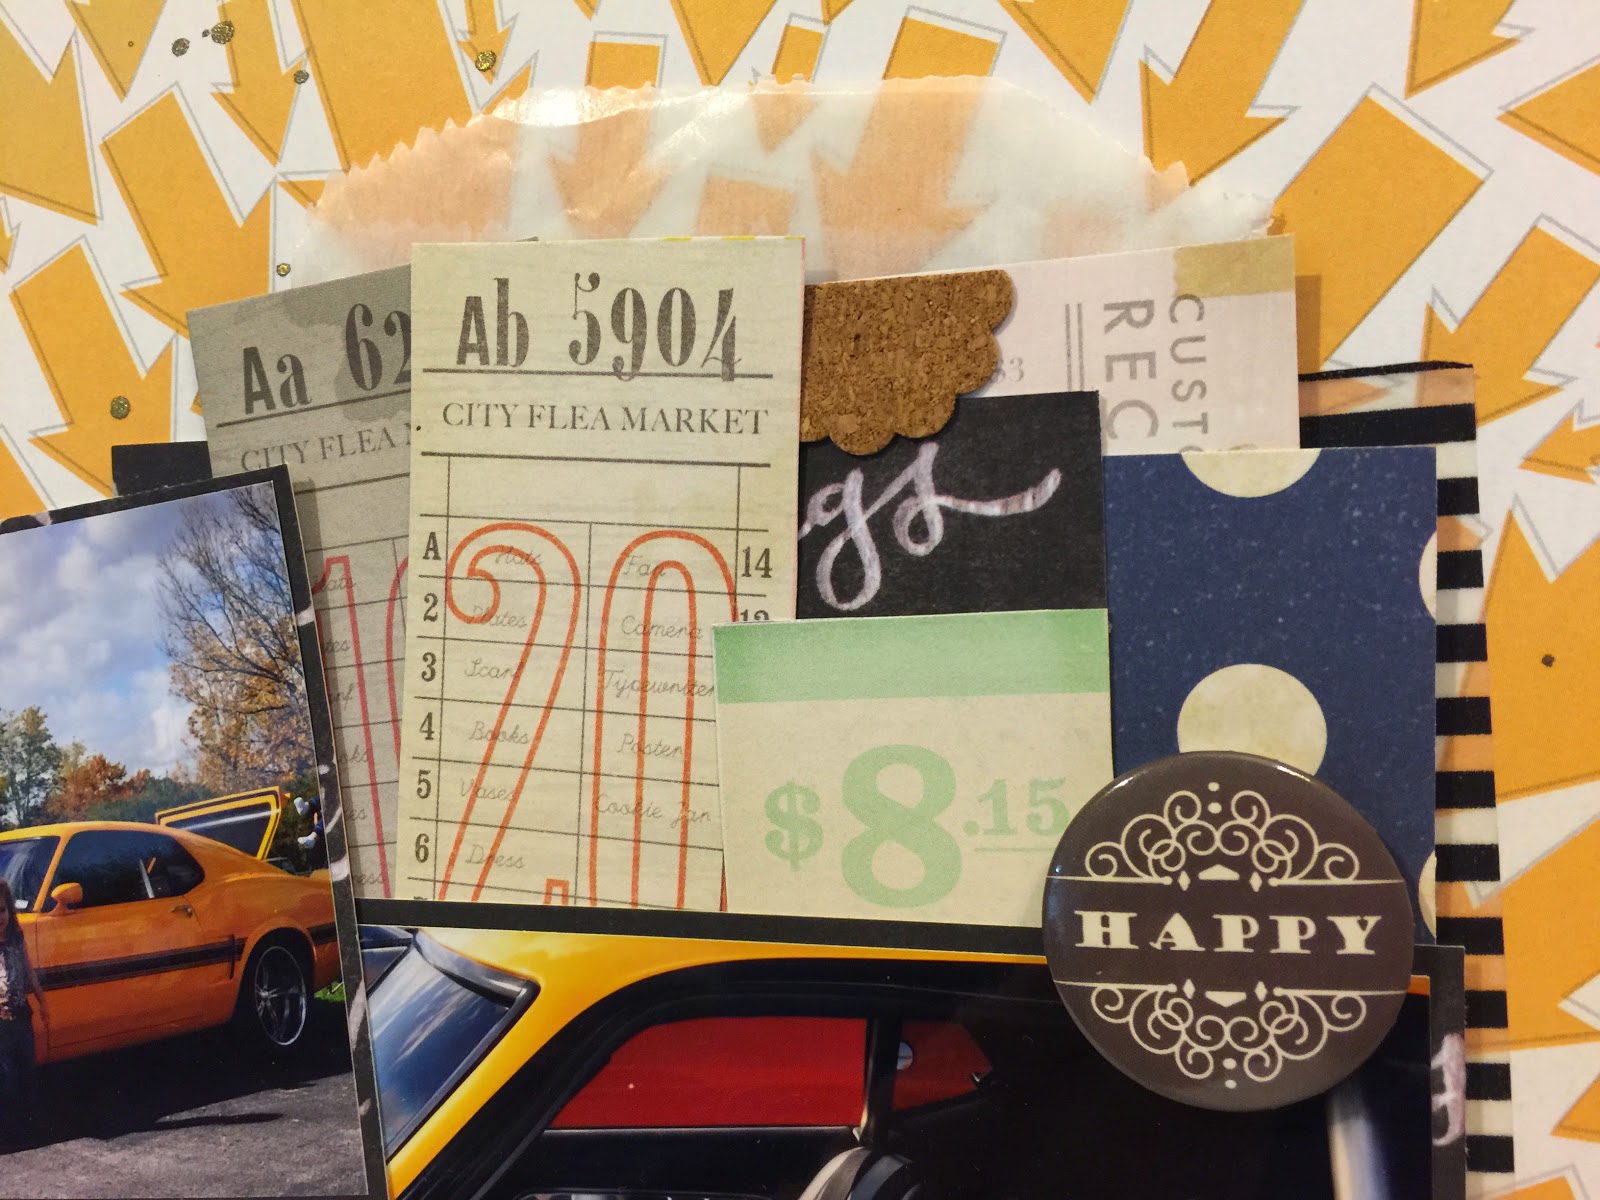
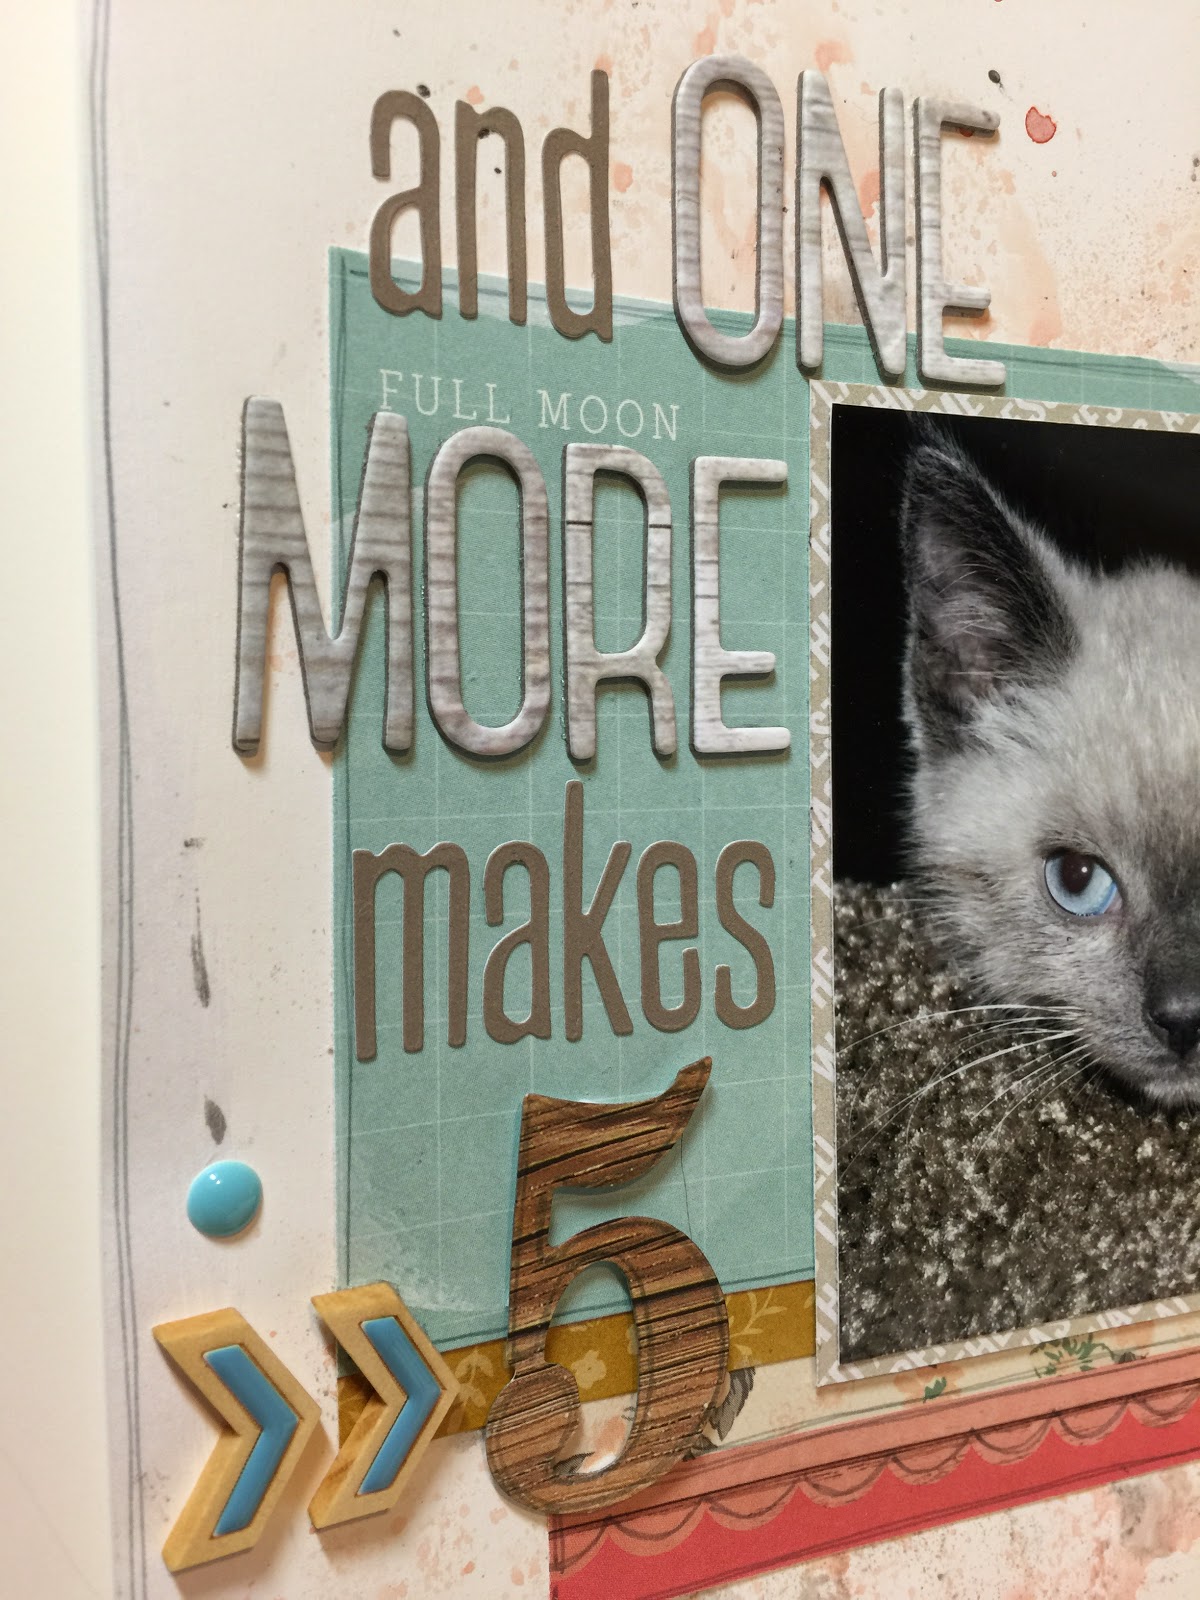
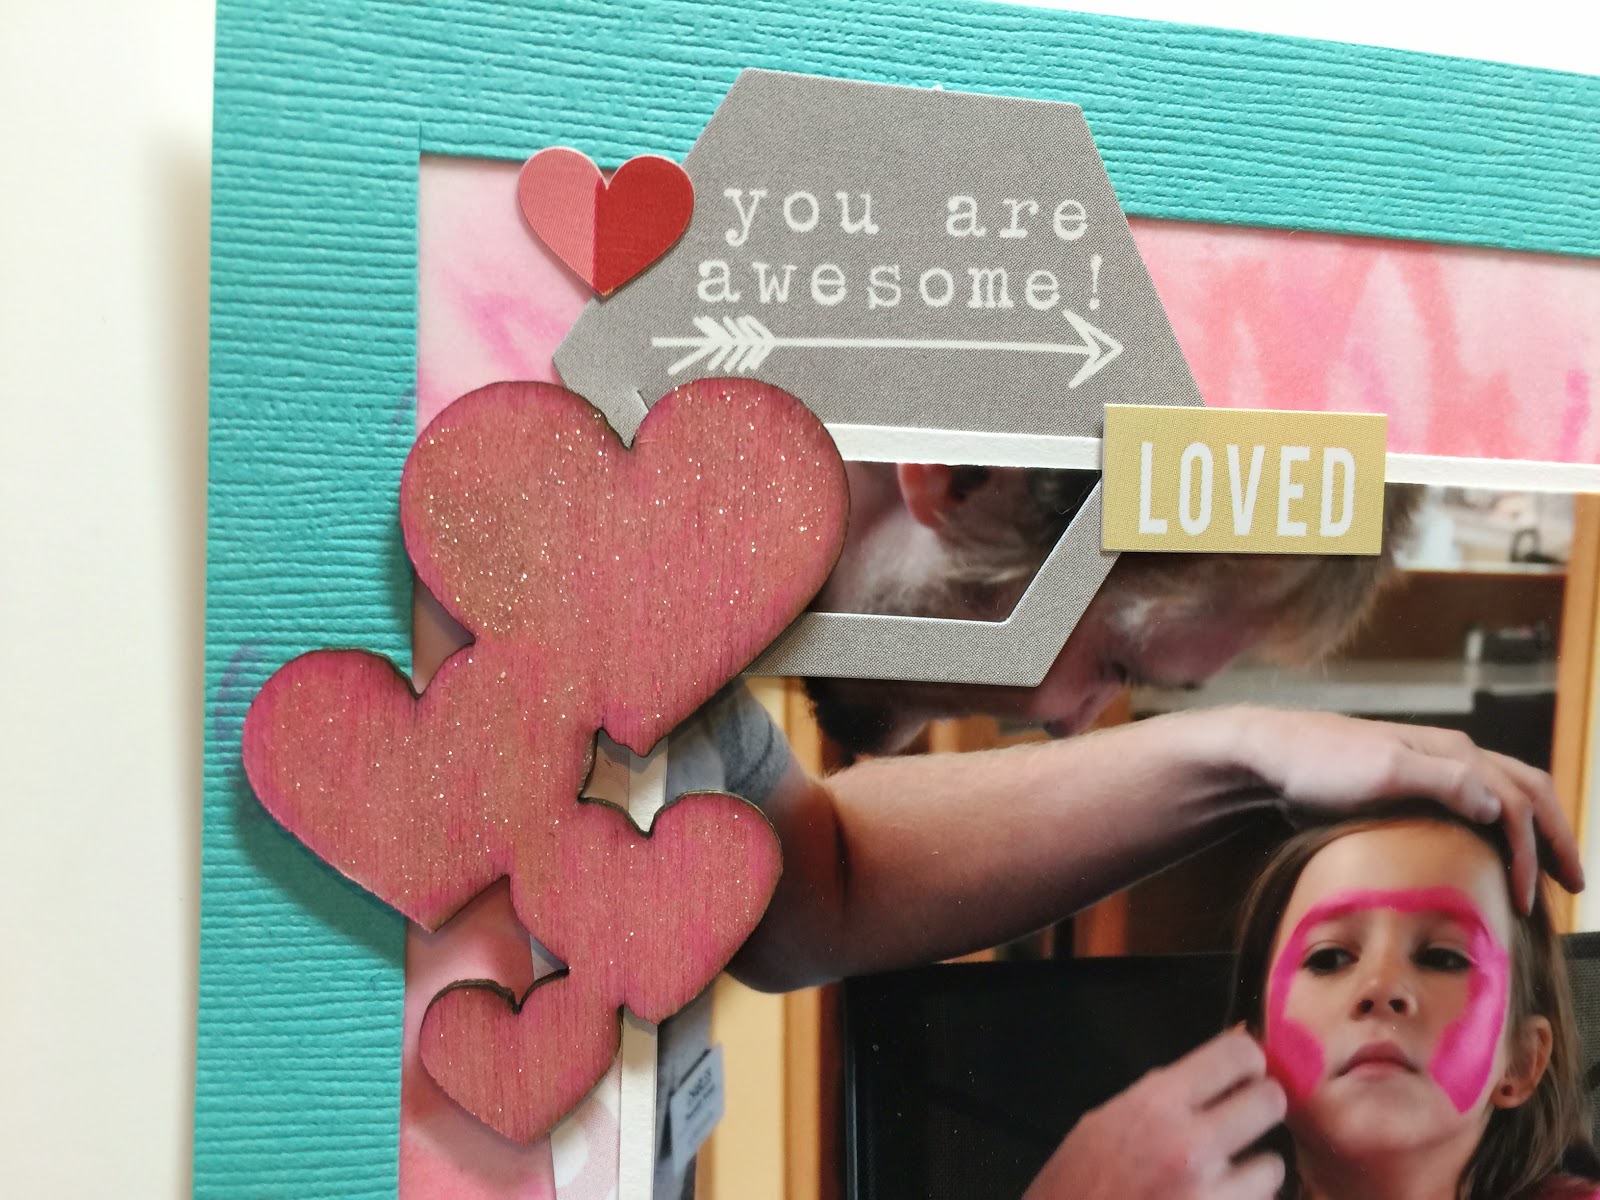
Here is the process video and a few close up of the clusters.


Everything on the page came in the kit with the exception of the blue diagonal ribbon and the homemade enamel dots.  


Thanks for stopping by.  Have a wonderful day.  Hope the weather is nice where you live.  


Monday, March 30, 2015

Process Video: You're Sweet

Hello everyone.  I have a process video up on YouTube to share with you.  I tend to get behind posting on my blog when I do the process videos so this is catch up.

For this layout I played with my watercolors.  I used the gouache colors I picked up at Michaels.  This was the first time that I used these and they are so pretty and a much more intense color that your typical watercolors (at least the cheap ones that I have :)).  I added a little white to each of the colors and put them on watercolor paper to make the background.  To top it off, I added a few gray splatters to help pick up the color of the papers/embellishments.

Here is an overall picture of the layout.


All of the papers, die cuts, embellishments, etc. came from the Pebbles - We Go Together collection. This collection is so cute.  I love all of the icons in this collection.  I just can't get enough of it.  I got most of the collection and have the 6x6 paper pad.  I picked it up from Craft Steals.  

Here is the process video and a few close ups.


Thanks for stopping by.  Hop on over to YouTube channel (Froggie251) and subscribe so you won't miss any videos.  Have a wonderful day.

Sunday, March 29, 2015

Album Share (YT): December Daily 2014

Hello.  I post my December Daily album share on YouTube quite a while ago, but realized that I had never posted it on my blog.  If you are interested in taking a look here is a link to the 3 part video series.


Thanks for watching.

Saturday, March 28, 2015

Play Pals

For this layout I used a Scraptastic Kit from the Summer of 2014.  I really like the colors in this kit.  They are really bright and playful.  

I used cardstock that came in the kit as my background.  I added a line of black ink around the edge to bring your eye into the layout.  I also added a few different colors of spray mist to the background.

I love the viewfinder paper that came in this kit so I wanted to highlight it by putting a large piece of it in the background.  I added a few pops of color with scraps that I had left over from another layout. 


I only have 1 main cluster on this layout.  Most of the items are from Heidi Swapp.  The little bow is too cute.  I inked the edges of the paper and embellishments with the Prima chalk ink that came in the kit.  I also added a bit of washi tape here and there for additional texture.


Have a good day.

Wednesday, March 25, 2015

What a Lovely Day With You.

This page was made using a My Minds Eye collection I got a Crafty Steals.  I really like the colors in this kit.  I wanted to do something a little different so I loosly used a sketch to create this layout.  

I cut a heart out of white cardstock and colored it using a combination of mists.  Then I added mist splatters to it and the bottom right corner of the layout.

I used two pieces of patterned paper for the background and tied them together using washi tape.


For the left cluster I used a cut-a-part from the collection as well as chipboard stickers, pieces of scrap paper, a brad, a doily from my stash, and washi tape. I outlined all of the items with a brown marker to tie everything together and to further delineate the layers from each other.


I used the other half of the doily from the other cluster here. Also more chipboard stickers, a brad, washi tape, and paper scraps.


Thank you for coming by the blog today.  Hope you found some inspiration.  Until next time.  Have a wonderful day.

Saturday, March 21, 2015

Like My New Mustang

I love this picture of my daughter sitting in a Mustang at a car show that her and my husband went to.  The items for this layout were from a Studio Calico kit.  I added a little mist splatter to the background and backed the 12x12 sheet to black cardstock on bring your eye into the layout.


Here is a look at one of the embellishment clusters.  I used mostly items from a 12x12 cut-a-part sheet that came in the kit.  I also used cork chevrons from my stash.  The title was made using Thickers and another font that I had in my stash.  


Here is the other cluster and more of the cut-a-part sheet pieces.  I added a cork half scallop, a flair button, and a bag that held some of the embellishments for added texture.


Have a great day.

Wednesday, March 18, 2015

Little Girl, Big Day

I absolutely love October Afternoon.  The colors, the vintage look of their collections, just everything.  I have to say though, I do find it hard to mix their collections with others.  So when I create using October Afternoon, I typically stay with all October Afternoon collections.

Here I used the October Afternoon - Milk Money collection.  It is adorable.  For the background I kept it simple again to show off the fun scantron paper.  I backed the scantron paper with a 12x12 sheet of paper that looks like one of those composition notebooks.

The title is made using Thickers from my stash that look like a cork board.


For the clusters I inked all of the elements with black Prima chalk ink.  I added puffy stickers, die-cuts, and washi tape.


The puffy stickers are too cute.  Love that little pencil.  I used one of the journaling cards in the cluster so I could write a little info about the day.


In the right cluster, I added a tag with the date.  I added twine to the top of the tag and added more die-cuts, puffy stickers, and washi tape.


Thank you for stopping by.  If you have any suggestions of what you would like to see on my blog let me know by posting a comment below.  Have a fun, crafty day.

Saturday, March 14, 2015

SDC 09

I really liked the background paper for this layout so I kept it pretty simple to show off the Fall leaves.  The only thing I really did to the background was to add some splatters of brown and gold mist.  All of the supplies I used were from a Scraptastic kit.

I layered the photo with 3 photo mats.  At the top of the photo (kind of hard to see in the picture), I added a die cut that I colored with my spray mist that says "Love the  moment".

The title of the page was made with a chipboard alpha that looks like burlap.
  

The embellishment cluster on the left features die cut feather from the kit, a wood veneer heart, and other paper diecuts.  All of the elements are inked in brown Prima chalk ink. I added a few enamel dots to the cluster to finish it off.


I wrapped twine around the picture and added a bow that holds the orange/yellow flower in the cluster.  I also added more of the leaves and a flair button that says "Fall".  Again as a finishing touch, I added enamel dots.


Thanks for stopping by my blog to take a look-see.  Have a great day.  

Friday, March 13, 2015

Process Video: And One More Makes 5

Today I thought I would try out a 8.5x11 layout.  I have seen several people doing this lately and I thought I would give it a try.

The layout was made using a picture of our newest kitty, Denali.

Here is the process video: 

All of the items, with the exception of the enamel dots, came from the Scraptastic January 2015 kit.  I outlined the entire page in Weathered Wood Distress marker from Tim Holtz.  I inked the background with a a Lindy's Stamp Gang mist and Mr. Huey's Silver and added a few splatters of the Mr. Huey's Silver around the page.


Because I was using a white background, I found it a lot easier to use the velum pieces in the kit.  I think they show up better and don't look as cluttered.


I am terrible with titles, but this one came easy to me for some reason.  I really wanted to use some of the die-cut numbers that came in the kit so the title just came together for this one.


I didn't know what I was going to do with that light bulb and although it doesn't fit a "cat theme" I still think it works and I like the gold accents.
 

Thanks for stopping by.  If you are not already a subscriber to my YouTube page, stop on over and check it out.  Also, I have having a 100 subbies give-a-way for all of my subscribers.  It is open until the 18th of March. 

Wednesday, March 11, 2015

Love

Today I have one of those layouts I am not sure if I like or not.  The picture is a bit dark (probably should have retaken this one).  Anyway, the background was mading with gesso that I tinted it with gold gelatos.  Then I took the gold and orange gelato to add additional color over the top of the gesso.  On top of that I tinted modeling paste and used a Tim Holtz stencil to add some dimension.  

All of the items on the page came from a Scraptastic Kit.  


Here are a few close-ups where you can see the modeling paste a bit better and the embellishment clusters.  I added some twine to the cluster under the flair.  To the center of the flower I added some enamel dots that came in the kit.  


Here is a close-up of the upper left cluster.  I felt like the patterned paper was getting lost on the page with all of the mixed media messiness, so I inked the edges with brown Prima chalk ink.


Have a wonderful day.

Saturday, March 7, 2015

Summer Selfies

Hello again.  This page was made using the Simple Stories - 100 Days of Summer collection.  Since the paper in this collection is already distressed I only added a bit of mist splatters and inked the edges in Walnut Stain from Tim Holtz.  


I added a banner in the top right that says "Summer".  I made it look like it was hanging on the page using twine.  


Sorry for the poor lighting on this pic...The cluster was made using stickers that came in the collection and a wood veneer heart that I stained with some homemade walnut stain.


This cluster was also made using mostly stickers from the collection as well as a wood veneer camera and arrow from my stash that I stained with the same walnut stain.  The title is made using Thickers and stickers that came in the Simple Stories collection.


Thanks for coming by my blog today.  Hope you are having a wonderful day.

Wednesday, March 4, 2015

Silly Kitty Cat

I really like how this page turned out.  I wanted to get the progression of my daughter's face painting and I think I captured it pretty well.  There was not a lot of room for embellishing since the pics are a bit big, but I did get a few bits on there.

All of the supplies for this page came from an older Scraptastic Kit (Maybe Jan or Feb 2014).  For the background I took a piece of vellum and used 3 different colors of gelatos.  I mixed them together by using my finger.  I made a very simple mat for the pictures to sit on.  To give the layout a finished edge, I cut out a piece of teal cardstock to frame the layout.  

Here are a few close-ups of the clusters.


Thanks for stopping by.  Have a great day.